







How to Draw a White Dove in Flight | Step-by-Step Guide with Video
Use the step-by-step instructions below to learn how to draw a white dove in flight. Follow along with the video, or use the images in this article. By the end of this tutorial, even beginners will have a completed drawing of this beautiful bird!
Love drawing? Keep your artistic streak going and enjoy more free art lessons by:
- Bookmarking the How2DrawAnimals.com homepage for updates
- Subscribing to the How2DrawAnimals YouTube channel
- Visiting EasyDrawingTutorials.com for tons of free cartoon tutorials
This page contains affiliate links. If you choose to purchase through these links, I earn a small commission at no extra cost to you.
RELATED TUTORIALS
 |
 |
 |
To draw this dove step by step, follow along with the video tutorial below and pause the video after each step to go at your own pace. You may find it easier to follow the step-by-step images below the video. You may want to open the video in a new tab and use both drawing methods. Take your time and create art at your own pace.
|
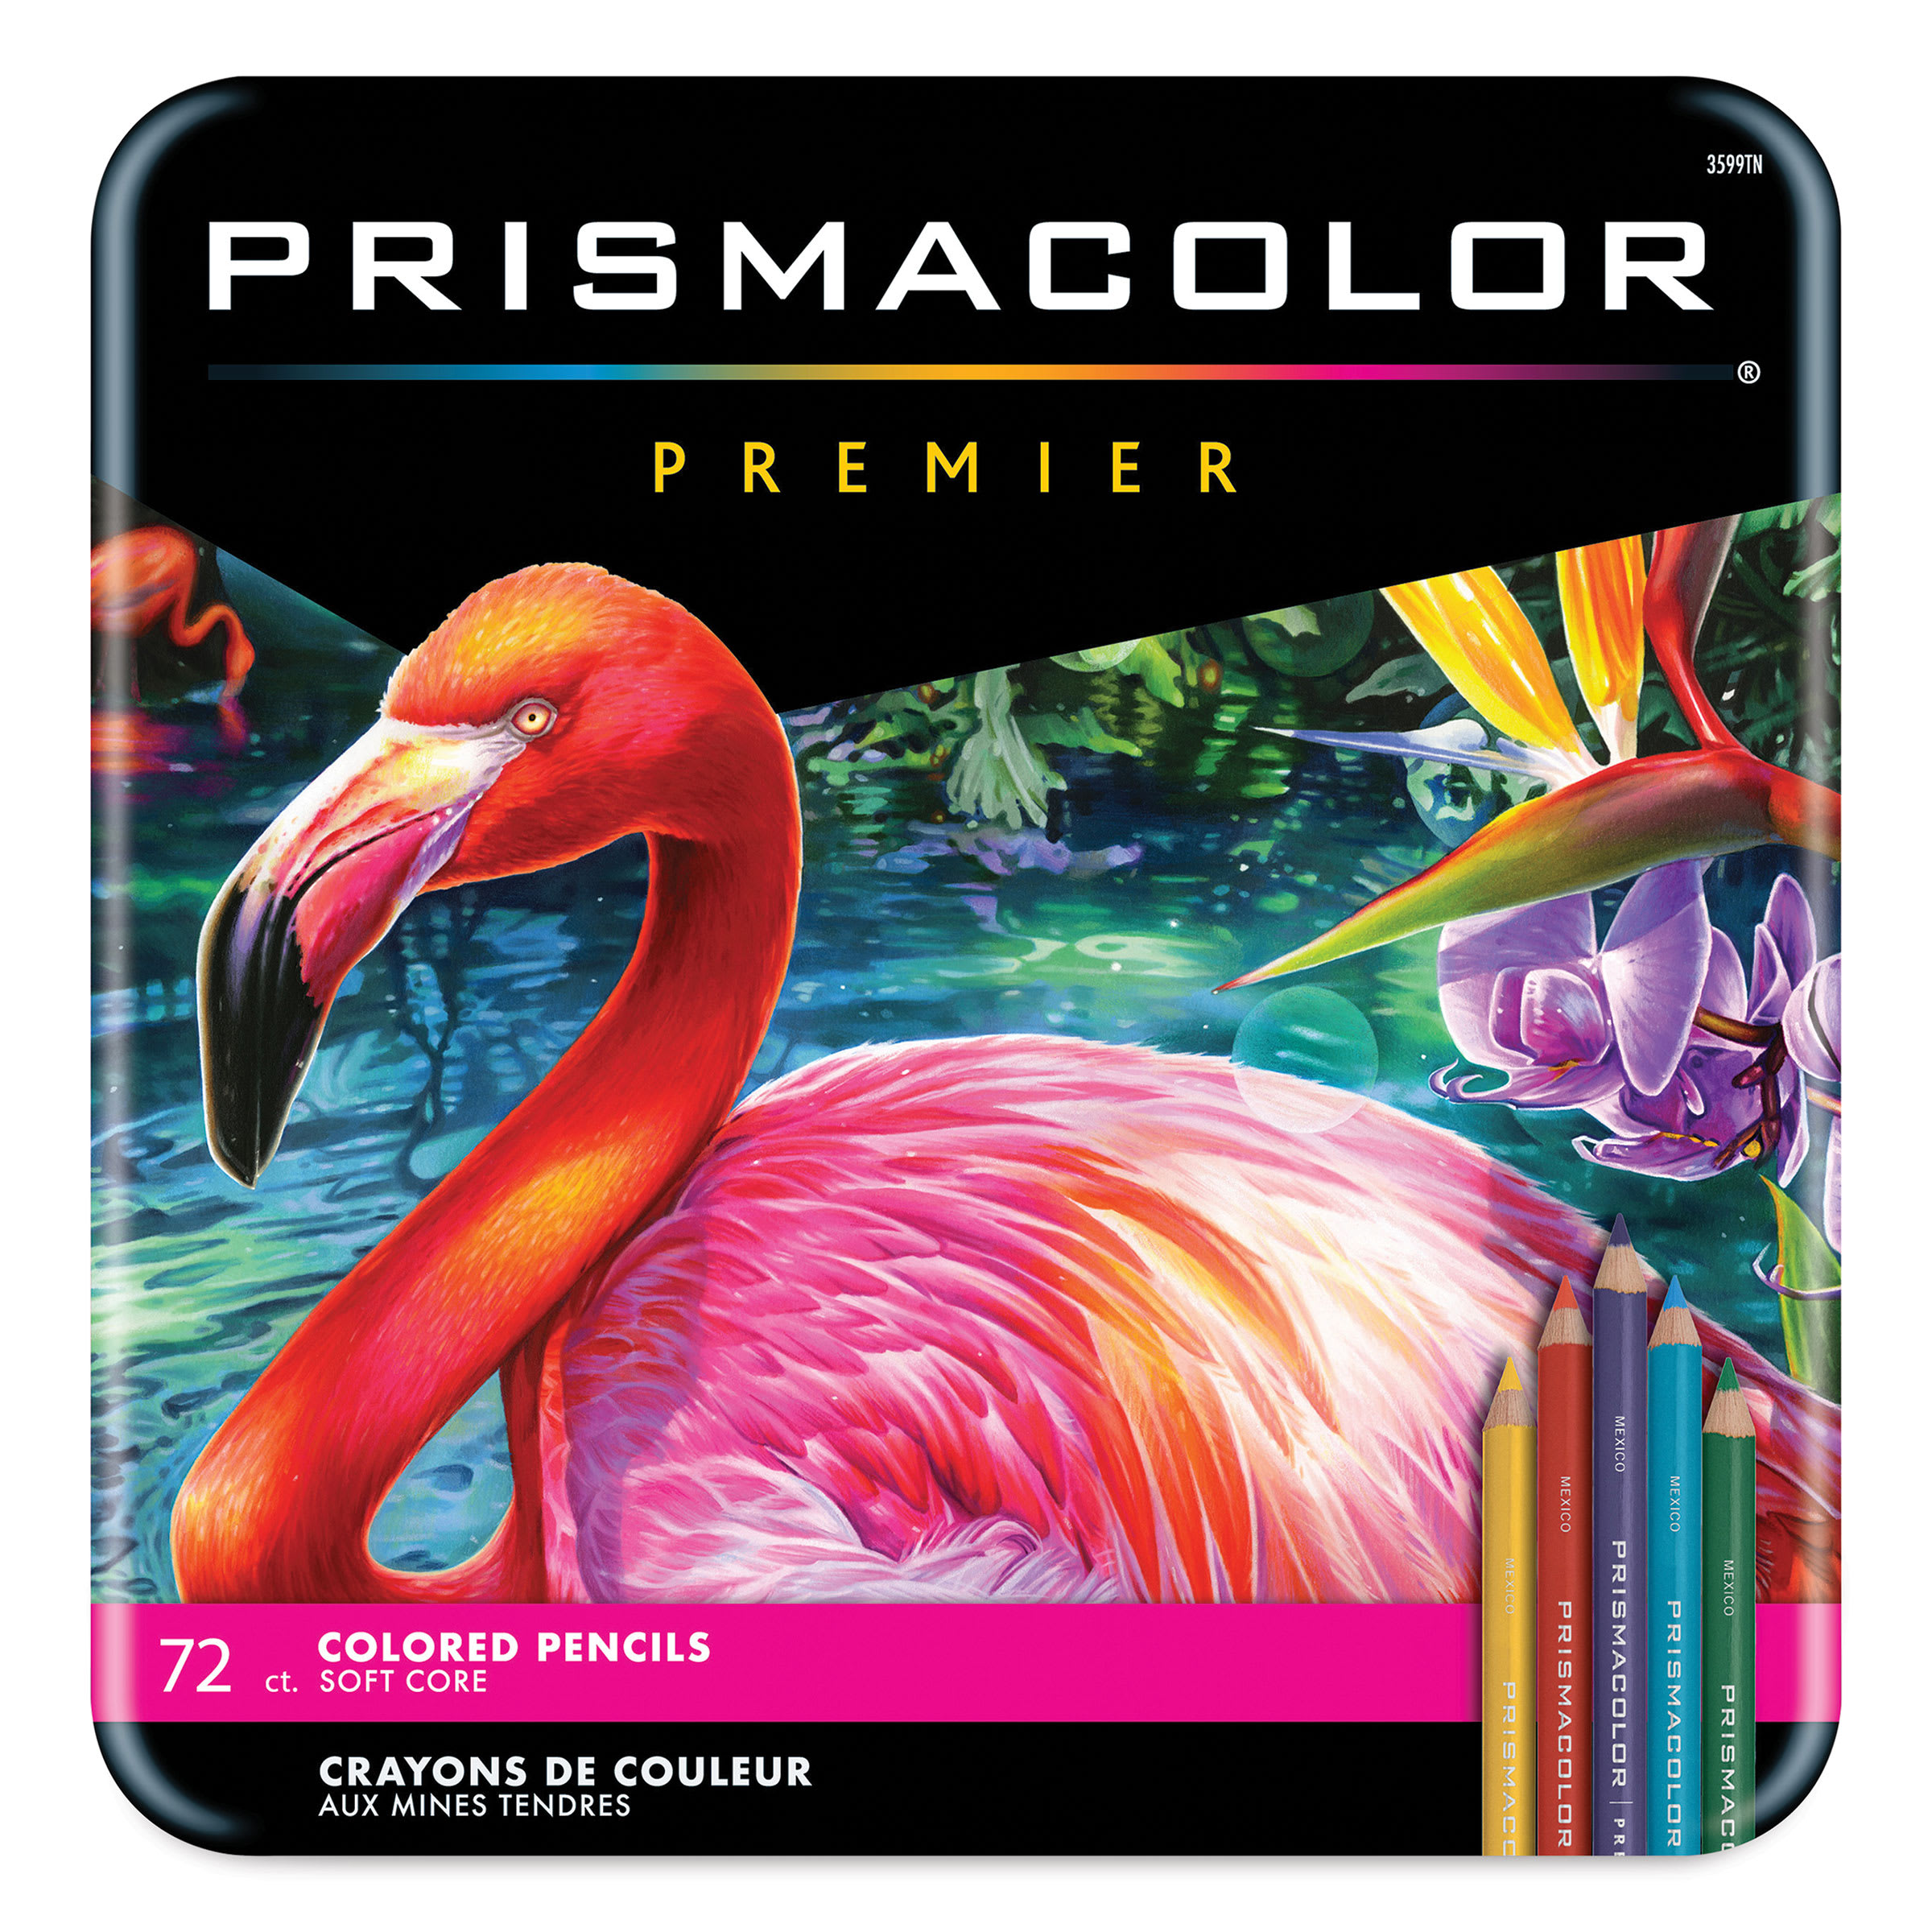
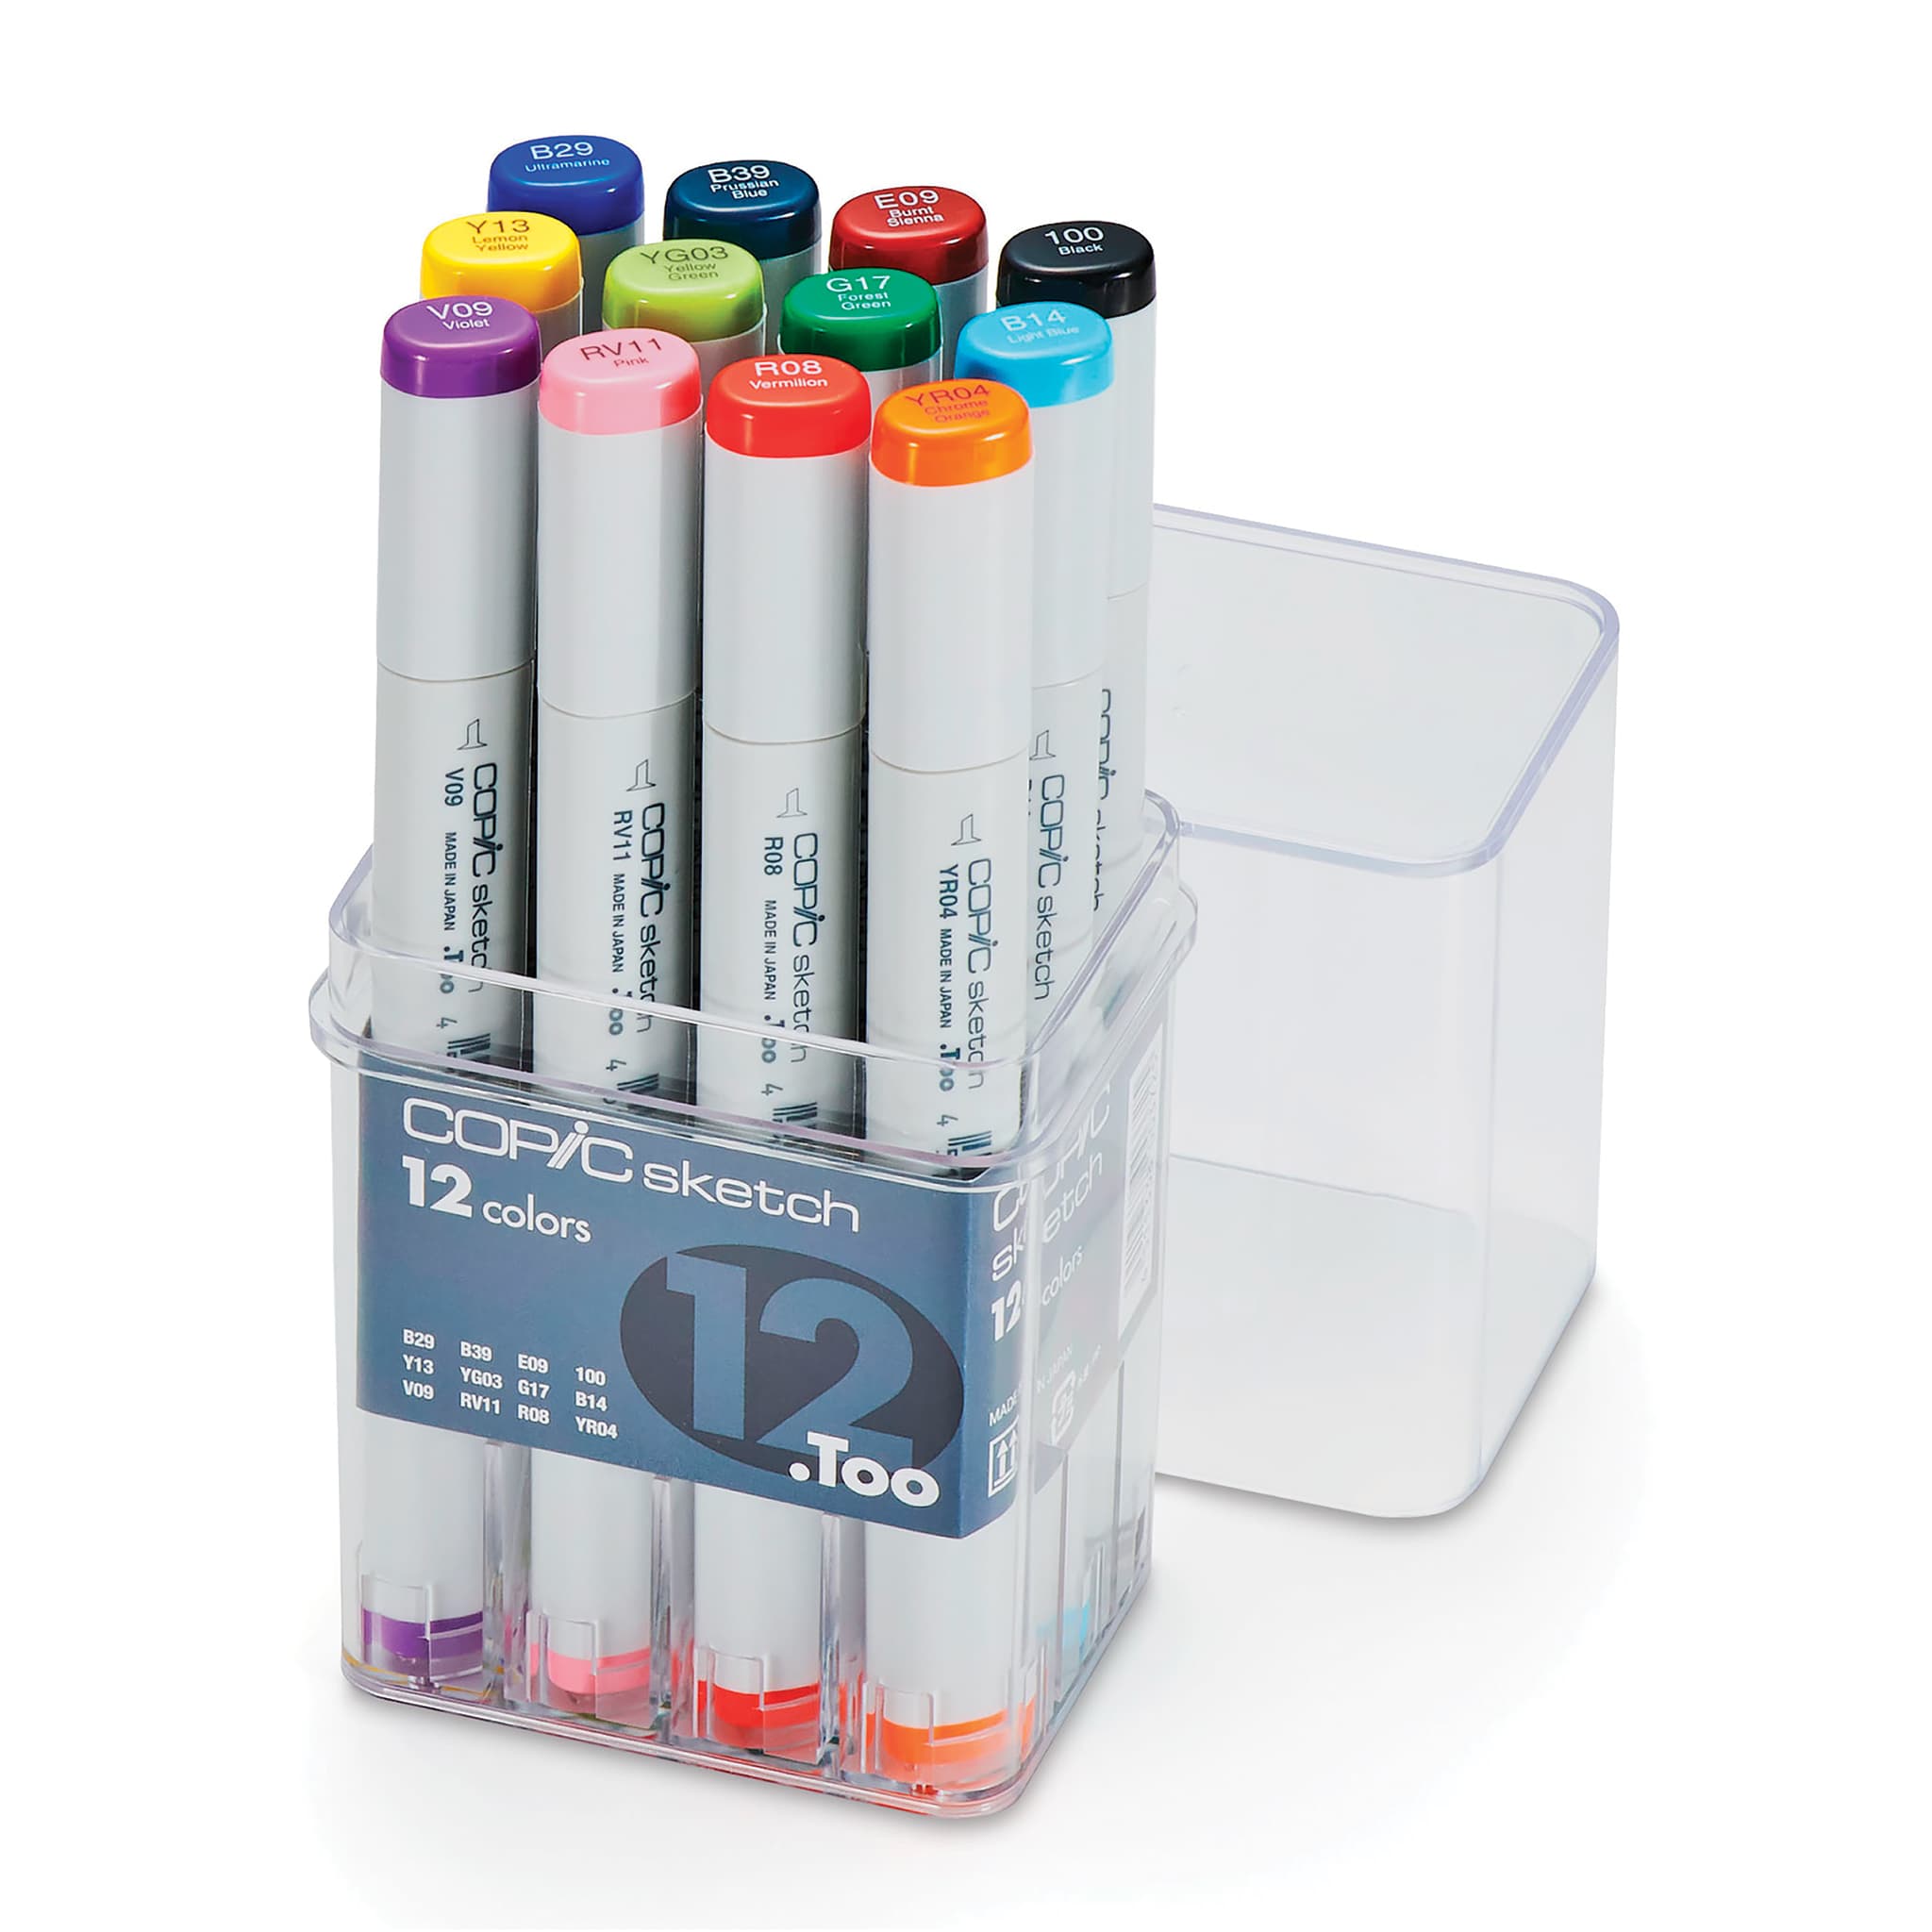
Materials You'll NeedBefore starting, gather these basic drawing supplies from Blick Art Materials. |
||
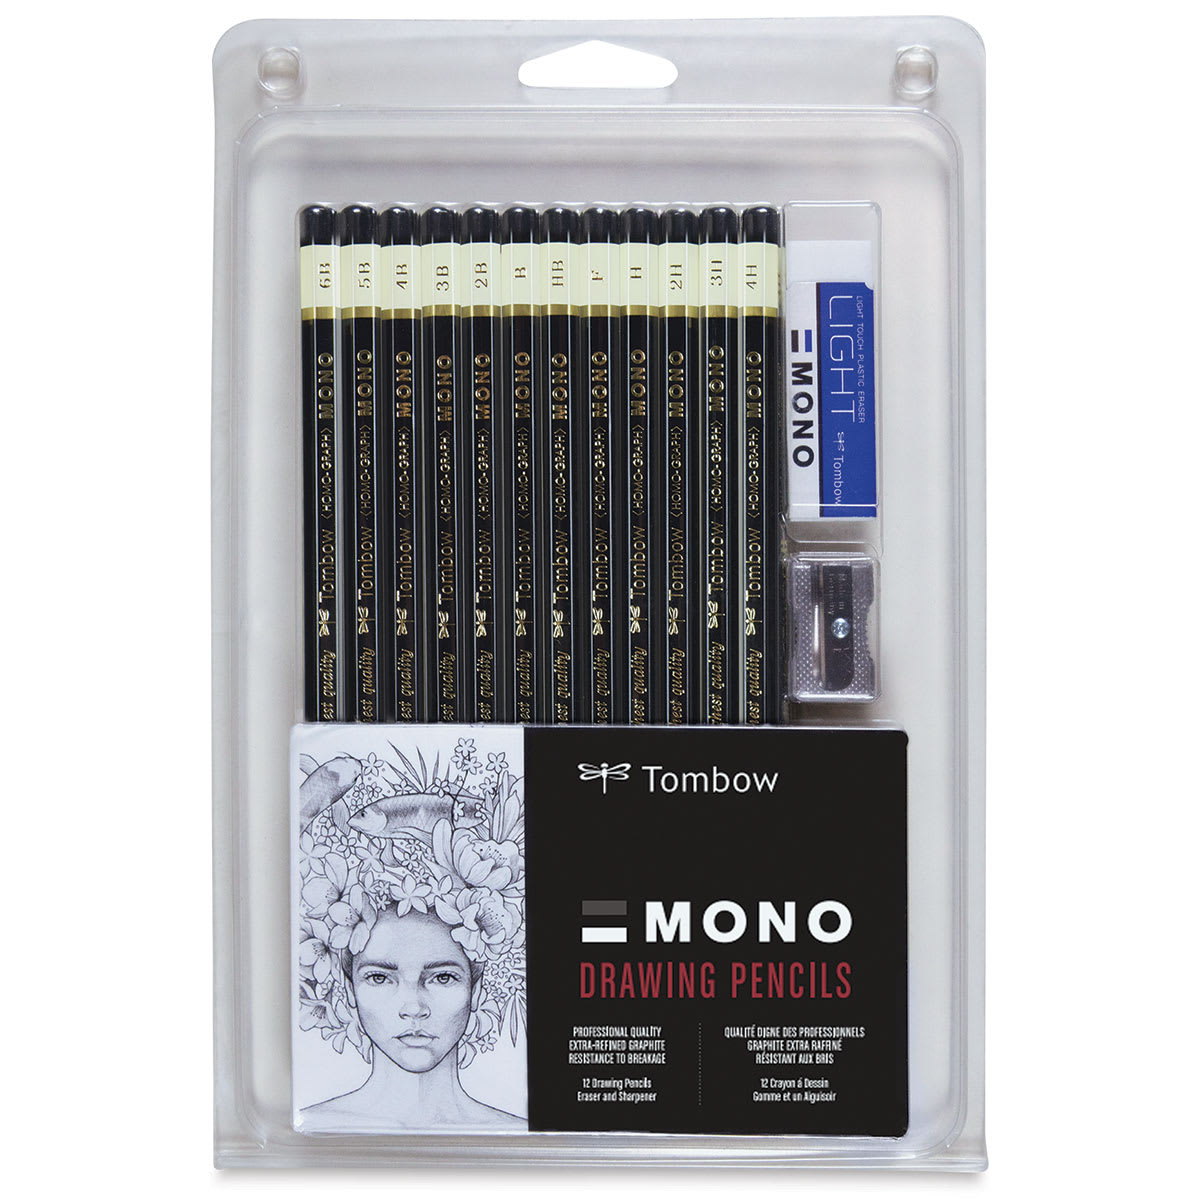 (an HB lead pencil is best for light sketches) |
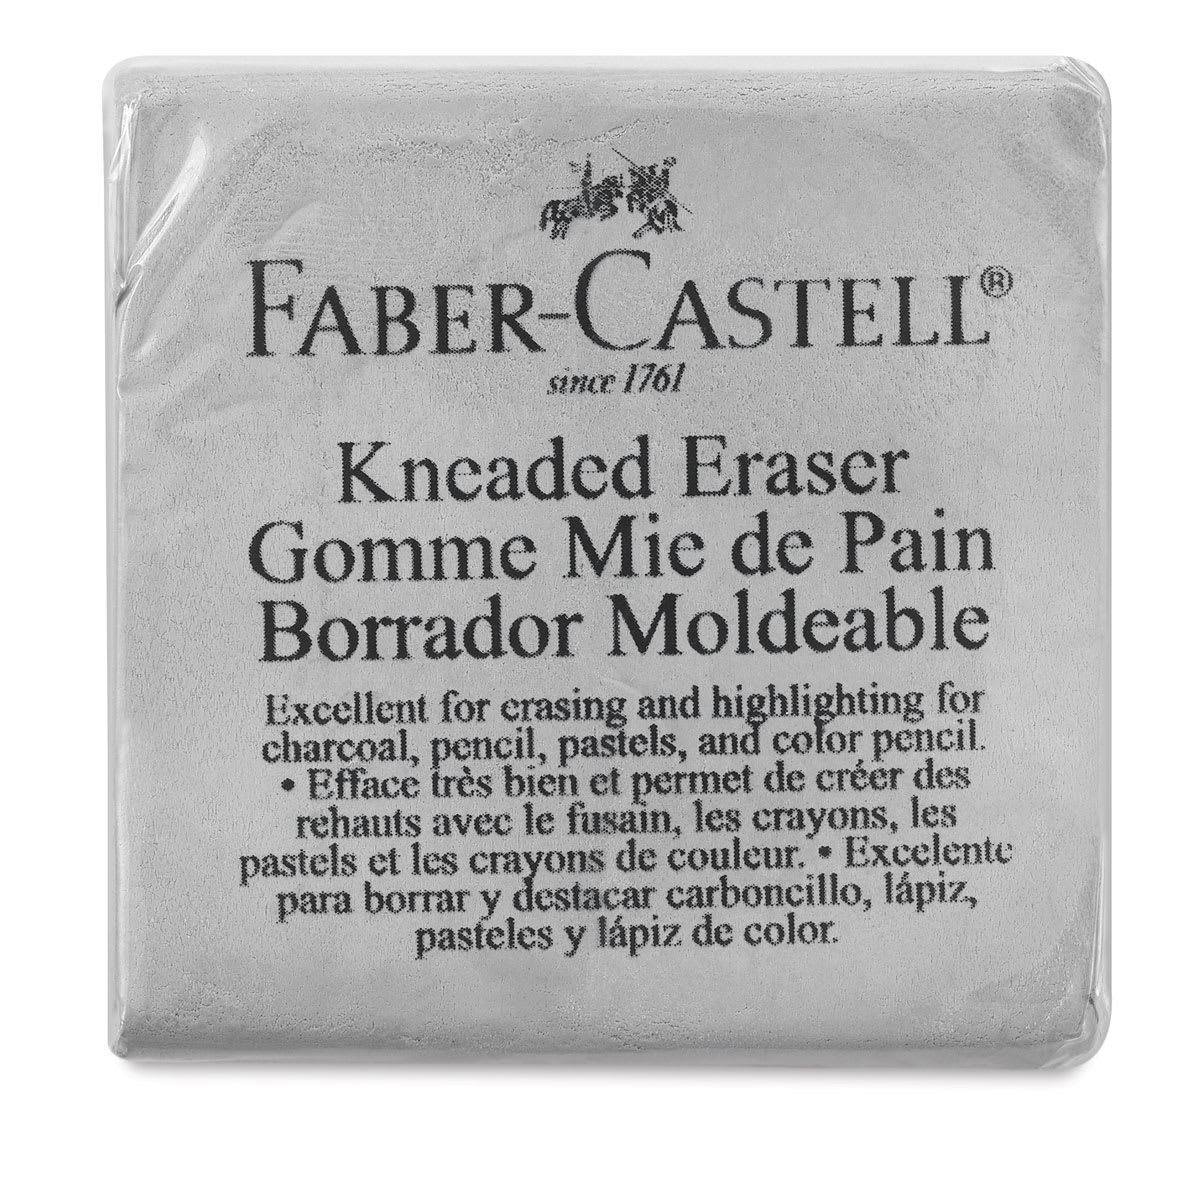 |
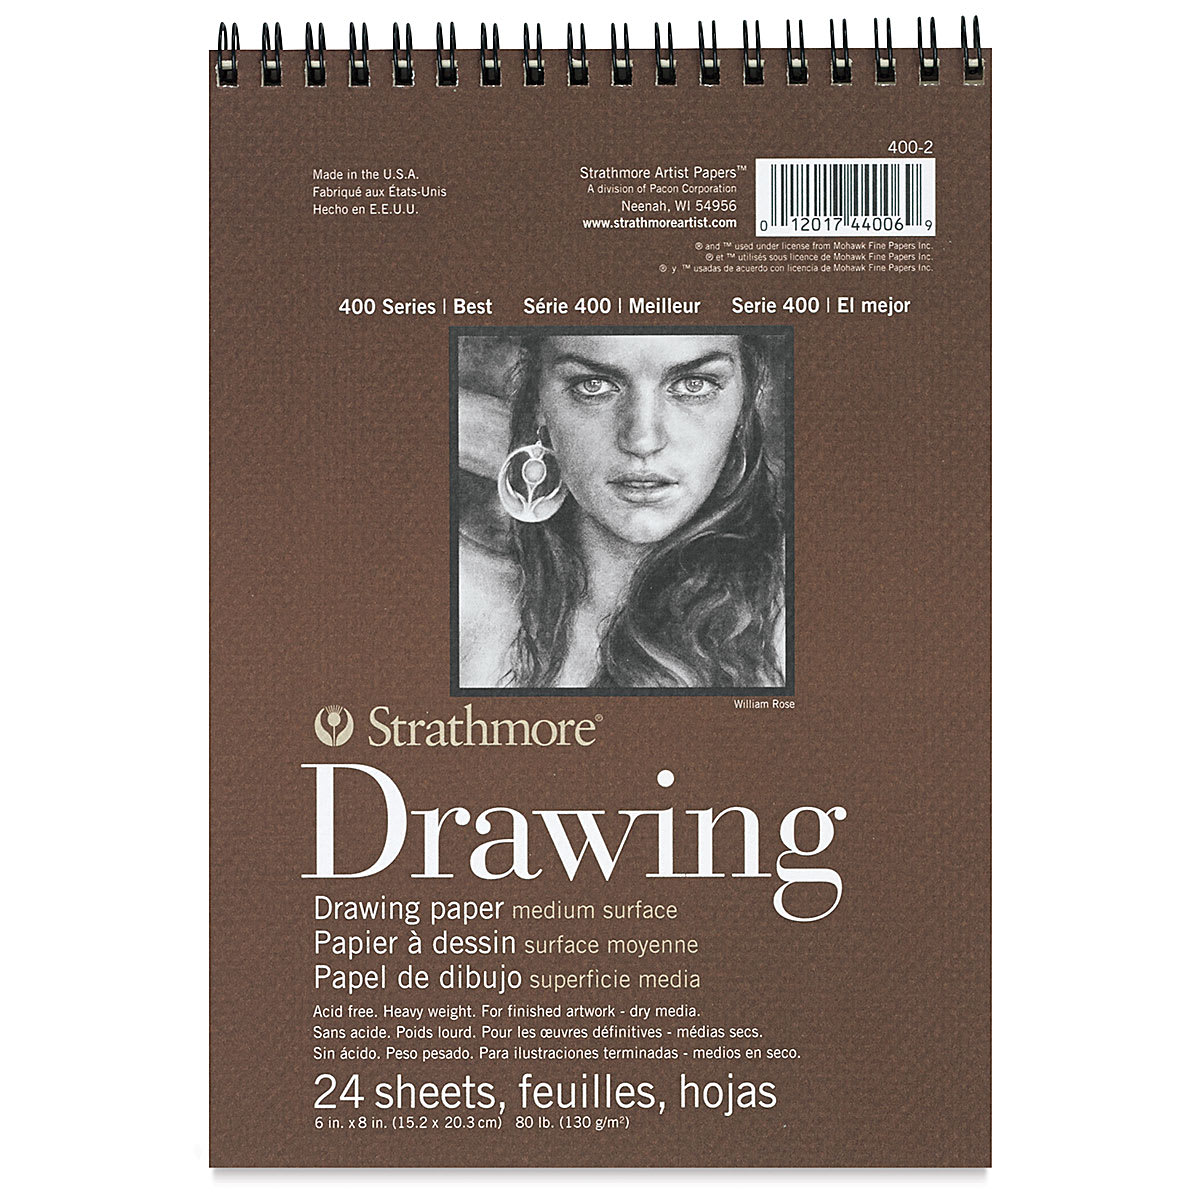 |
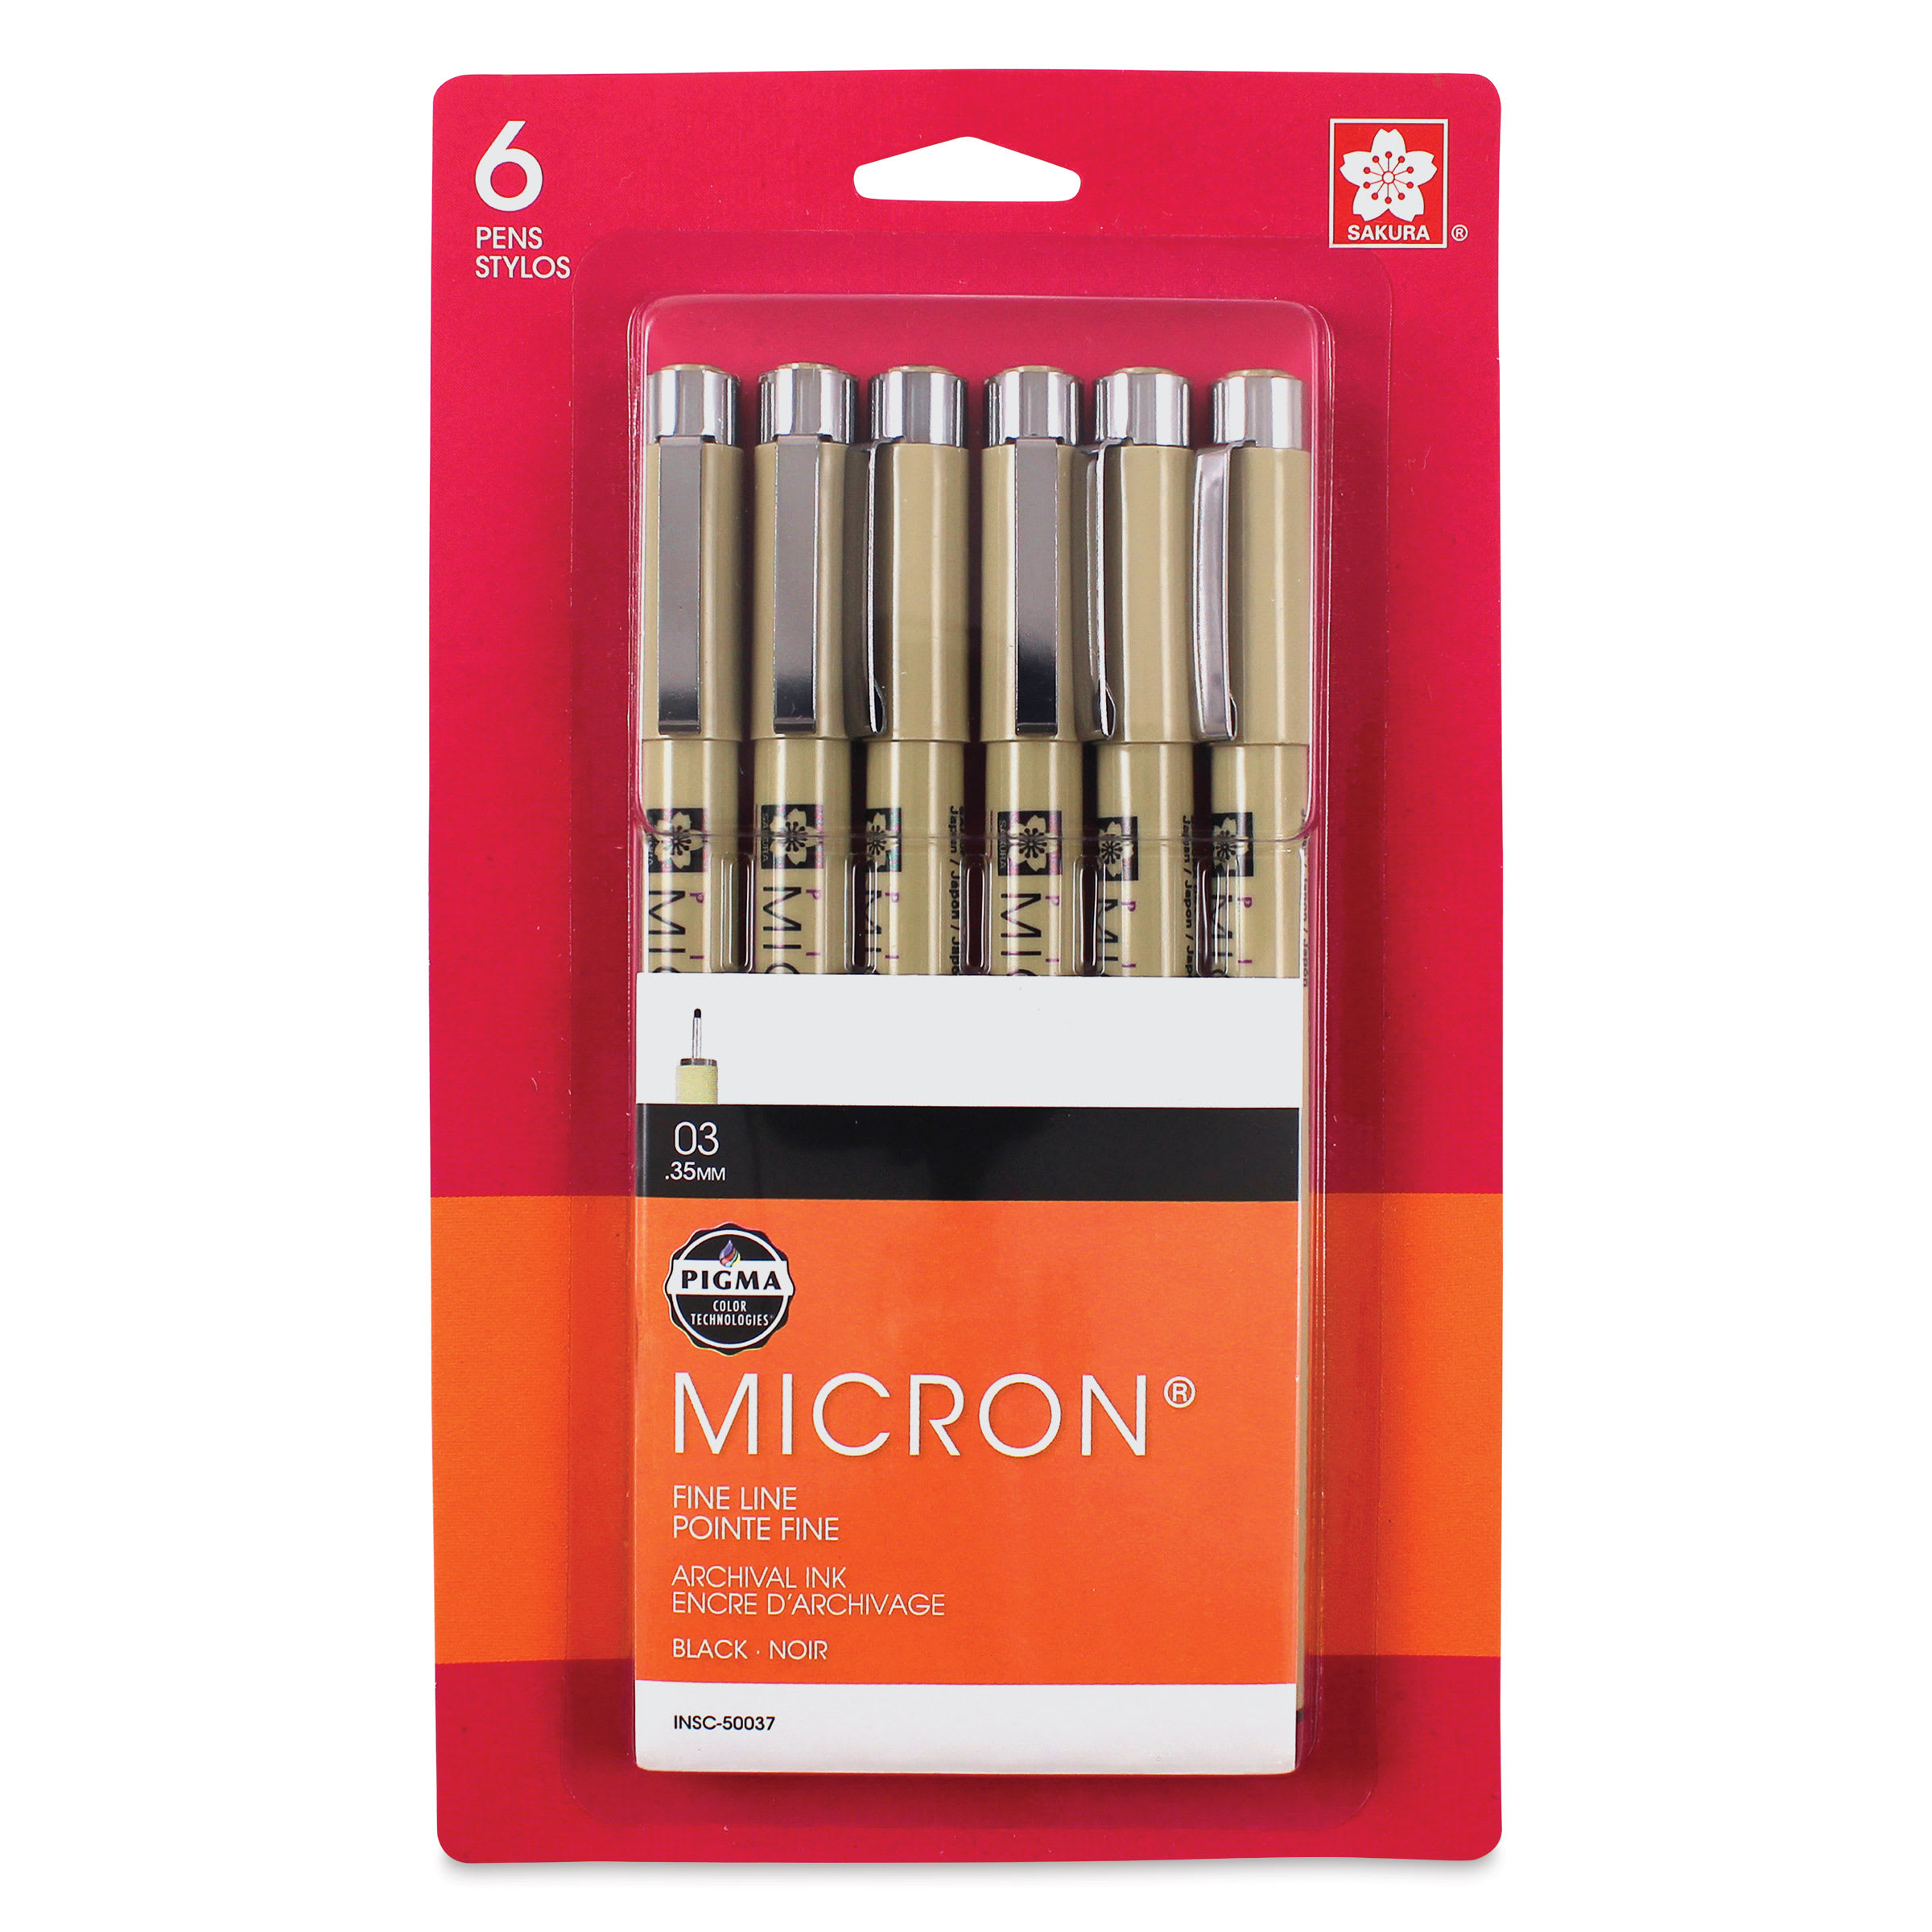 (or Fine-Line Marker) |
 (or Markers) |
 (or Colored Pencils) |
Step 1: Draw the Initial Sketch
Begin building the foundation of your flying bird with these initial shapes.
Proportional Circles
- Draw the main body guide: Start by drawing a circle as a guide for the top part of the body. To draw a circle, mark the desired height and width with your pencil, and then connect the marks with curved lines. If you struggle with freehand circles, trace something with a circular edge, such as a coin or a bottle cap.
- Add the head guide: On the top left side, sketch a smaller circle about one-fourth the size of the first one to represent the head.
Facial Guides
- Add facial guidelines: Draw a horizontal construction line straight across the inside of the head circle.
- Sketch the beak: On the bottom left side of the head, add a small triangle.

Body Connections
- Form the neck: Connect the head and body circles using sloping lines. Make the bottom of the neck wider than the top.
- Define the lower body: Make a small mark below the main circle to indicate the lower edge of the body. Then connect it to the main circle using curved lines.
Wing and Tail Guides
- Draw the main wing guide: Starting from the top of the big circle, draw a long diagonal line that is roughly the same length as the entire body.
- Draw the opposite wing guide: To the left, draw an angled line to indicate the wing on the other side of the bird.
- Finish the wing shapes: Draw a long curved line on the right side to finish the far wing. Then, draw a longer curved line below the main diagonal line to establish the bottom edge of the foreground wing. Pay close attention to how large these wings are relative to the body.
- Create the tail guide: On the bottom of the body, draw a large curved shape with two sloping sides, closing it off at the bottom with a long curved line.
Step 2: Draw the Face and Head
Begin your final clean linework by defining the primary features on the head.
- Draw the eye: Inside the head, lightly sketch a small circle resting on top of the horizontal guide line, close to the center. Once the placement looks right, darken the shape and make the corners pointier. Sketch a couple of curved lines around the eye for the bare skin. Inside the eye, add a tiny circle for a highlight, and place a smaller circle in the middle, shading it in for the pupil.
- Refine the beak: Darken the top and bottom edges of the triangular guide. Draw a long, sloping line through the center for the mouth, and add a curved line around the right tip of the mouth. At the top, sketch a curved shape for the waxy segment (called a "cere"), allowing part of it to extend into the head.
- Shape the head: Darken the outer edges of the head guide using a long, continuous line across the top, curving it at the bottom to form the throat. Add a small crease line inside.

Step 3: Sketch the Wings and Feet
Now that your dove's face is complete, move on to the details of the body.
- Add the first wing: Beginning with the wing on this side of the body, begin to draw individual feathers. Start at the top with a small angled line, followed by a longer, thin feather shape. Draw long, thin shapes along the bottom edge of the guide. Make the base of each feather wide and the tips sharp. Rotate the orientation of the feathers sideways and decrease their size as you move down the guide path. At the very bottom, use short, curved lines to create rounder, less pointy feathers. Connect the rows in the middle using short, curved lines.

- Complete the second wing: Draw the individual feathers on the second wing. Make the feathers shorter and rounder as they move downward, angling the lines to the right. Do not overlap the foreground wing.
- Draw the feet: Lightly sketch a small curved line at the bottom of the body for the first foot. Darken the line to create a wider toe shape, add a second thin toe to the left, and a shorter, thinner toe for the back claw. Make the tips pointy for the nails. Sketch a couple of thin, curved shapes to the left for the visible toes of the opposite foot, keeping in mind that most of it is hidden behind the body.

Step 4: Finalize the Pencil Sketch
Finish the sketch of your dove before moving on to inking and coloring.
- Outline the body: Darken the remaining outer edges of the guides to lock in the final body shape.
- Draw the tail: Use curved lines along the bottom edge of the tail guide to indicate individual feathers, and add a few short lines inside the shape to separate them.

Step 5: Ink the Drawing and Begin Adding Color
Careful when inking and shading so you .
- Ink and clean up: Carefully trace over your final lines with a permanent ink pen or fine liner. Avoid inking any of the initial construction guidelines. Once the ink is completely dry, use an eraser to clean up all the leftover pencil marks. Add a few short, angled lines just under the main wing to give the body some texture.

- Apply shadows: Since the dove is white, use various shades of gray and a touch of light blue to create depth. Establish your light source from the top so that shadows naturally fall on the under-sides of the shapes.
- Blend the colors: Start with your lightest gray tones, building up gradually to the darker shades. Work your pencil or marker strokes in the same direction that the feathers grow to maintain a realistic texture.

Step 6: Finish Up the Details with Pen
Refine the intricate details to bring the piece together.
- Color the features: Shade the eye using a mix of red and brown. Use pink and brown tones to fill in the beak and feet.
- Reinforce final lines: Go over the main outer lines one last time with ink to emphasize the final shape and contrast.

Buy My Step-by-Step Art Books on Amazon!
If you enjoyed drawing with me and want to expand your artistic skills, please consider checking out my step-by-step drawing books on Amazon! My books break down a wide variety of animals into simple geometric shapes, making it easy and fun for artists of any skill level to follow along. Every purchase directly helps support this site so I can keep creating high-quality, free tutorials for the art community.
Click Here to Order Your Copy Today!
This is an Amazon affiliate link. If you choose to purchase through this link, I earn a small commission at no extra cost to you.

Thanks for visiting! Subscribe to the How2DrawAnimals YouTube Channel for new tutorials every week.
And to learn how to draw cartoons, visit EasyDrawingTutorials.com.
RELATED TUTORIALS
|
|
|