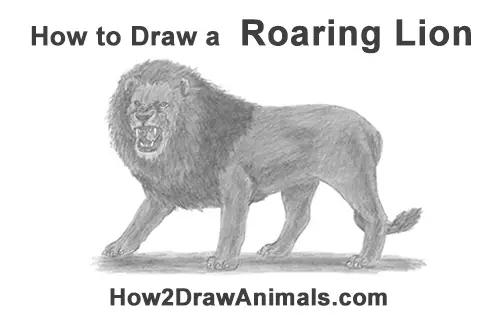
Please PAUSE the "How to Draw a Roaring Lion" video after each step to draw at your own pace.
Time-Lapse (Speed Drawing) video:
Written step-by-step video tutorial:
For the first few steps, don't press down too hard with your pencil. Use light, smooth strokes to begin.
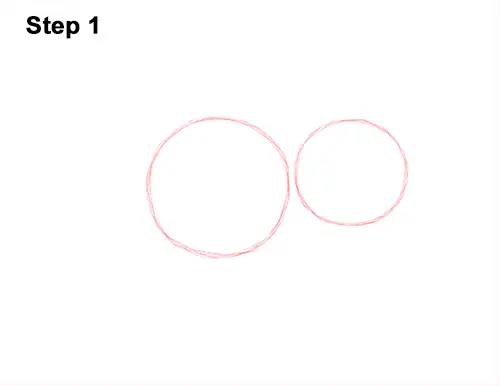
Step 1: Draw two circles as guides for the lion's body. First draw some marks for the height and width of the circle, then connect the marks using curved lines. The circles don't have to be perfect. They're just guides. If you do want a perfect circle, trace the rim of a glass or anything circular. The circle on the right should be smaller and placed higher. The edges of the circles should almost touch.
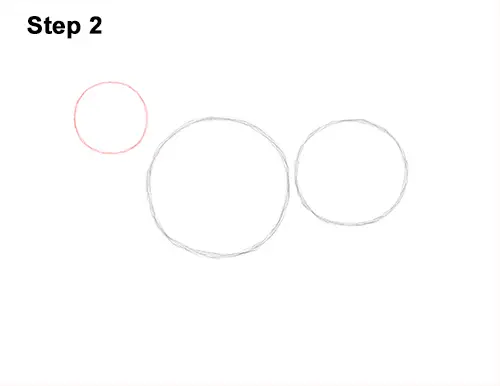
Step 2: Draw another circle on the top left side as a guide for the roaring lion's head. This circle should be about one- fourth the size of the first one. Don't place it too far away, either.
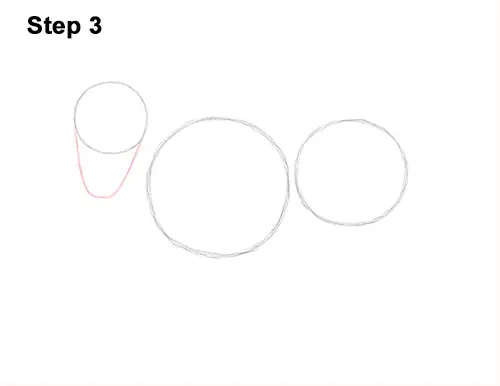
Step 3: Draw a U-shaped arc under the head as a guide for the lower part of the lion's open mouth.
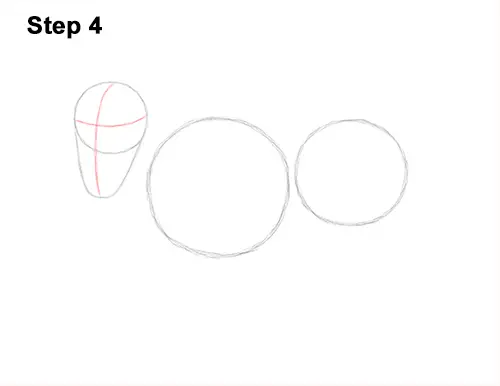
Step 4: Draw two intersecting lines inside the entire head to help you draw the lion's facial features later on. Curve the lines to contour to the head. The horizontal line should be pretty high on the head.
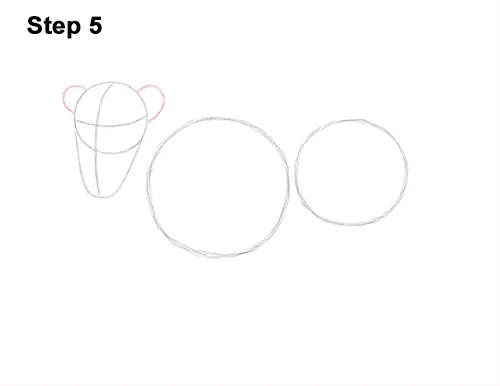
Step 5: Draw two small arcs on the top of the head as guides for the lion's ears.


