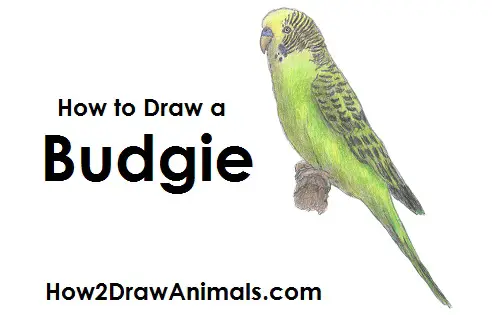
In this free art lesson, you'll learn how to draw a Parakeet also called a Budgie step-by-step.
Stay tuned for more free drawing lessons by:
Liking us on Facebook>>
Subscribing on YouTube.com>>
Following us on Instagram>>
All of the tutorials on How2DrawAnimals.com are good drawing tutorials for beginners and experienced artists alike. The online tutorials are easy to follow; they teach you the how to draw basics while showing you how to draw animals step by step. Each animal has a video drawing tutorial option, as well as step-by-step photos and written text to follow.
RELATED TUTORIALS
 |
 |
 |
To draw this Budgie step by step, follow along with the video tutorial below and pause the video after each step to draw at your own pace. You may find it easier to follow the step-by-step drawings below the video. The new lines in each step are shown in red, so you'll know exactly what to draw next. You may want to open the video in a new tab and use both drawing methods. Take your time and draw at your own pace.
Below you can watch a NEW step-by-step video tutorial with NARRATED steps:
The following is a video tutorial where the steps are WRITTEN out within the video:
For the first few steps, don't press down too hard with your pencil. Use light, smooth strokes to begin so that it's easy to erase if you make a mistake.
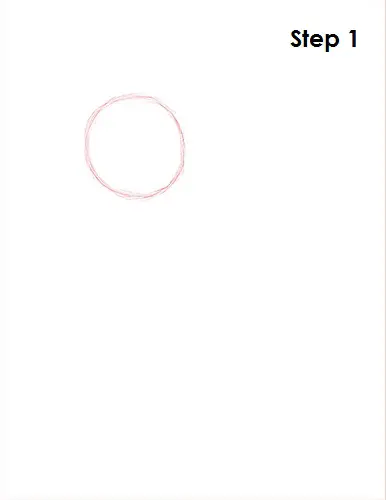
Step 1: Draw a circle as a guide for the top part of the budgie's body. The circle doesn't have to be perfect. It's just a guide. Leave enough room at the top for the bird's head and at the bottom for the long tail.
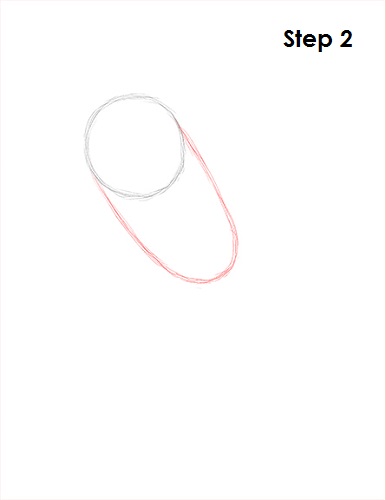
Step 2: Draw an arc on the lower right side of the circle as a guide for the lower part of the budgie's body. The length of the arc should be a bit less than the width of the circle. Sketch lightly at first to get the shape of the arc right.
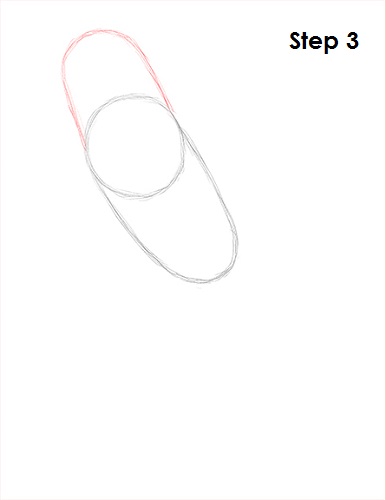
Step 3: Draw a smaller arc on top of the original circle as a guide for the budgie's head. The height of this arc should be a bit smaller than the width of the circle. The end result of the entire shape should be similar to a sausage.
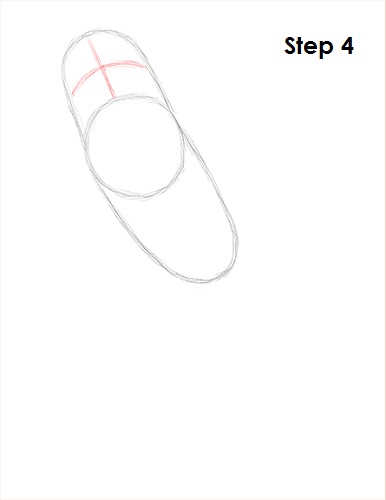
Step 4: Inside the arc, draw two intersecting lines. These lines will help you place the parakeet's facial features later on.
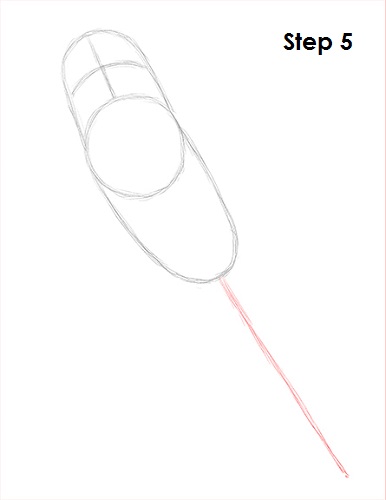
Step 5: Draw a long line at the bottom as a guide for the budgie's tail. The longer the line, the longer the tail will be. The guides should look like a corn dog now!


