







- Details
- Written by: CCP User
- Category: Animals
- Hits: 40
Use the step-by-step instructions below to learn how to draw a deer head with large antlers. Follow along with the video, or use the images in this article. By the end of this tutorial, even beginners will have a completed drawing of this majestic animal!
Love drawing? Keep your artistic streak going and enjoy more free art lessons by:
- Bookmarking the How2DrawAnimals.com homepage for updates
- Subscribing to the How2DrawAnimals YouTube channel
- Visiting EasyDrawingTutorials.com for tons of free cartoon tutorials
This page contains affiliate links. If you choose to purchase through these links, I earn a small commission at no extra cost to you.
RELATED TUTORIALS
 |
 |
 |
To draw this deer step by step, follow along with the video tutorial below and pause the video after each step to go at your own pace. You may find it easier to follow the step-by-step images below the video. You may want to open the video in a new tab and use both drawing methods.
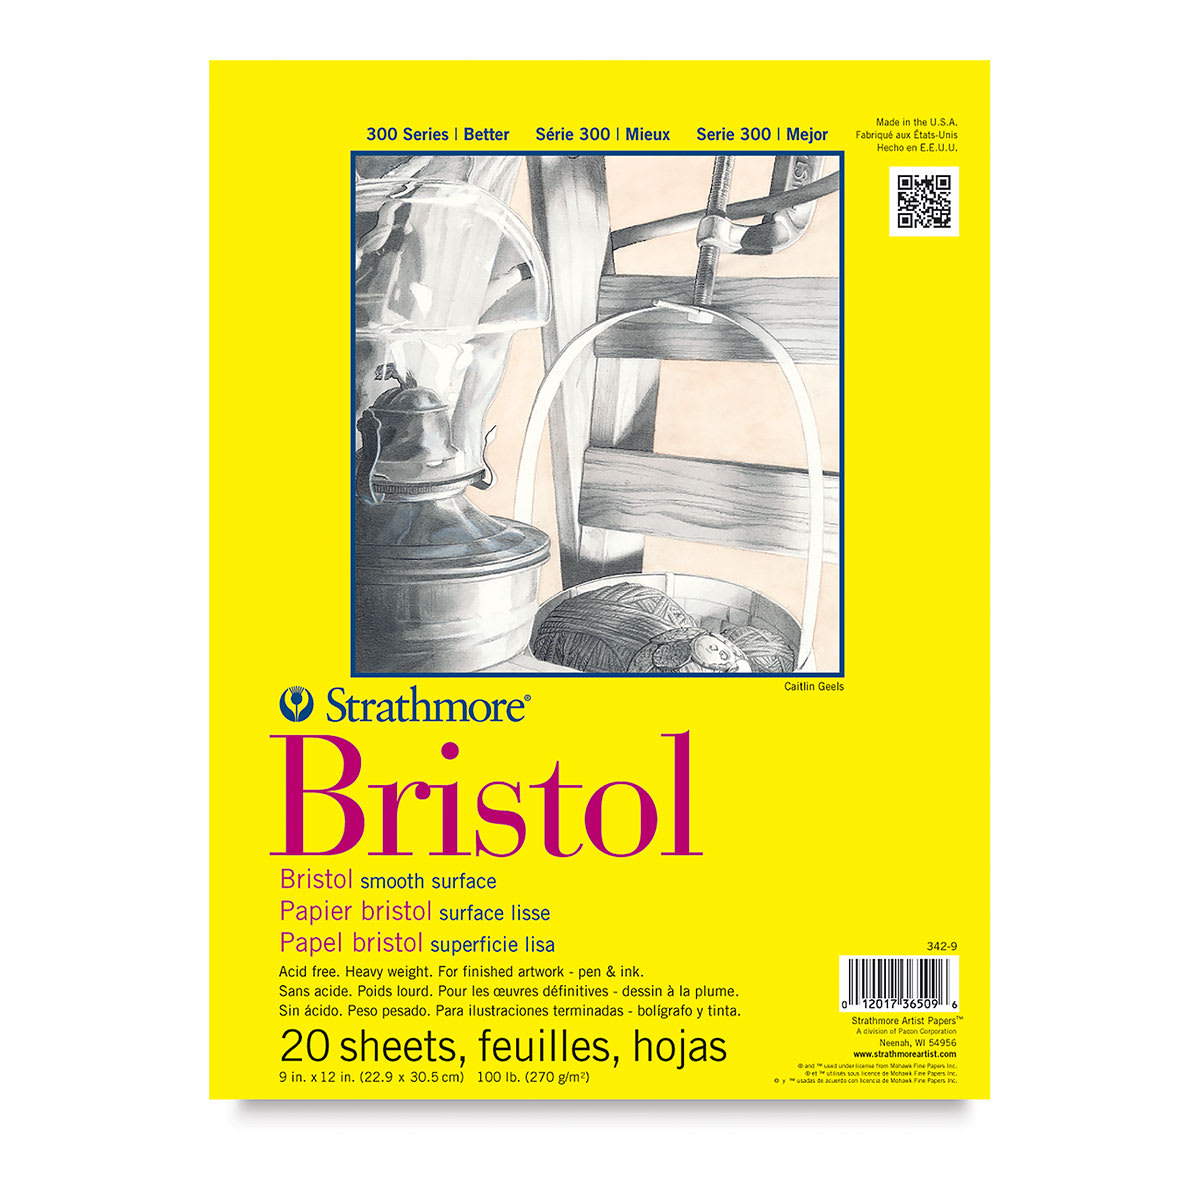
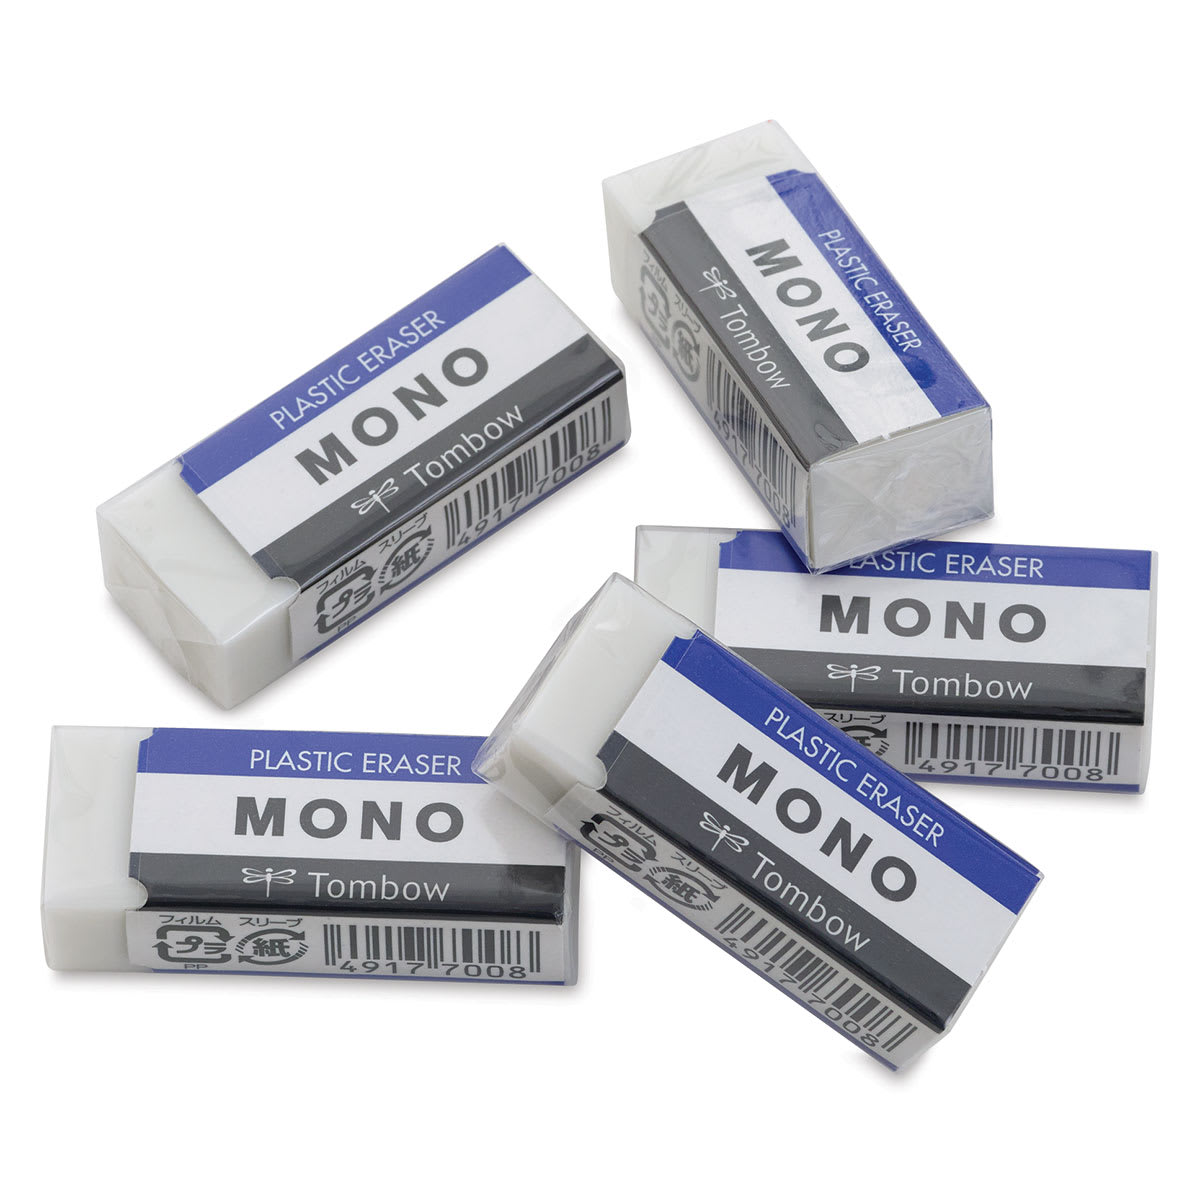
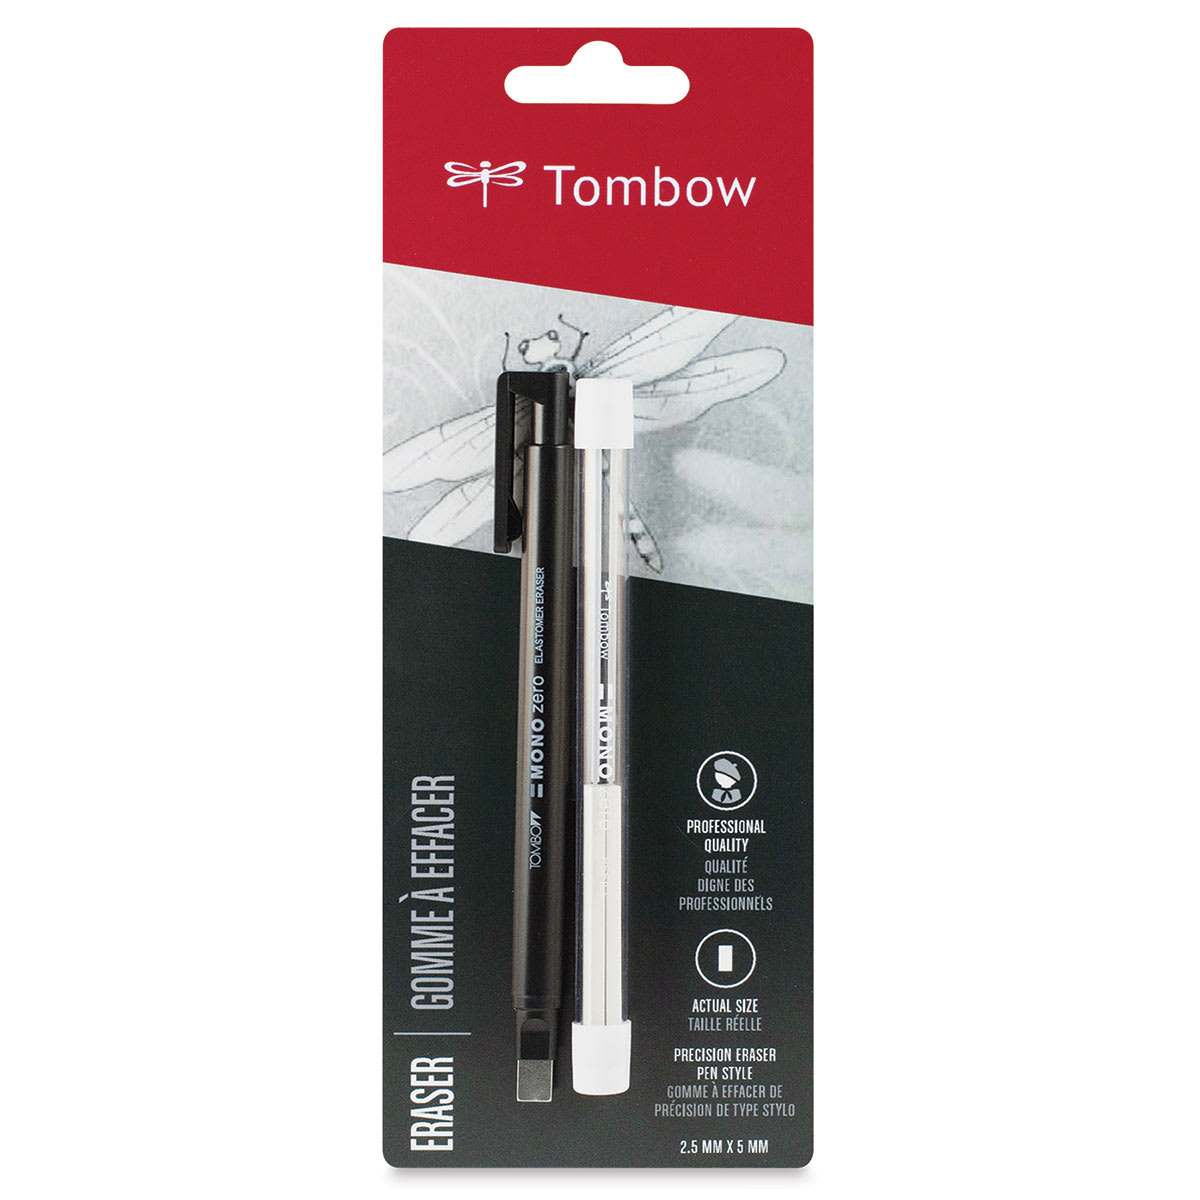
Materials You'll NeedBefore starting, gather these basic drawing supplies from Blick Art Materials. |
||
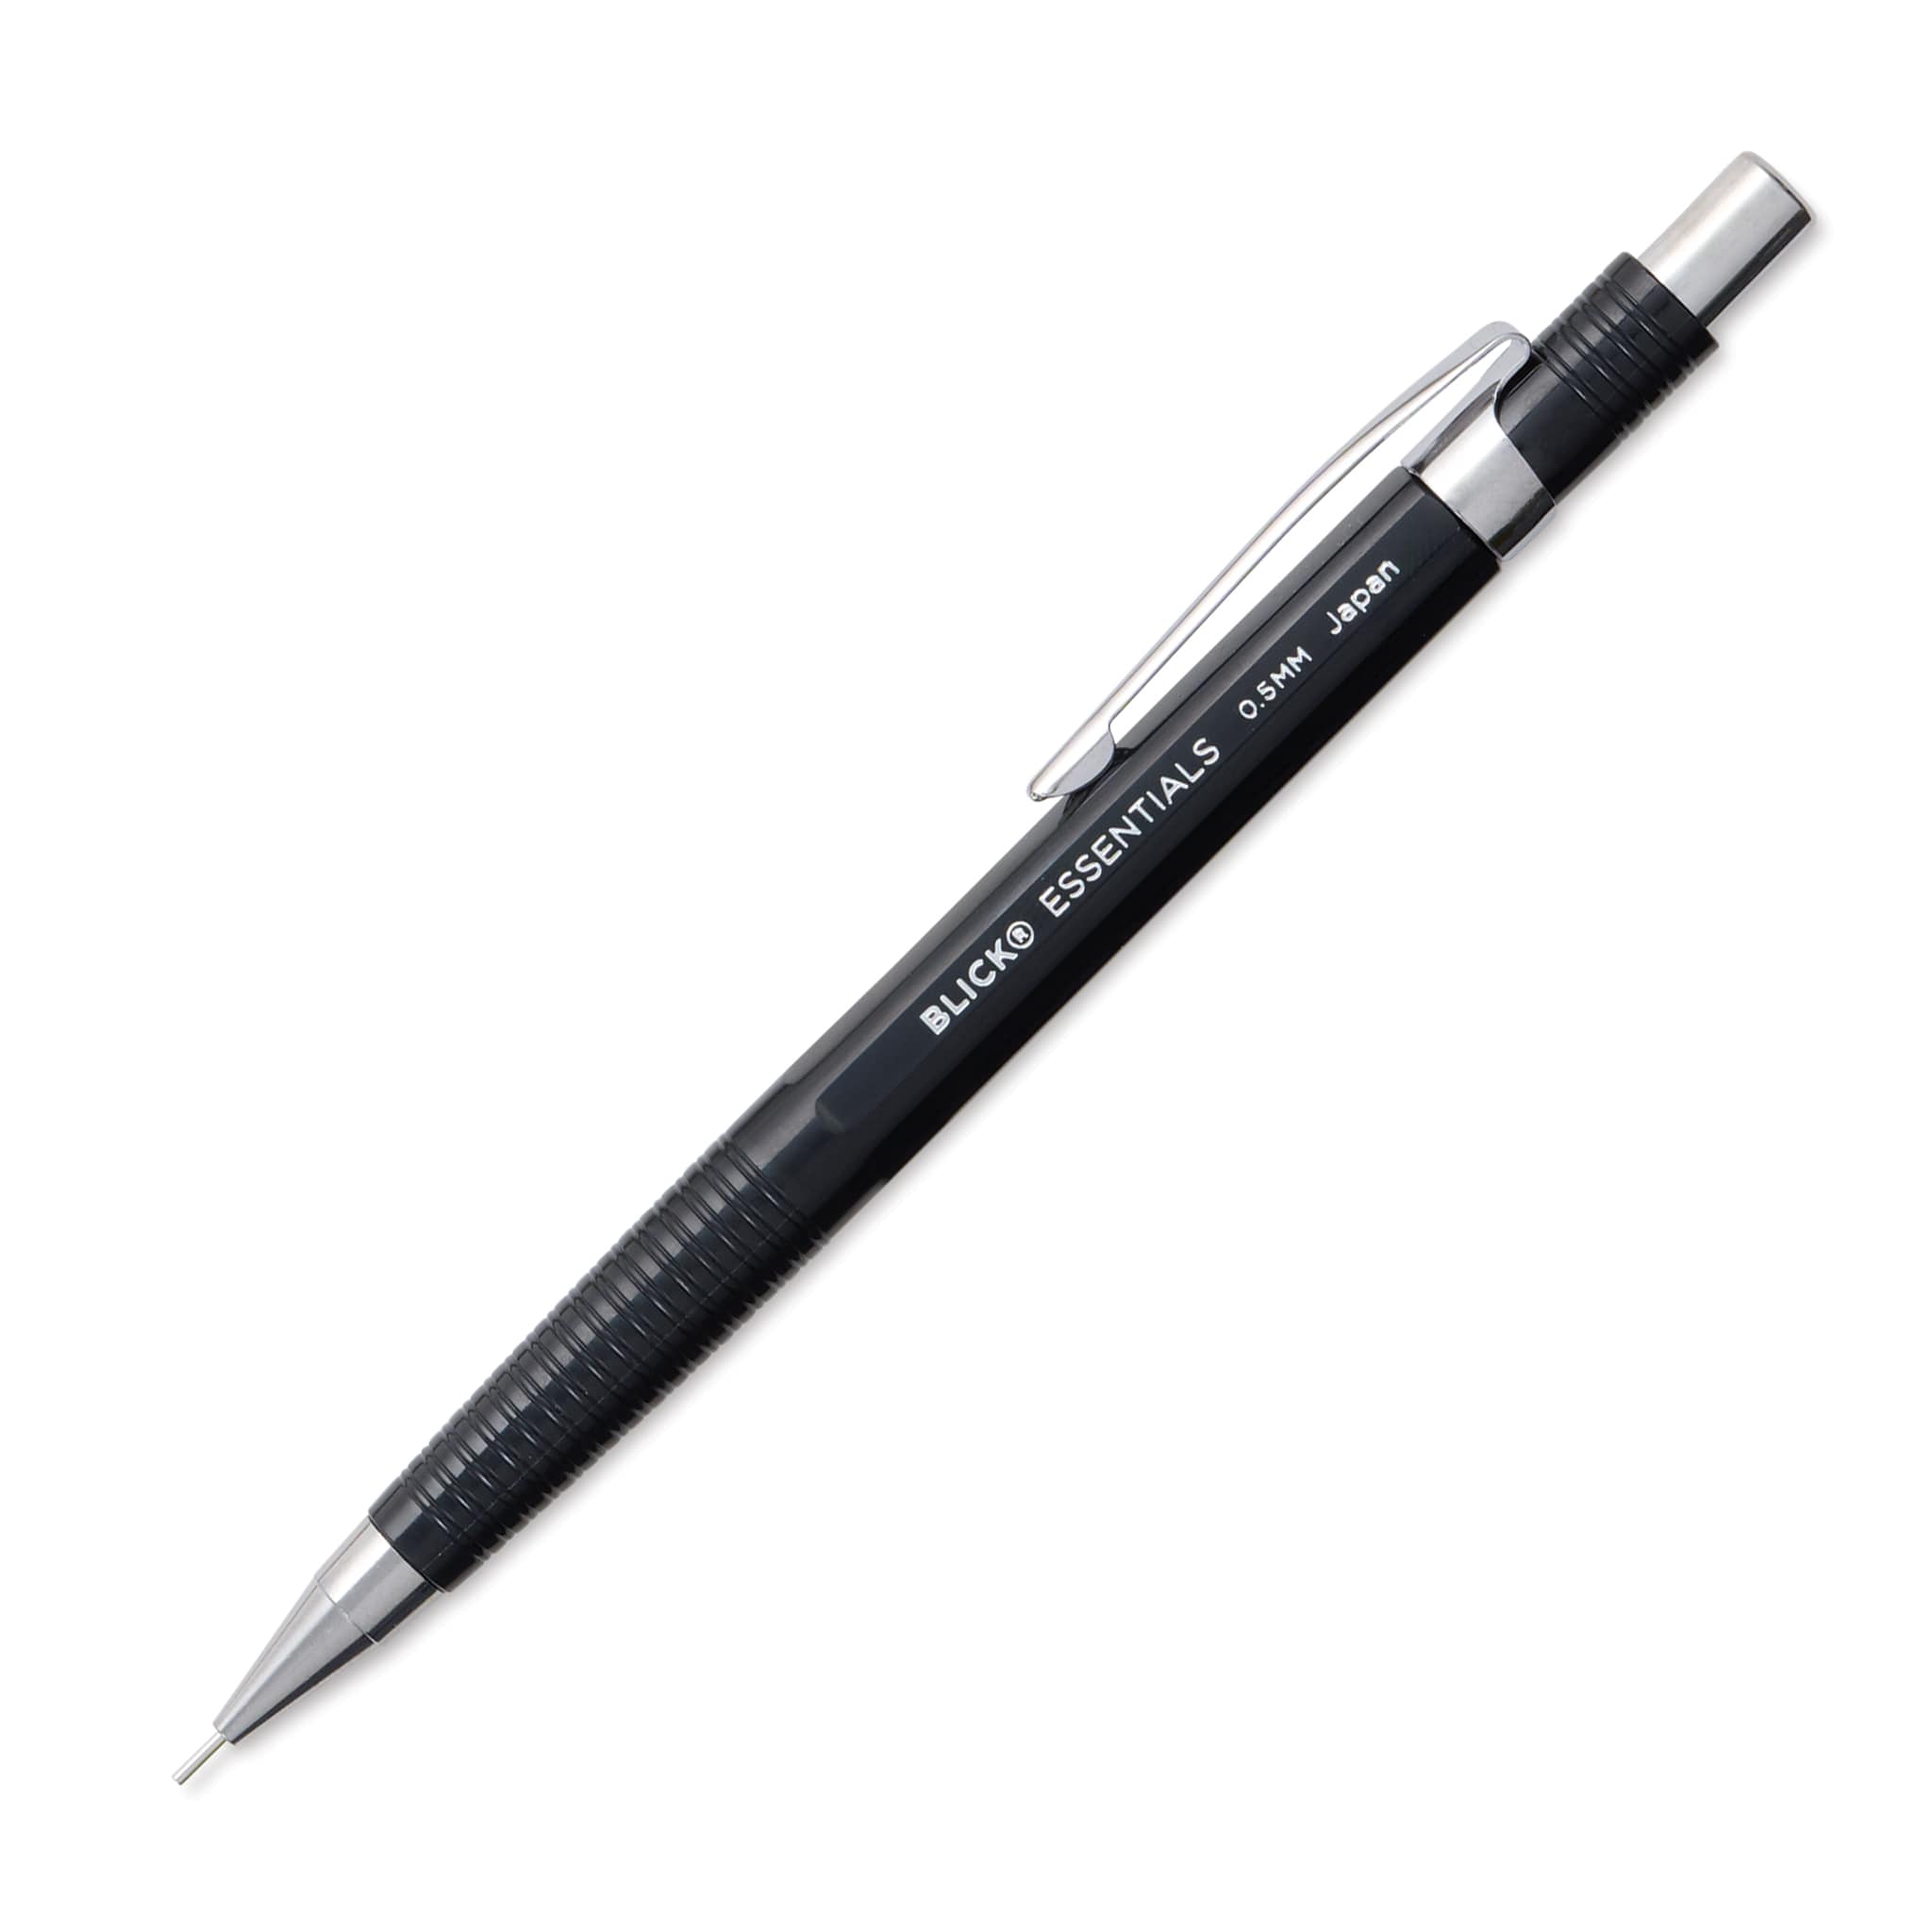 |
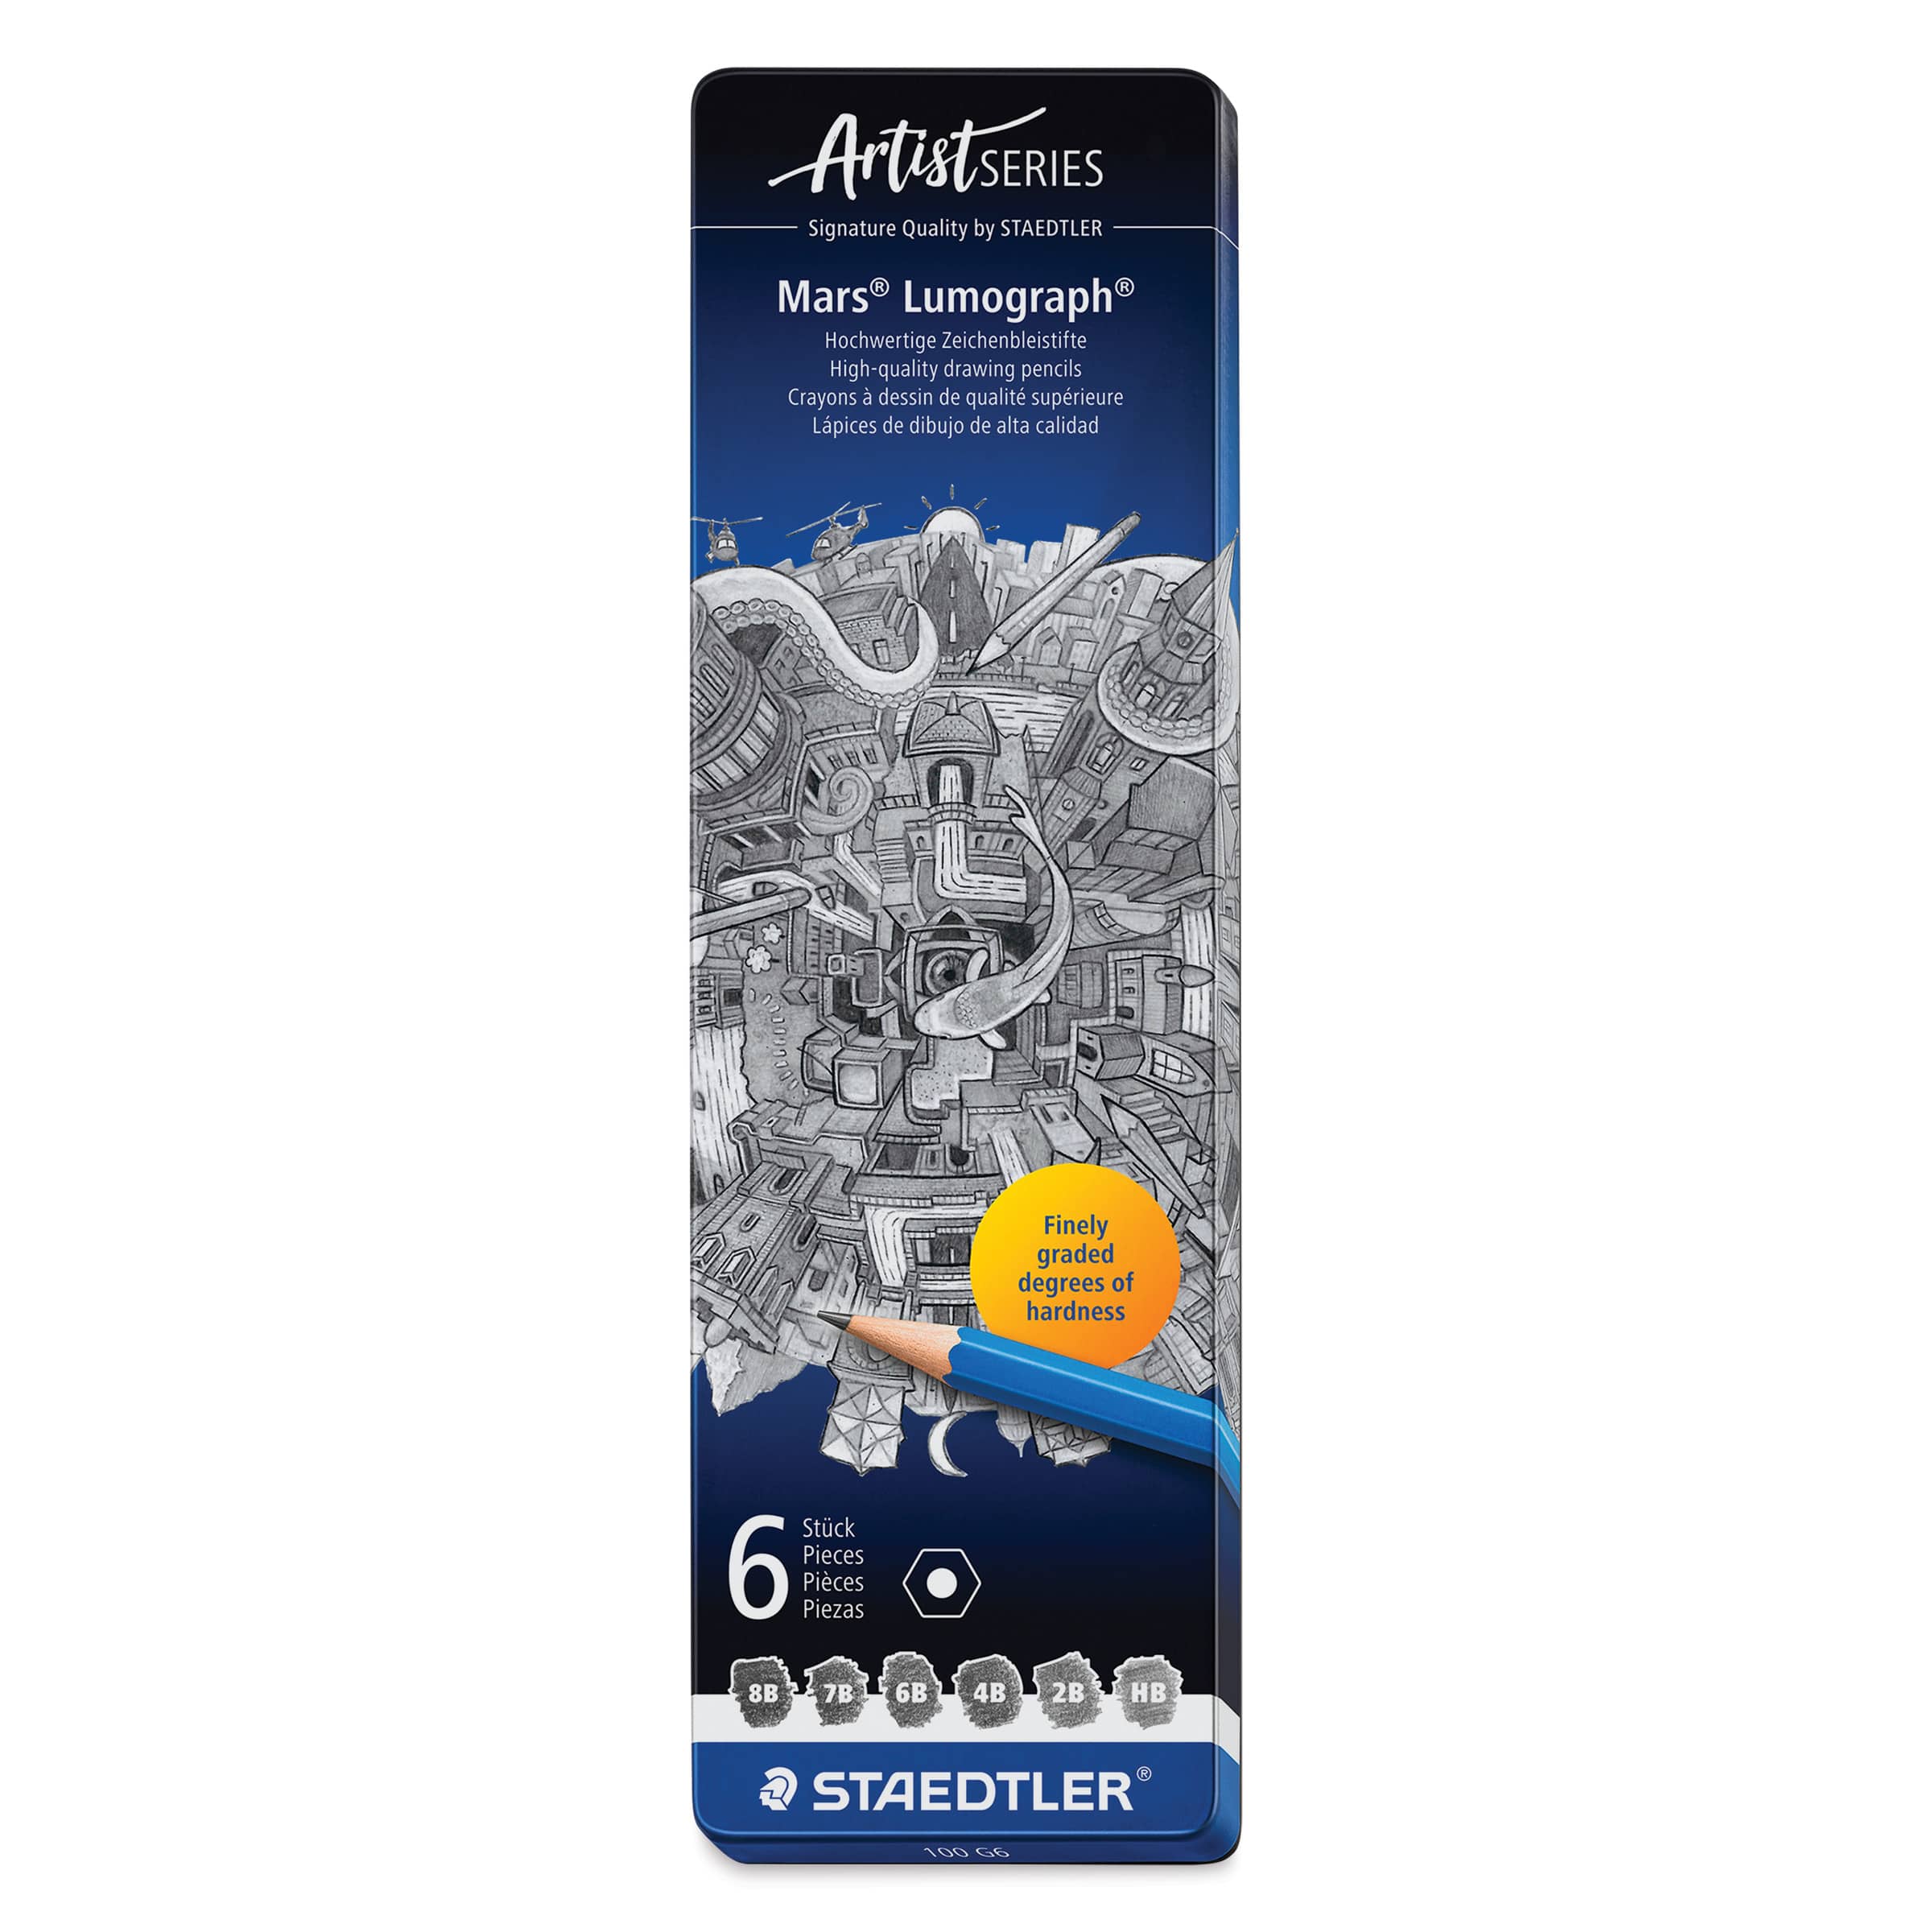 (an HB lead pencil is best for light sketches) |
 |
 |
 |
 |

Step 1: Create the Initial Guidelines Sketch
Before diving into the detailed elements, establish the scale and proportions of the animal portrait using a series of basic shapes. Sketch these guidelines very lightly so they are easy to erase later.
Proportional Guides
- The Head Circle: Draw a circle as a guide for the main part of the head. An easy way to draw it is to make small marks for the height and width, then connect them using smooth, light curves. It does not have to be flawless; you can trace the outer edge of a coin or a bottle cap if you have trouble.
- Facial Construction Lines: Inside the circle, draw a curved horizontal line slightly higher than the center to position the features later. Add a curved vertical line slightly farther to the left than the center.
- The Muzzle Circle: On the bottom half of the head, sketch a smaller circle. Pay attention to its relative size; the bottom left side should stick out past the main head boundary.
Ears, Neck, and Antlers
- The Ears: On the top right side, draw a big shape with a pointy tip using sloping curves. Sketch a similar, slightly smaller shape on the left side to account for the angle of the head.
- The Neck: Underneath the head circle, draw a couple of curved lines extending downward, curving inward slightly at the very bottom.
- The Antlers: Above the right ear, draw a very long curved line extending right and then up. Mirror this above the left ear, curving it left and then up. Keep the top tips level with one another.

Step 2: Draw the Eyes and Mouth
With your baseline framework set, start locking in the foundational features of the face using fine line work.
Facial Features
- The Eyes: Sketch two small circles resting directly on top of the horizontal guide line, split by the vertical line. The left eye sits near the outer edge. Once placed correctly, darken them and make the corners pointy. The inner corner points down toward the muzzle while the outer corner points toward the ear. Add creases above and below the lids.
- The Highlights: Inside each eye circle, add a tiny, white highlight circle close to the outer edge to bring the look to life.
- The Thick Brows: Draw a long, curved, stylized brow line above each eye following the natural path of the head circle, using short angled strokes to emphasize their volume.
- The Nose and Muzzle: Place a large oval for the nose near the left edge of the muzzle guide. Darken the top with a wavy line, use small half-circles on the sides for nostrils, and keep the bottom flat. Directly underneath, draw a clean horizontal line for the mouth, adding short lines under the nose for color separation and a wavy line along the baseline for the chin.

Step 3: Sketch in the Antlers
Build up the thick, branched antler framework by using your initial lines as central tracks.
Antler Development
- The Main Left Antler: Darken the lower section of your left guide line, adding a small curved base line. Track along the guide with a parallel line to thicken the structure, keeping the top tip thin and pointy.
- The Left Branches: Sketch a small branch near the base. Further up, add a large branch using long strokes, and draw an overlapping, sloping branch that crosses over the lower structure. Keep the thickness balanced.
- The Main Right Antler: Darken the bottom portion of the right track, pulling a parallel line upward to widen the beam before finishing it into a pointy tip.
- The Right Branches: Draw a long curved branch near the midpoint that bends slightly. Add a smaller branch to the right side that overlaps it, followed by a sloping branch near the middle and a short branch near the base. Darken all final lines once the composition is balanced.

Step 4: Sketch the Rest of the Head and Ears
Flesh out the primary anatomy by connecting your facial elements together into a clean, structured portrait.
- The Crown: Track along the top edge of your original head circle, flattening out the upper contour slightly to form the crown.
- The Left Profile: Draw a clean, inset curve linking the eye down to the muzzle, making the face look thinner than the guide circle.
- The Right Profile and Jaw: Add sharp, angled lines next to the right eye for bony structure, then follow the lower path of the guide circle to finalize the jaw line, curving it upward on the right to show definition.
- The Ear Details: Darken the outlines of both ears. Inside each opening, add multiple short, soft, curved lines to create a realistic fur texture.

Step 5: Add Any Other Details
Incorporate supporting structural lines to anchor your portrait before moving into the final stages.
- The Neck Creases: Darken the outer borders of the neck guidelines, breaking the lines up into organic, overlapping curves to hint at soft skin folds.
- The Muzzle Definition: Sketch a couple of long, sloping parallel lines running from the forehead down the bridge of the nose to bring out the shape of the muzzle.
- The Forehead Creases: Add a handful of small, concentrated lines directly above the eyes to darken the brows and build a regal expression.

Step 6: Begin Shading Your Drawing
Clean up the artwork and start layering values to bring volume and depth to your sketch.
- The Cleanup: Use a fine click eraser to clear out the initial construction circles from between your detailed line work. Touch up final lines you want to keep.
- The Pupils: Switch to a soft graphite pencil, like a 4B, and apply heavy pressure to darken the pupils completely, avoiding the tiny highlight circles.
- The Soft Undercoat: Grab a harder graphite pencil, like an HB, and lay down a light, smooth tone over the face and neck, keeping it softer than the eyes.
- The Dark Muzzle: Work dark values onto the tip of the muzzle and across the nose leather, leaving thin, unshaded gaps on the bridge to serve as bright glares.

Step 7: Continue Shading and Outlining Details
Establish your light source and introduce shadows to transform your drawing into a dimensional portrait.
- The Overhead Light Source: Imagine your light coming down from the top, meaning your deepest shadows will sit underneath the ears, chin, and brows.
- The Antler Depth: Shade along the lower edges of the antler beams, keeping the top boundaries light to retain clear highlights.
- The Line Re-emphasis: Re-trace your primary contours with a dark pencil to pull your line work forward against the smooth gray tones. Use a scrap piece of paper under your hand to block any smudging.

Step 8: Add a Border Behind Your Deer
Introduce a striking graphic backdrop to pull the viewer's focus directly into the center of your artwork.
- The Frame Guidelines: Align a ruler behind the animal head and sketch a large, balanced rectangle as a graphic background frame.
- The Contrast Layer: Use a light pencil grade to fill the entire background frame with a smooth, consistent tone. This mid-tone contrast will instantly make the deer's silhouette pop.

Step 9: Finalize Your Drawing
Tie your piece together by refining the coat textures and deepening the overall value range.
- The Fur Pattern: Lay down a series of short, quick, directional pencil strokes across the head and neck to build up a believable fur coat texture.
- The Graphic Outline: Trace around the outer silhouette of the entire animal with a thick, solid line to complete its graphic style. Balance out your shades until you are completely satisfied.

Buy My Step-by-Step Art Books on Amazon!
If you enjoyed drawing with me and want to expand your artistic skills, please consider checking out my step-by-step drawing books on Amazon! My books break down a wide variety of animals into simple geometric shapes, making it easy and fun for artists of any skill level to follow along. Every purchase directly helps support this site so I can keep creating high-quality, free tutorials for the art community.
Click Here to Order Your Copy Today!
This is an Amazon affiliate link. If you choose to purchase through this link, I earn a small commission at no extra cost to you.
Thanks for visiting! Subscribe to the How2DrawAnimals YouTube Channel for new tutorials every week.
And to learn how to draw cartoons, visit EasyDrawingTutorials.com.
RELATED TUTORIALS
|
|
|
- Details
- Written by: CCP User
- Category: Animals
- Hits: 54
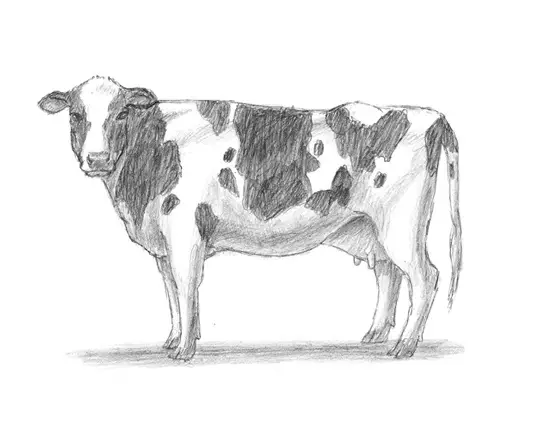
Use the step-by-step instructions below to learn how to draw a Cow. Follow along with the video, or use the images in this article. By the end of this tutorial, even beginners will have a completed drawing of this animal!
Love drawing? Keep your artistic streak going and enjoy more free art lessons by:
- Bookmarking the How2DrawAnimals.com homepage for updates
- Subscribing to the How2DrawAnimals YouTube channel
- Visiting EasyDrawingTutorials.com for tons of free cartoon tutorials
This page contains affiliate links. If you choose to purchase through these links, I earn a small commission at no extra cost to you.
RELATED TUTORIALS
 |
 |
 |
To draw this cow step by step, follow along with the video tutorial below and pause the video after each step to go at your own pace. You may find it easier to follow the step-by-step images below the video. You may want to open the video in a new tab and use both drawing methods.
Materials You'll NeedBefore starting, gather these basic drawing supplies from Blick Art Materials. |
||
 (an HB lead pencil is best for light sketches) |
 |
 |
 (or Fine-Line Marker) |
 (or Markers) |
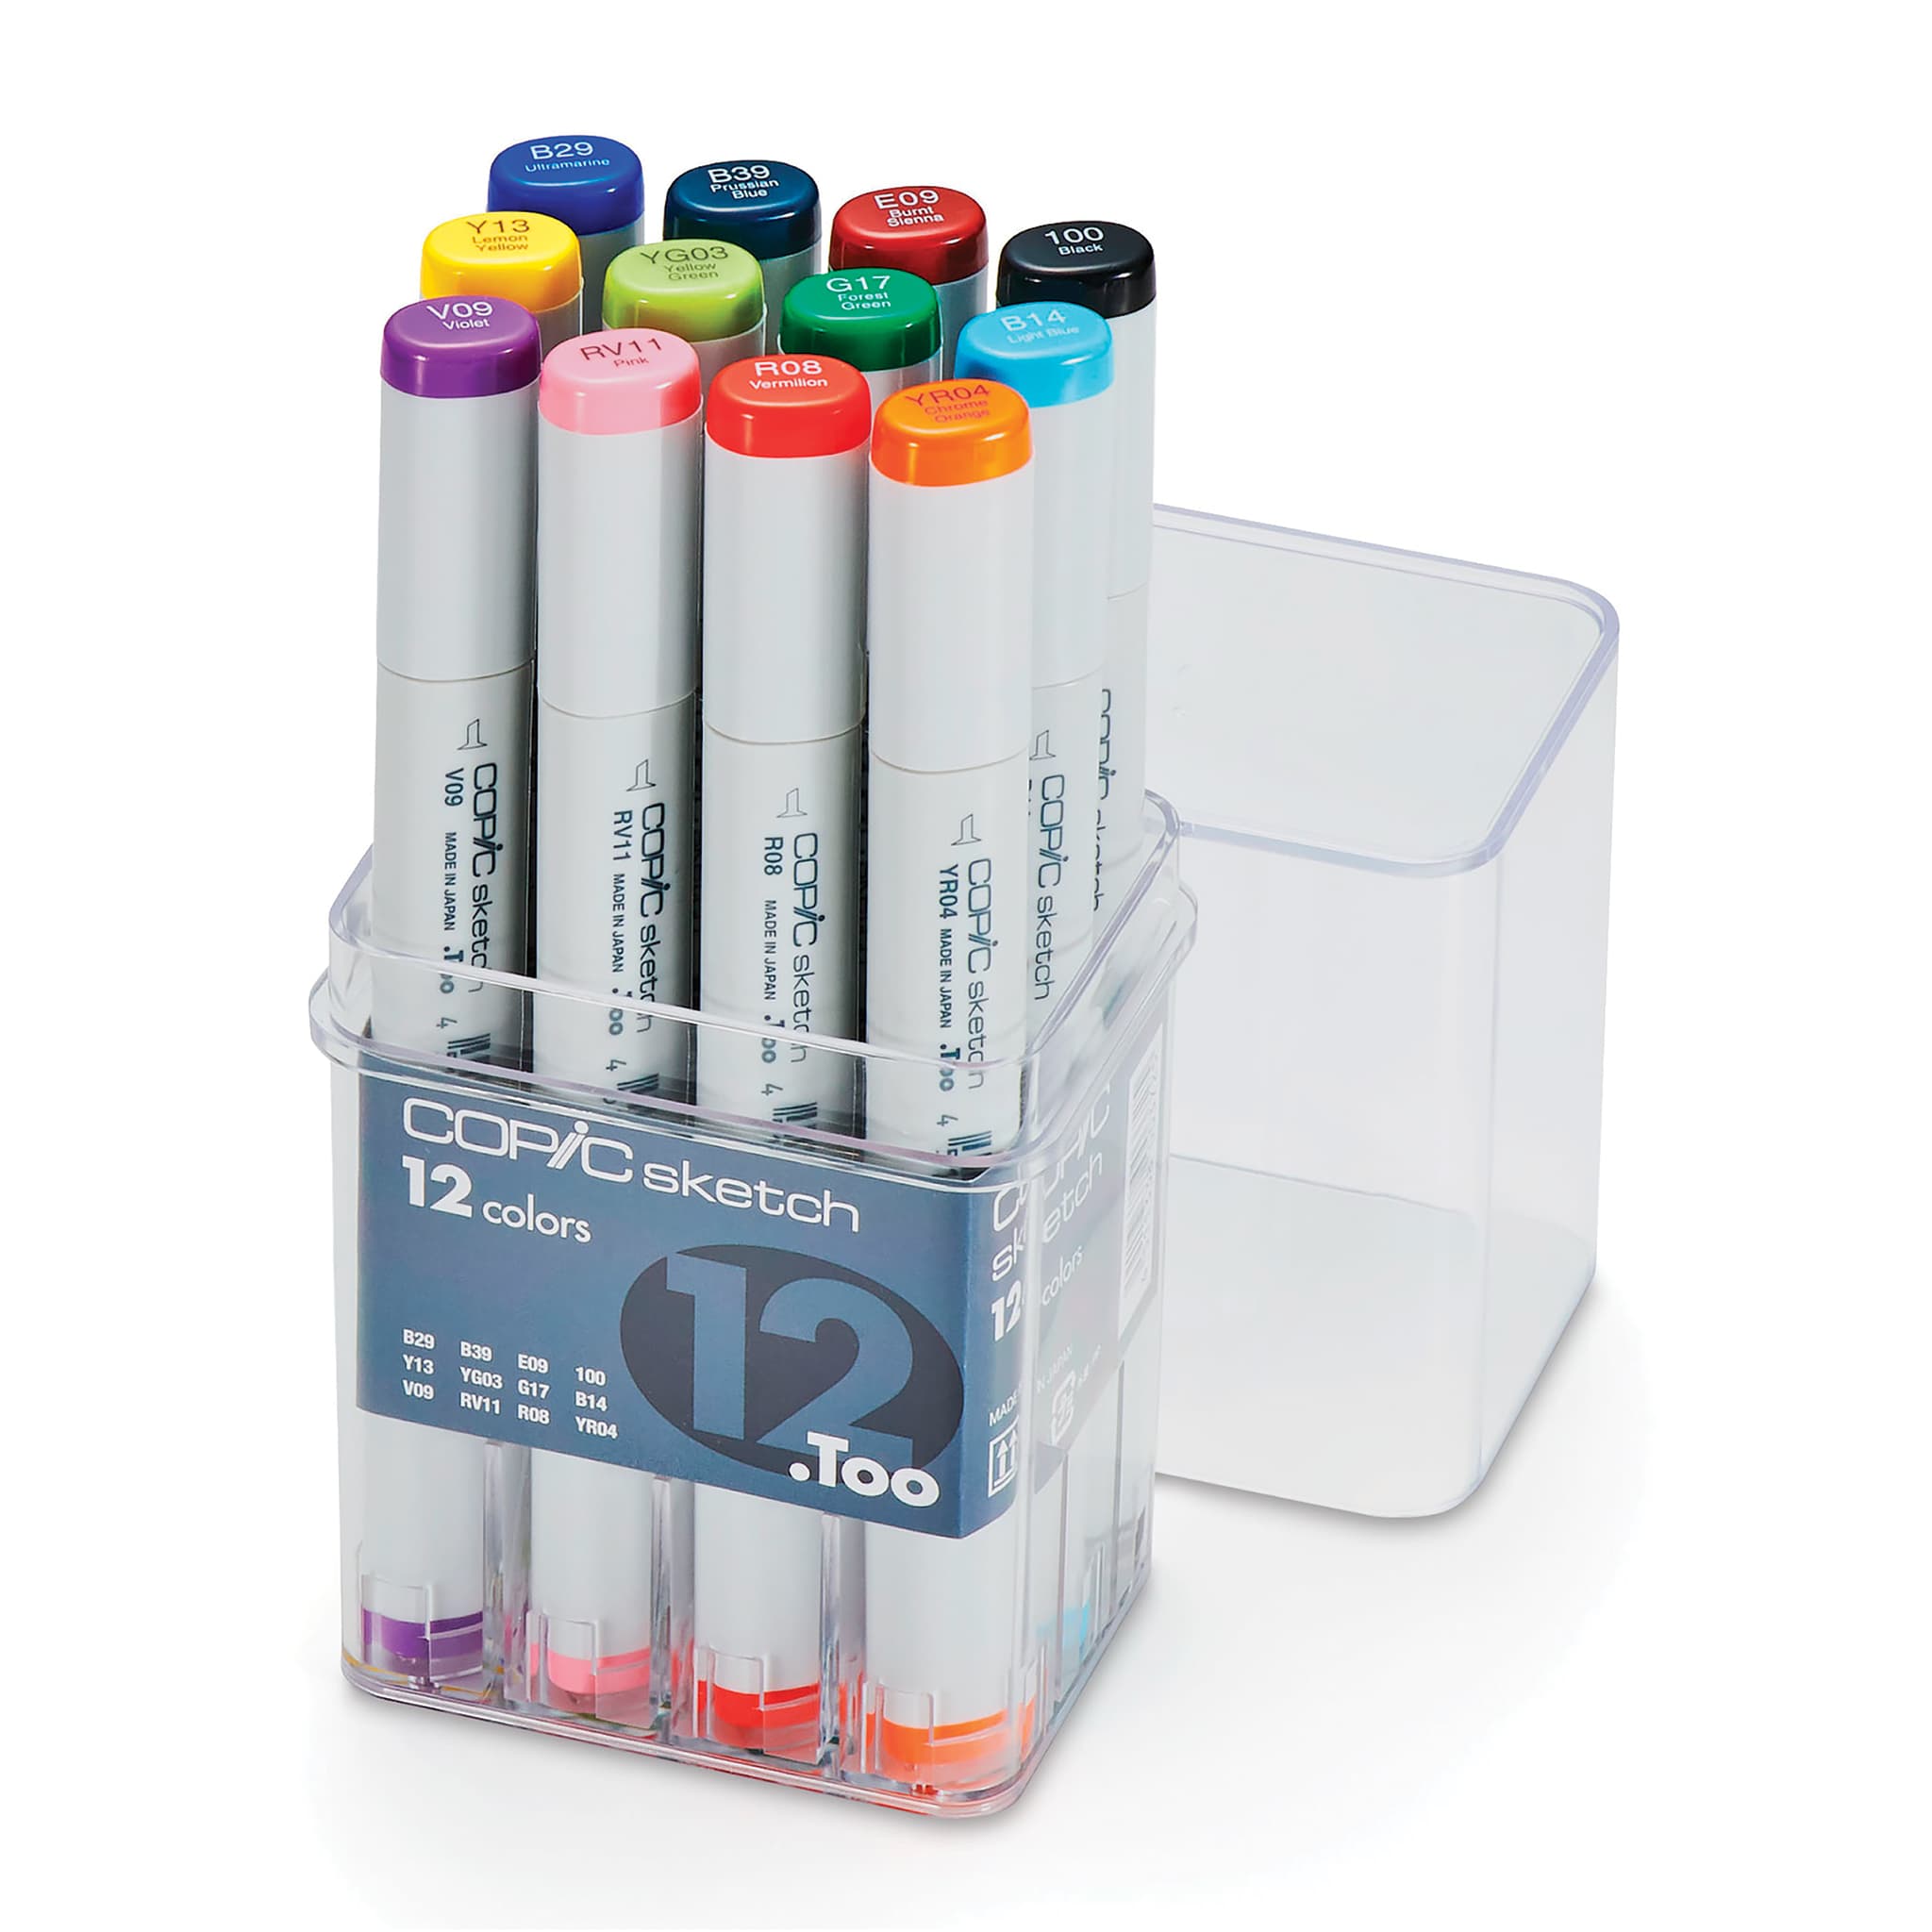 (or Colored Pencils) |
Step 1: Create the Initial Guidelines Sketch, Starting with the Body
Start by drawing a circle as a guide for the front part of the body. Sketch lightly at first so that it's easy to erase if you make a mistake.
Proportional Circles
- Front Body Guide: Make a couple of small marks to indicate the height, then on the sides, make a couple more marks to indicate width. Connect the marks using curved lines. If you're having trouble, it's okay to trace the outer edge of a cup or lid.
- Back Body Guide: To the right, draw another circle using the same small marks method. This circle should be about 2/3 the size of the first circle.
- Head Guide: On the bottom left side, draw a smaller circle for the head. The cow will be grazing, so place this circle slightly below the other two. It should be about 1/4 or 1/5 the size of the first circle.

Step 2: Sketch the Facial Guides
With the main body shapes in place, now you can establish the basic structure for the head details.
Facial Features
- Muzzle: Below the head circle, make a small mark for the first part of the muzzle. Pay attention to the distance from the head, then connect the mark to the circle using a couple of curved lines.
- Construction Line: Draw a long vertical line across the entire head to help place the facial features later.
- Ears: On the top right side of the head, draw a small arc as a guide for the first ear, making it pretty big in relation to the head. To the left, draw another arc tilted slightly to the left for the other ear.
Step 3: Sketch the Legs and Feet Guides
Now sketch out the cow's limbs!
- Front Legs: Under the front part of the body, draw a long vertical line for the front leg, bending it slightly near the top to create a joint. The bottom tip should be somewhat level to the bottom edge of the muzzle. To the left, draw another vertical line for the second front leg.
- Hind Legs: Below the back portion of the body, draw another long vertical line for the hind leg. The legs should be very long in relation to the body. To the left, draw a tilted vertical line for the other hind leg.
- Torso and Neck: Connect the two body circles using a couple of shorter lines to finish the guide for the torso, curving the bottom line to create a big barrel-like shape. Connect the head to the body using a couple of sloping lines to form the neck guide, making the top line longer than the bottom line.

Step 4: Draw the Facial Details
It's time to work on the specific details of the face.
- The Eye: Inside the head, lightly sketch a small oval to the left of the construction guide. Keep the eye small in relation to the head. Once the size and position look right, darken the shape so it resembles a football. Inside, draw a tiny circle for a highlight and add a couple of curved lines around the eye for skin creases. Emphasize the brow shape with a slightly longer curved line above, and add a small curved line at the bottom.
- The Muzzle: Draw the shape of the muzzle along the path of your initial guideline at the bottom, making the left side slightly more angular for the nostril. Inside the muzzle, draw a thin pointy shape for the nostril itself. Curve the line up on the right side to create the mouth, then add a shorter angled line to the right for the visible section of the lower lip.
- The Ears: Darken the arc on the top right side of the head to finalize the first ear, making it slightly narrower at the bottom than your guideline. Draw a couple of short lines within the shape for the opening and furry texture. Repeat this process to darken the arc on the right for the other ear, adding short lines inside for its furry opening.
- Head Structure: At the top, draw a small rectangular shape for the crest of the head, noting that it sits higher than the initial circle. Bend the sides of this shape down toward the ears, and add a few short lines along the bottom of this section for a bit of fur.
- Jaw and Brow: Darken the left side of the head following the path of the guidelines, curving the line a bit more to define the brow structure and keeping it thinner than the initial guide. Connect the bottom part of this line to the muzzle. On the right side, darken the edges of the guides to finish the lower head, curving the line toward the ear to define the strong jaw muscles. Add a couple of lines inside the head for additional structure.

Step 5: Add the Limb Details
With the head complete, we will move down to build the front legs and hooves.
- First Front Leg: Use the second line from the left under the body as a guide. Lightly sketch the shape of the leg around the guideline, keeping the edges close to the guide so the leg remains thin. Make the bottom shape flat for the hoof. Once correct, darken the lines. Add a couple of angled lines at the top to create muscle structure, a curved shape near the middle for a joint, and another small curved shape near the bottom for the lower joint. Finish the flat, square-like hoof at the bottom with a small triangular shape to split it.
- Second Front Leg: Use the line on the far left as a guide to draw the other front leg. Sketch the shape around the guideline to keep it thin, then darken the lines, curving them to build the joints. Since a big part of this leg stays hidden behind the body, only draw the visible section. Add a small triangular shape at the bottom to split the hoof.
- Hind Legs: Use the long line on the far right side as a guide for the main hind leg. Lightly sketch around the guideline, making the top of the leg wider than the bottom. Darken the lines when you are happy with the shape and add a small square-like hoof at the bottom. For the other hind leg, lightly sketch a curved horizontal line near the top to indicate the udder first. Then, follow the path of the sloping line to create a thin leg shape around the guide.

Step 6: Finish Up the Sketch
Now we will complete the sketch of the cow. You can stop here for a super sketchy look, or continue for a more completed drawing.
- Body Outline: Draw the bottom edge of the front part of the body slightly lower than the initial circle to form a big chest. Darken the line on top of the head for the upper neck, extending it inside the big circle before bending it up to create the top part of the body. Make this section slightly higher than the circle to form a hump-like shape. On the right side, draw a couple of angled lines to define the bony section on the back of the body, extending slightly farther away from the initial circle to make the shape wider. Darken the underside of the body and connect the top part to the leg.
- Udder and Tail: Between the legs at the bottom, draw a couple of small U-shaped lines for the teats, then darken the initial line for the rest of the udder, keeping the hidden section out of view. On the right side, draw a couple of sloping lines for the visible section of the tail, finishing with a couple more curved lines at the bottom for the hair at the tip.

Step 7: Ink Final Lines and Erase Leftover Guides
The final stages of this drawing will involve cleaning up the sketch lines and adding realistic colors and value.
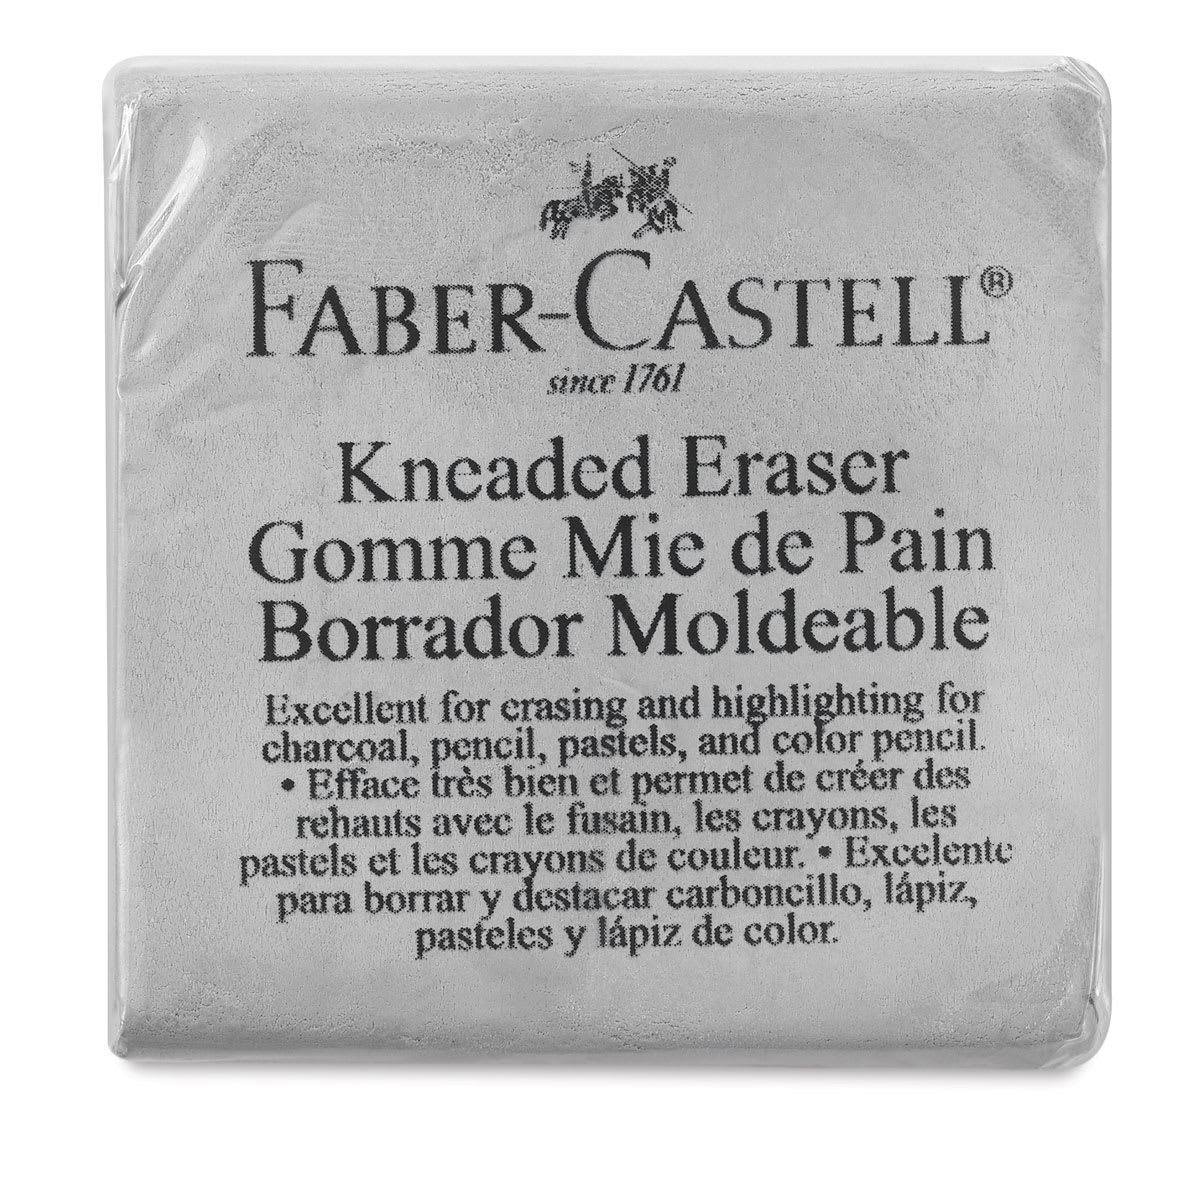
- Cleaning Up: Use a kneaded eraser to lighten and clean up your lines, redrawing any lines you may have accidentally removed.
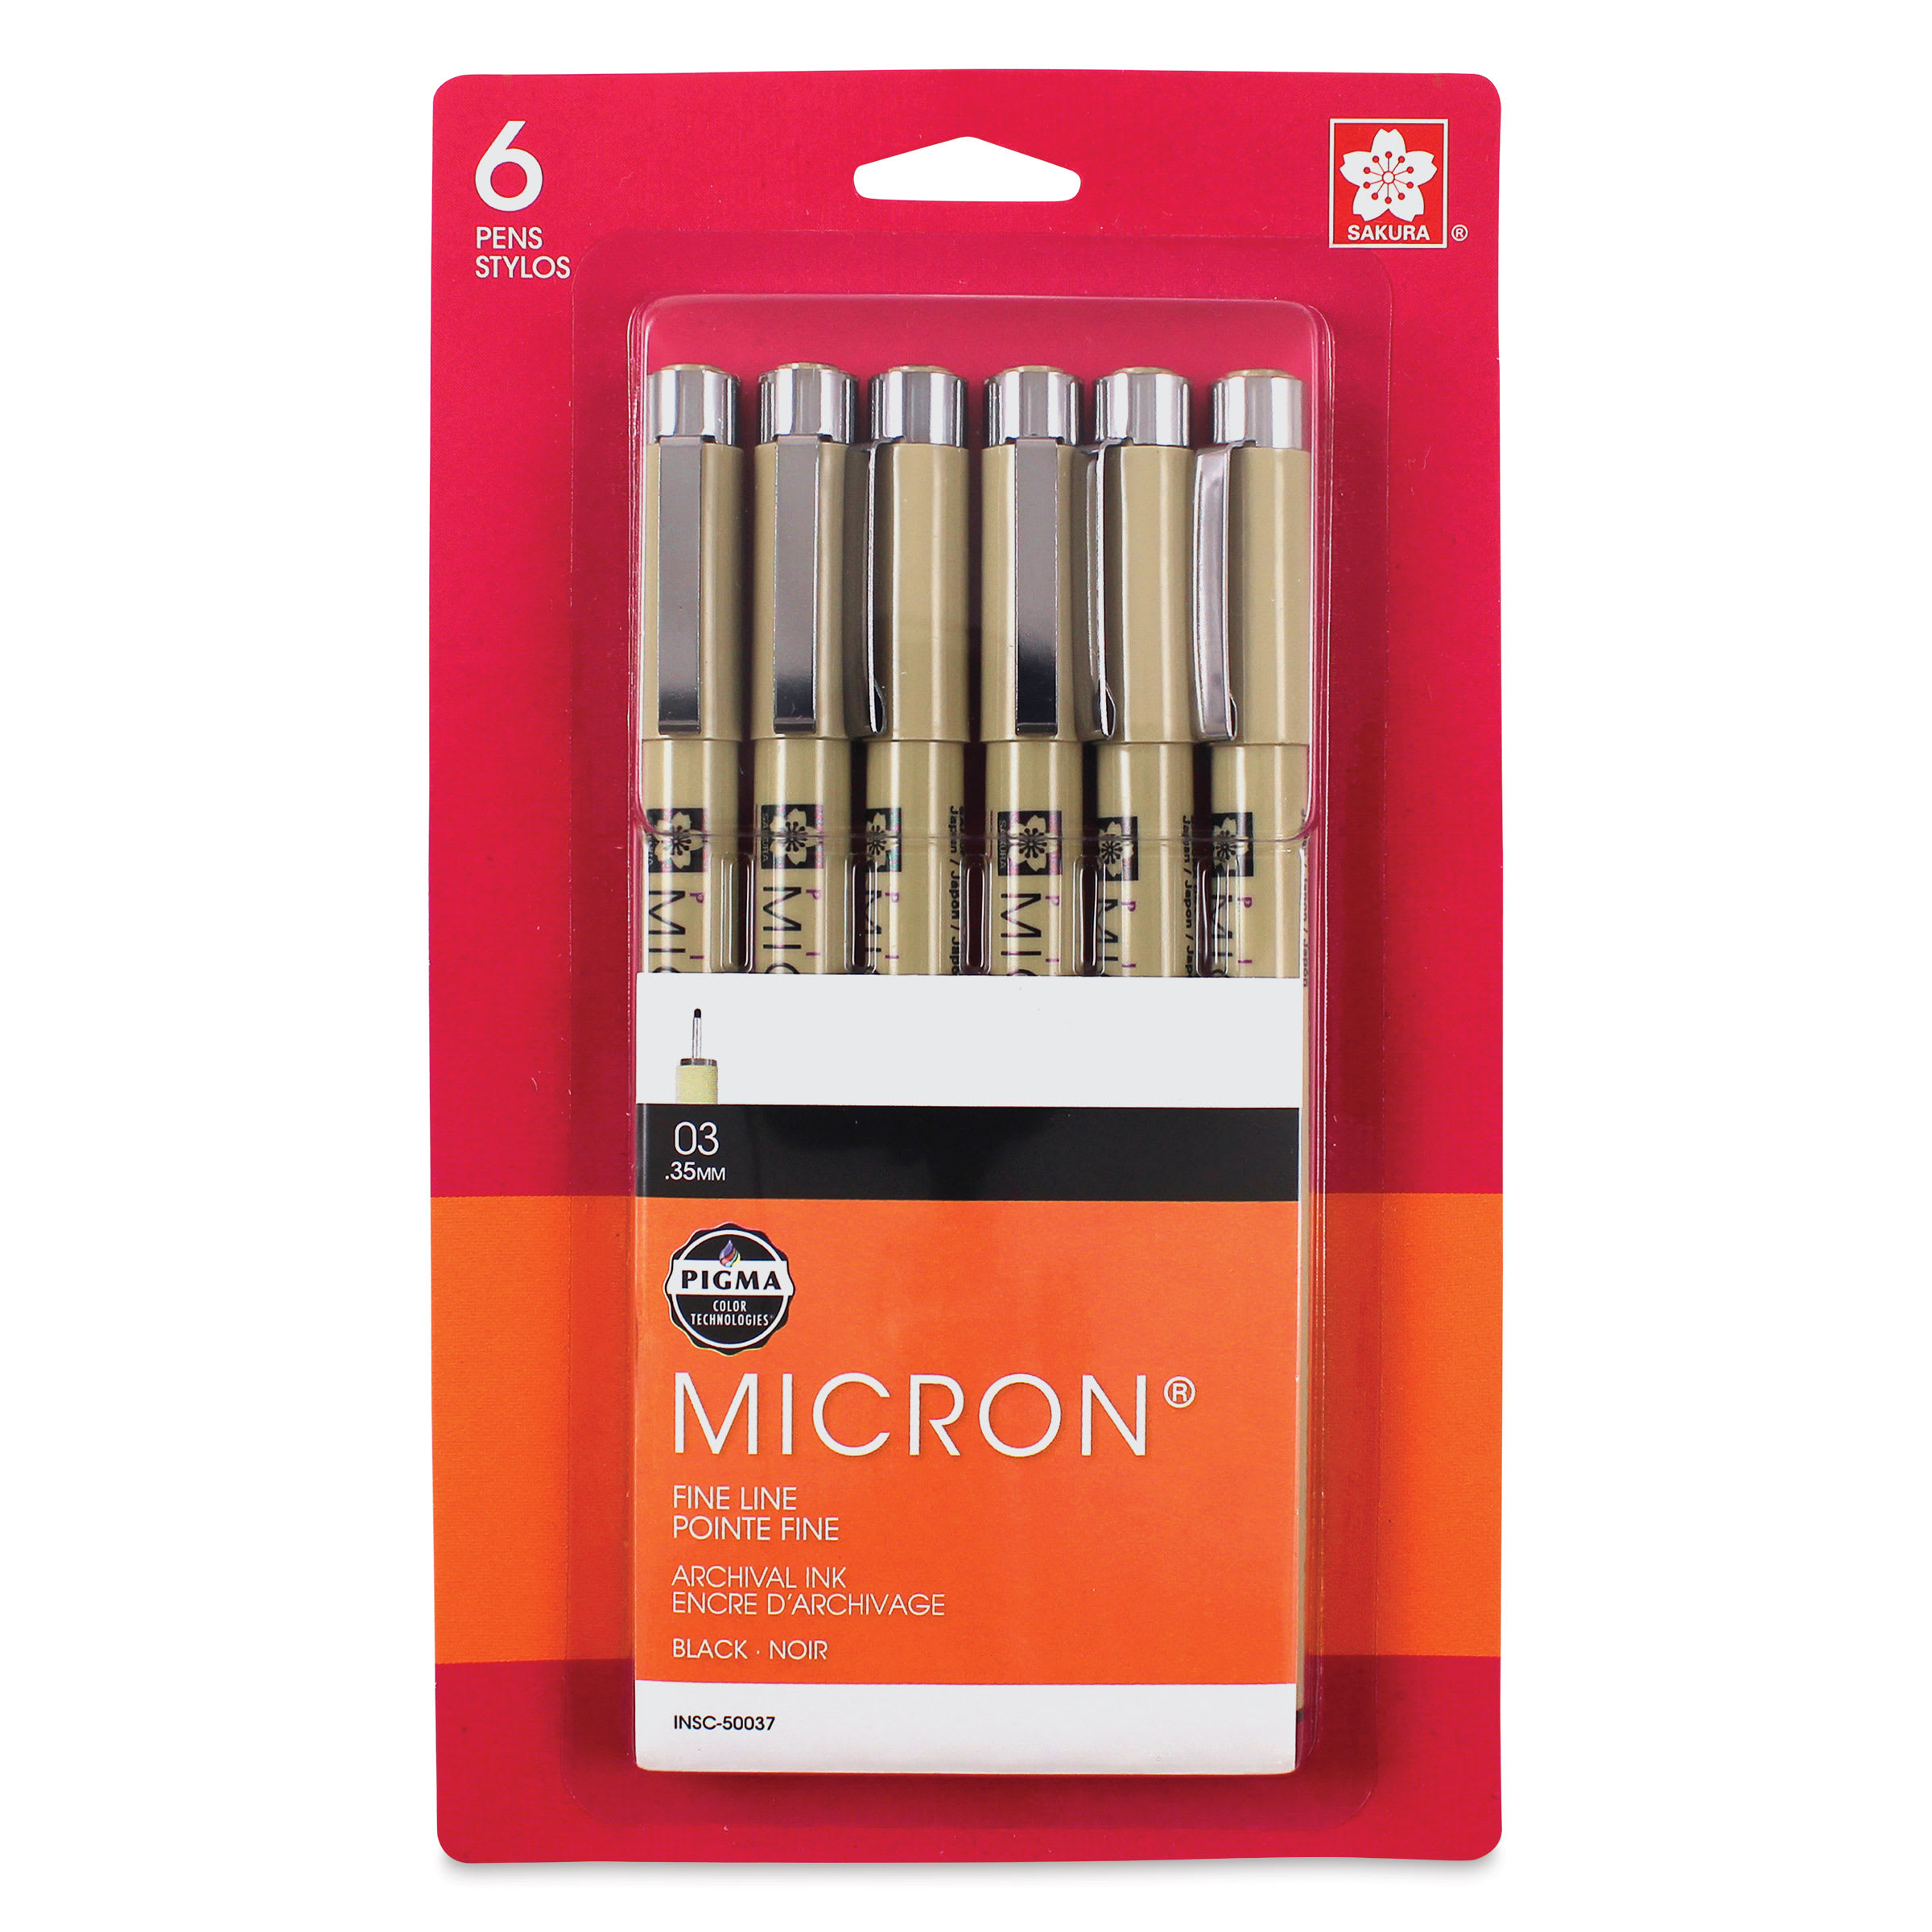
- Inking: Go over the final lines carefully with permanent ink to avoid any accidents. Draw a few short vertical strokes at the bottom to create some grass.
- Erasing: Once the ink dries completely, erase all remaining pencil guidelines.

Step 8: Create the Cow's Pattern
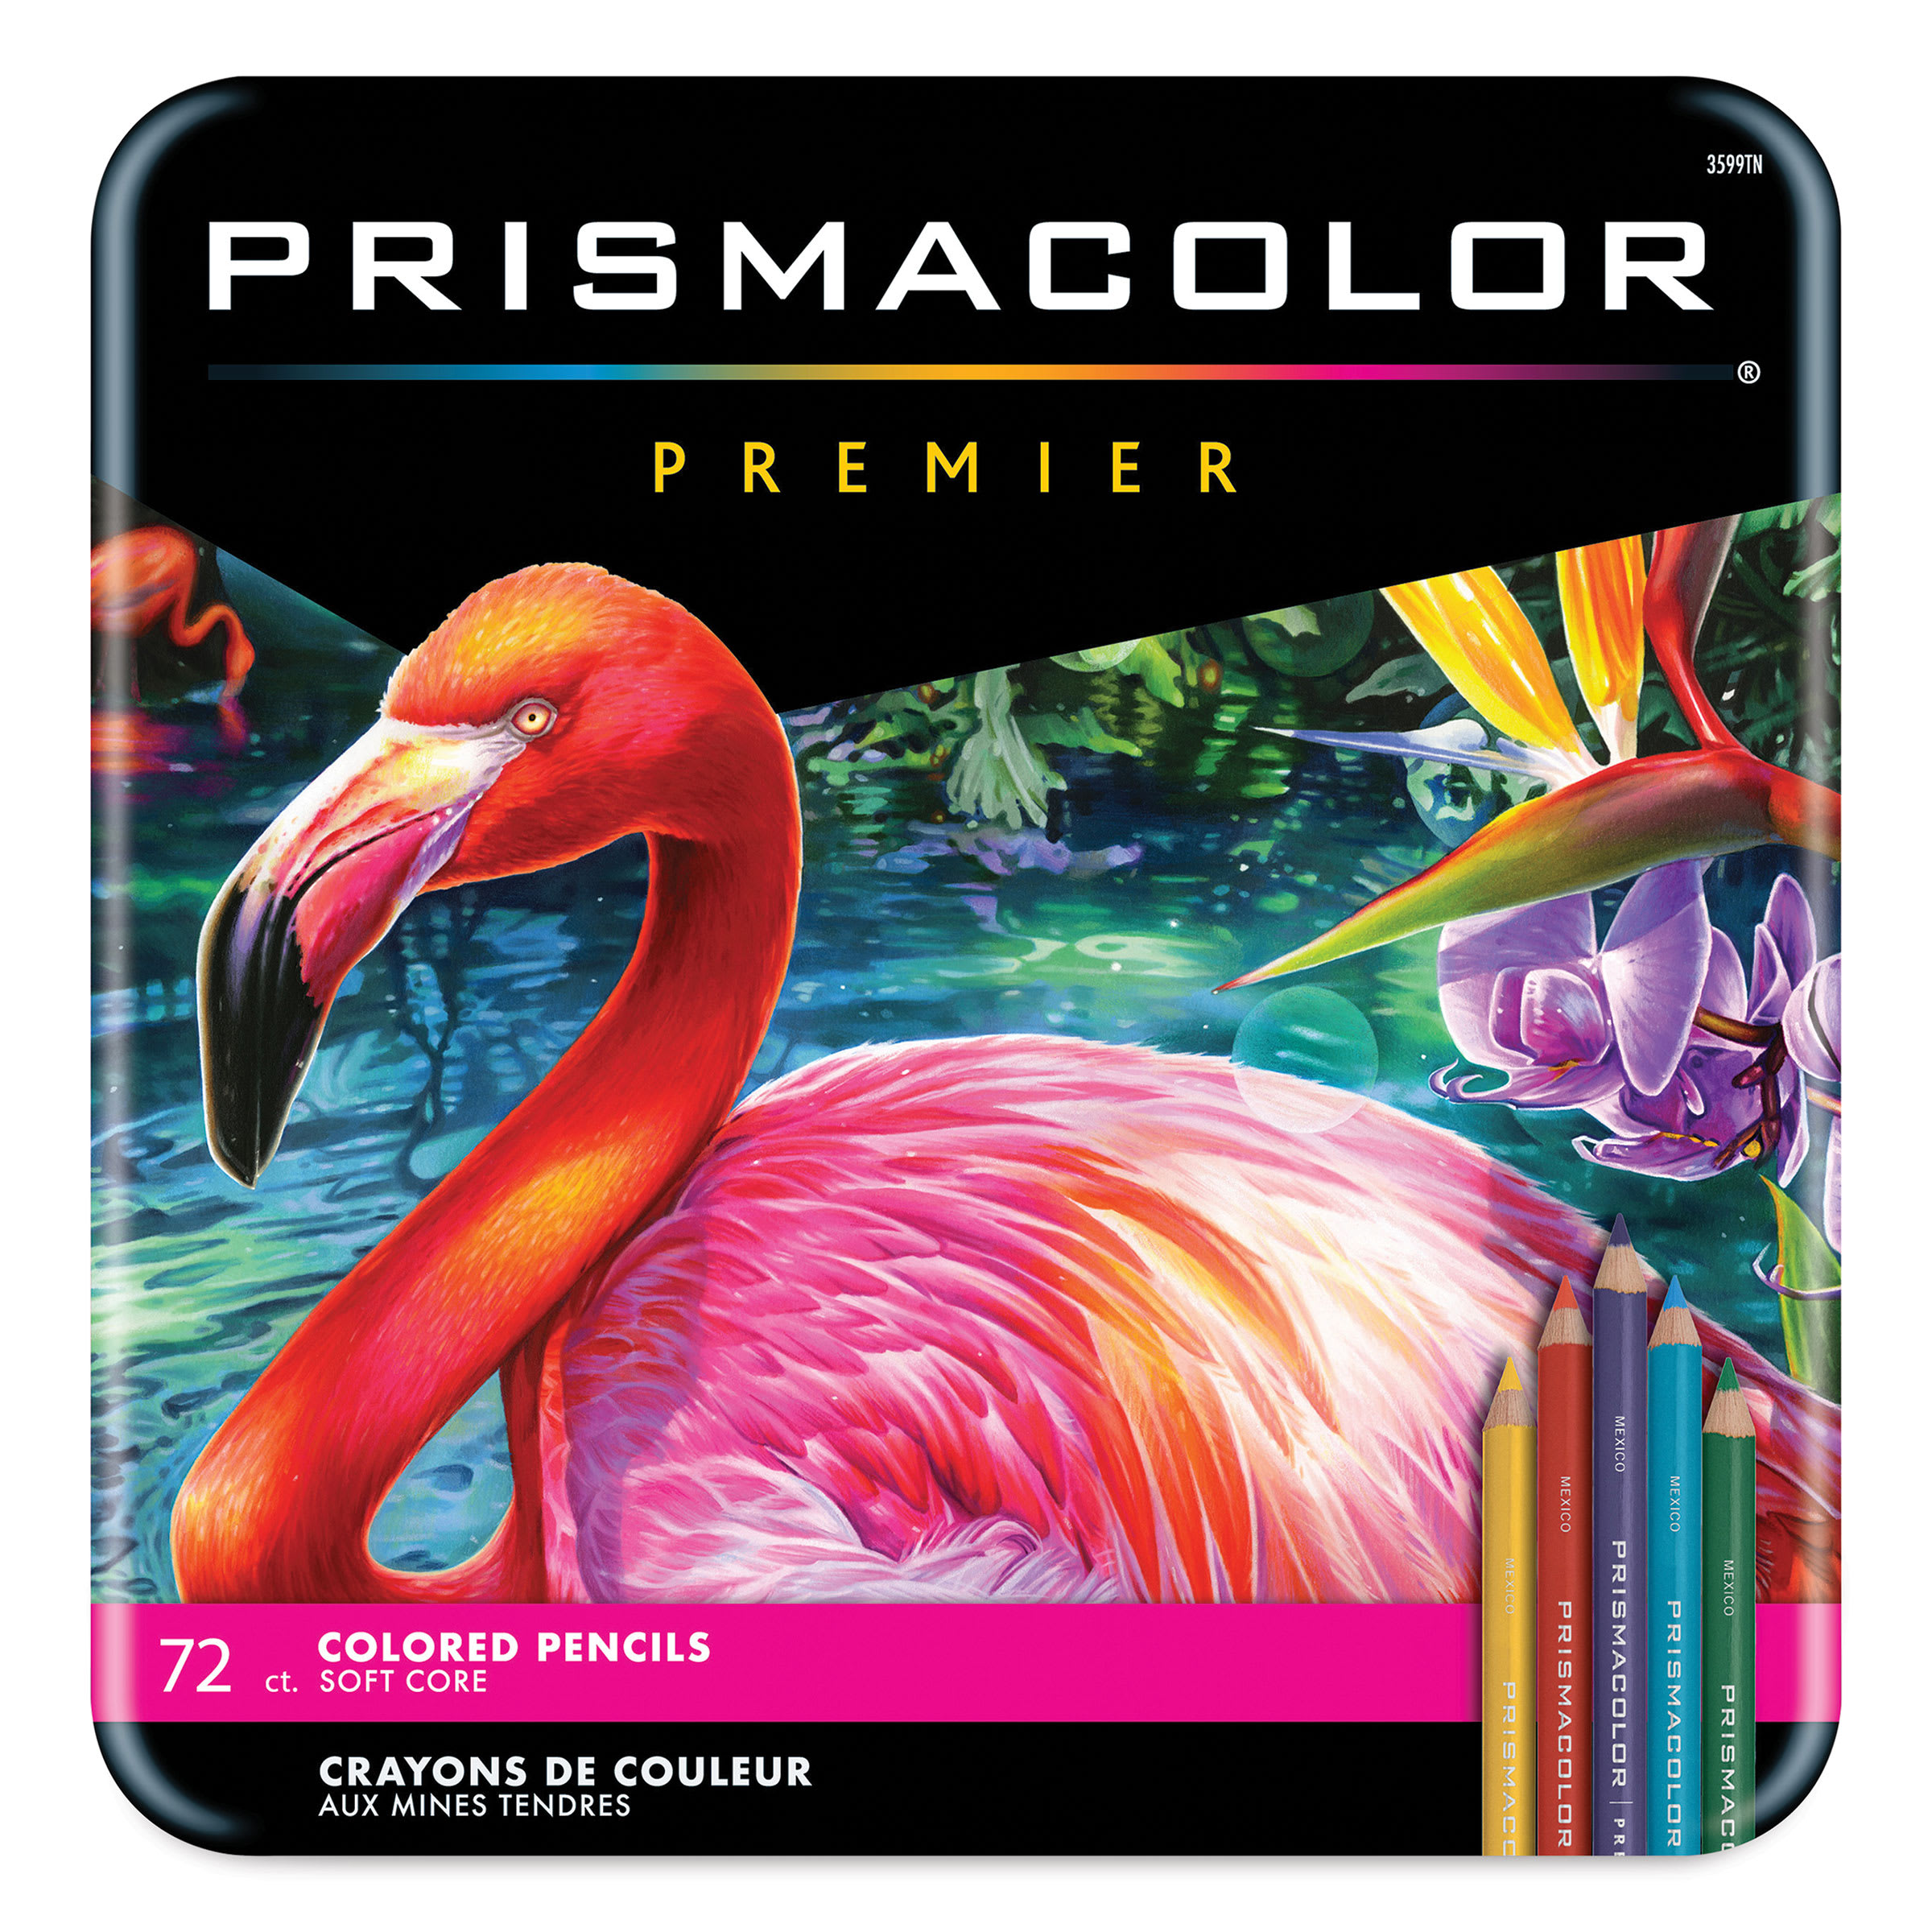
Grab your favorite colored pencils or markers, and start coloring!
- Outlining the Patterns: Use dark gray to outline the pattern across the body. The spots can be added randomly across the body, so they don't have to look exactly like mine.
- Coloring Patterns: Fill in these spot sections using gray. Add a few shadows across the pattern using a darker gray to provide dimension, volume, and to emphasize the muscle structure. Continue adding darker gray to deepen the pattern.

Step 9: Add Final Details, and You're Done!
Keep working until you're happy with your drawing. But be sure not to overwork it! You can always step back and assess your drawing later on with fresh eyes.
- Using Pink and Brown: Apply a bit of light pink on the muzzle and the udder, and add a light brown on the tail.
- Shading and Final Touches: Use light brown across the white sections of the body for additional shadows, starting with light shades and gradually building up to darker ones. Slowly add darker gray to create deep shadows on the body. Keep your shadows consistent by picking a light source. In this drawing, the light is coming from the top, so most shadows sit on the undersides of the shapes.
- Coloring the Green Grass: Finish the ground by drawing a grassy texture with different shades of green, and darken the final lines to wrap up your drawing!

Buy My Step-by-Step Art Books on Amazon!
If you enjoyed drawing with me and want to expand your artistic skills, please consider checking out my step-by-step drawing books on Amazon! My books break down a wide variety of animals into simple geometric shapes, making it easy and fun for artists of any skill level to follow along. Every purchase directly helps support this site so I can keep creating high-quality, free tutorials for the art community.
Click Here to Order Your Copy Today!
This is an Amazon affiliate link. If you choose to purchase through this link, I earn a small commission at no extra cost to you.
Thanks for visiting! Subscribe to the How2DrawAnimals YouTube Channel for new tutorials every week.
And to learn how to draw cartoons, visit EasyDrawingTutorials.com.
RELATED TUTORIALS
|
|
|
- Details
- Written by: CCP User
- Category: Animals
- Hits: 51
Use the step-by-step instructions below to learn how to draw a lion. Follow along with the video, or use the images in this article. By the end of this tutorial, even beginners will have a completed drawing of this majestic big cat!
Love drawing? Keep your artistic streak going and enjoy more free art lessons by:
- Bookmarking the How2DrawAnimals.com homepage for updates
- Subscribing to the How2DrawAnimals YouTube channel
- Visiting EasyDrawingTutorials.com for tons of free cartoon tutorials
This page contains affiliate links. If you choose to purchase through these links, I earn a small commission at no extra cost to you.
RELATED TUTORIALS
 |
 |
 |
To draw this lion step by step, follow along with the video tutorial below and pause the video after each step to go at your own pace. You may find it easier to follow the step-by-step images below the video. You may want to open the video in a new tab and use both drawing methods.
Materials You'll NeedBefore starting, gather these basic drawing supplies from Blick Art Materials. |
||
(an HB lead pencil is best for light sketches) |
|
|
(or Fine-Line Marker) |
(or Markers) |
(or Colored Pencils) |

Step 1: Create the Initial Guidelines Sketch
Before jumping into the fine details, establishing a basic structure helps create the correct proportions for your lion. Sketch lightly at first so that it is easy to erase if you make a mistake.
Proportional Circles
- The Front Body Circle: Using the "four marks" method to draw your circle, first make two small marks to indicate the height and two more marks on the sides to indicate the width. Connect these marks using curved lines. This serves as a guide for the front section of the body. You can trace the outer edge of a bottle cap or lid if you have trouble drawing one.
- The Back Body Circle: To the right, draw another circle using the four marks method. Make this circle about two-thirds the size of the first circle. Keep the top edges lined up and pay attention to their distance apart so the body is not too short.
- The Head Circle: On the left side, draw another circle as a guide for the head. Make this circle about half the size of the first circle. The edges of the head circle and the first circle should touch, and the top edges must line up.
Construction Lines and Limb Guides
- Muzzle and Ear Guides: Draw a long sloping line across the head circle for a construction guide, making the bottom part extend outside the circle. On the left, add a short sloping line for the muzzle guide, connecting it back to the head with a couple of lines to form a rectangle. Add a short arc on top of the head for the ear.
- Leg and Torso Connectors: Under the front part of the body, draw a long angled vertical line for the front leg, bending it near the middle to indicate a joint and adding a short line at the bottom for the foot. Add a sloping line to the left for the other front leg. Under the right circle, draw a longer angled line for the hind leg, bending it slightly lower than the middle, and add a foot guide. Add another angled line to the left for the other hind leg. Connect the head to the body with shorter lines for a wide neck shape. Connect the body circles with longer lines to finish the torso guide, using an angled line along the bottom to emphasize the chest. From the right side, draw a long curved line for the tail guide.

Step 2: Draw the Facial Features
With your structure completed, you can begin refining the contours and adding individual facial features. Sketch lightly at first and only darken your lines when you are satisfied with the shapes.
Facial Anatomy
- The Eye: Lightly sketch a small circle for the eye inside the head, placing it close to the top edge of the muzzle. Darken the right edge using an angled line similar to a greater-than sign (>), make the top line slightly longer for eyelashes, and add angled lines on the bottom left for the inner corner. Place a tiny dot close to the top edge for the pupil and add a few short texture lines around the eye.
- The Nose: Sketch a small triangle for the nose against the left edge of the muzzle. Make it large in relation to the muzzle, add a curved line on the right side for the nostril, and use curved lines to give it an organic feel, keeping the bottom thin and pointy.
- The Mouth and Chin: Darken the guide above the nose for the top of the muzzle and curve the outer forehead area for the brow. Draw a curved line below the nose for the mouth, ending near the head circle. Add another curved line below that for the gums, a short angled line inside for the teeth, and a furry chin using short, quick strokes.

Step 3: Add the Mane
A lion's mane is its most defining feature. Use overlapping clumps rather than drawing individual hair strands.
Mane Framing
- The Ear and Framing: Darken the ear arc, extending the bottom part inward to make it slightly bigger. Add an angled line inside for the opening and a few short angled lines below it for clumps of fur. Outline the front part of the mane above the head using a series of short angled shapes similar to triangles. Create a broken line across the head between the eye and the ear for the inner edge of the mane.
- The Full Mane: Lightly sketch the overall shape of the mane across the initial guidelines down to the front leg. Darken the lines using a series of small triangular shapes and short strokes of different sizes. Use a horizontal orientation for the internal lines to indicate the correct direction of the fur.

Step 4: Draw the Front Legs and Feet
Build upon your vertical leg guides to create this big cat's powerful limbs.
Forelimbs Details
- First Front Leg: Sketch the first front leg around its guideline, making the top wider than the bottom, and add a small curved shape for a fur clump at the joint. Curve the bottom for the foot and add a couple of short curved lines on the front of the foot to separate the toes.
- Raised Front Leg: Use the left front guideline to sketch the other leg. The bottom part of this shape should be curved because this leg is raised. Add a short curved line at the top for the thumb-like toe, more curved lines along the bottom for the rest of the toes, and a couple of lines inside for the padding on the foot.

Step 5: Finalize the Hind Legs and Body
Complete your sketch by finishing the lion's powerful rear legs and body contours.
Rear Anatomy and Torso
- The Hind Legs: Follow the rear guidelines to draw both hind legs. Make the top part of the legs wider than the bottom, curving the lines along the path of the guide to create the joints. Darken the lines once the shapes are correct and add a couple of curved lines inside the front part of the feet to separate the toes.
- Torso and Tail Outlines: Darken the outer edges of the remaining body guidelines to create the final silhouette. At the tip of the tail guide, draw a small circular shape made up of short strokes to represent the furry tuft.

Step 6: Erase Guidelines and Ink Your Sketch
Preparing your drawing for color requires inking over your final lines and erasing any leftover pencil sketch marks.
Clean Inking
- Inking: Go over the final lines with permanent ink. Take your time and be careful when you ink your drawing to avoid any accidents. Redraw any of the final lines that you may have accidentally altered.
- Erasing Guides: Once the ink dries completely, erase the pencil marks. You can use a thin click eraser or a kneaded eraser to get between the final lines without smudging. Add a bit more ink to key areas to create deep, definitive shadows.

Step 7: Begin Adding Color
Applying your initial color choices helps give your lion depth, realism, and a proper three-dimensional structure.
Base Tones and Shadows
- Shadow Positioning: Pick a light source coming from the top so your shadows remain consistent throughout the body. Most of the shadows will be on the undersides of the shapes. Use a light brown to create base shadows across the body to give the figure more dimension and volume. Use a standard brown to create deeper shadows on top.
- Body Coloring: Use different shades of brown and yellow to color the rest of the body. Color the mane using darker shades of brown and a bit of orange at the front. Shade using the lighter colors at first and then slowly add the darker shades on top. Tilt your strokes to follow the natural orientation of the hair inside the mane.

Step 8: Finish Coloring and Add Grass
Ground your subject in its natural environment by enhancing your pencil shading and adding environment details.
Environmental Details
- Color Blending and Highlights: Slowly and gradually add darker shades across the body to emphasize the shadows and make the figure more three-dimensional. Blend the colors on the body using lighter shades. Use darker colors to emphasize the muscle structure, too. Add a bit of blue or purple to the shadows and yellow to the highlights. Go over the final ink lines one more time to emphasize the shapes.
- Grassy Ground Texture: Draw a series of short strokes across the bottom to create a grassy texture. Color the grass using different shades of brown and yellow. Use a white pen to create a few highlights on the mane. Coloring can be time-consuming, so be patient and take breaks.

Buy My Step-by-Step Art Books on Amazon!
If you enjoyed drawing with me and want to expand your artistic skills, please consider checking out my step-by-step drawing books on Amazon! My books break down a wide variety of animals into simple geometric shapes, making it easy and fun for artists of any skill level to follow along. Every purchase directly helps support this site so I can keep creating high-quality, free tutorials for the art community.
Click Here to Order Your Copy Today!
This is an Amazon affiliate link. If you choose to purchase through this link, I earn a small commission at no extra cost to you.
Thanks for visiting! Subscribe to the How2DrawAnimals YouTube Channel for new tutorials every week.
And to learn how to draw cartoons, visit EasyDrawingTutorials.com.
RELATED TUTORIALS
|
|
|
- Details
- Written by: CCP User
- Category: Animals
- Hits: 46
Use the step-by-step instructions below to learn how to draw a horse portrait. Follow along with the video, or use the images in this article. By the end of this tutorial, even beginners will have a completed drawing of this beautiful animal!
Love drawing? Keep your artistic streak going and enjoy more free art lessons by:
- Bookmarking the How2DrawAnimals.com homepage for updates
- Subscribing to the How2DrawAnimals YouTube channel
- Visiting EasyDrawingTutorials.com for tons of free cartoon tutorials
This page contains affiliate links. If you choose to purchase through these links, I earn a small commission at no extra cost to you.
RELATED TUTORIALS
 |
 |
 |
To draw this horse step by step, follow along with the video tutorial below and pause the video after each step to go at your own pace. You may find it easier to follow the step-by-step images below the video. You may want to open the video in a new tab and use both drawing methods.
Materials You'll NeedBefore starting, gather these basic drawing supplies from Blick Art Materials. |
||
|
(an HB lead pencil is best for light sketches) |
|
|
|
|

Step 1: Create the Initial Guidelines Sketch
Start by sketching the basic structural shapes that form the framework for the horse's head and body. Remember to sketch lightly so these lines are simple to erase later on.
Head and Muzzle Guides
- The Circle: Make small marks for height and width, then connect them into a circle. You can trace a cup or lid if needed.
- The Muzzle: Add a large U-shaped guide on the bottom left side of the circle, making the top section wider than the bottom.
- Construction Line: Slant a long line across both shapes, positioning it closer to the right-hand edges to position features later.
Ears and Neck Structure
- The Ears: Draw two thin, tall triangular shapes on top of the circle to form an M-like guide.
- The Neck: Form the neck using a short vertical line on the left side and a much longer sloping line starting from the ear.
- Finishing the Form: Lengthen the head with short lines near the ears, close the neck with a curved baseline, and add side strokes for the visible upper body.

Step 2: Draw the Facial Features
With the guidelines set, you can begin defining the specific details of the horse's face. Press down a little harder with your pencil as you finalize these lines.
The Eye and Brow
- Eye Shape: Sketch a small circle or oval left of the construction guide, darken it, and place a rectangular eyelash on top.
- Eye Details: Add thick, dark creases above and below the circle, and fill in a small oval in the middle for the pupil.
- The Brow: Make a thick brow structure over the eye with a long curve on the left and a brief stroke to the right.
The Muzzle and Mouth
- The Nostril: Sketch a large circle near the bottom of the muzzle, make it angular as you darken it, and add surrounding crease lines.
- The Mouth Line: Follow the guide to detail the front muzzle, then draw an angled mouth line that curves up toward the eye.
- Lips and Chin: Draw an angled shape for the far-side nostril, a short line for the underlip, and clear strokes for the chin and loose skin.

Step 3: Finish Sketching the Head and Mane
Now it's time to build the dynamic structure of the ears, head contours, and the initial flowing shapes of the horse's hair.
Ears and Contours
- Both Ears: Darken both triangular ear guides, sketching in curved internal lines to depict their hollow openings.
- Head Outline: Follow the guides to trim down the head shape slightly, drawing the opposite brow on the left and a prominent muscular jaw curve on the right.
- Neck Lines: Darken the remaining neck and upper body paths, using long curves that follow the neck’s anatomy.
The Wind-Blown Mane
- Hair Clumps: Create pointy clumps of hair extending out to the left over the forehead, along with a small wavy lock next to the eye.
- Main Mane ;) Shapes: Draw the rest of the mane blowing leftward in the wind, breaking the mass into distinct pointy clumps rather than individual hairs.
- Texture and Base: Work thick texturing strokes through the center of the hair clumps, and add short curves along the right edge of the neck to establish the mane's base.

Step 4: Erase Guidelines and Tidy Your Sketch
Prepare your linework for the upcoming shading process by cleaning up your sketch.
Cleaning the Drawing
- Erasing Framework: Clear away the early circular and linear pencil guides using a thin pen-style eraser for greater accuracy.
- Restoring Details: Examine your final linework and re-sketch any essential contours or details that were accidentally picked up or faded by the eraser.

Step 5: Begin Shading
Introduce dimension into the piece by applying your primary foundational values and tracking your light source.
Foundational Shading
- Mane Values: Lay a heavy, dark value over the mane clumps, making sure to leave open, curved spaces untouched to serve as hair highlights.
- Highlight Adjustments: Use the corner of your eraser to touch up, shape, and refine the edges of those blank highlight sections.
- Shadow Placements: Imagine a top-down light source and blend a medium value strictly along the lower edges and undersides of the animal's features.

Step 6: Continue Shading and Outlining Details
Gradually intensify the tones across the portrait to draw out the underlying muscular anatomy and create deep tonal variation.
Developing Depth
- Line Definition: Go back over the main outer shapes with a dark graphite pencil to firmly ground the horse's features.
- Building Values: Work patiently from light tones to rich darks, varying your physical hand pressure on the pencil to adjust the darkness of the graphite.
- Pencil Selection: Use multiple grades of graphite, such as 2B, 4B, or 6B, to create deep, dark values smoothly.
- Coat Markings: Shade a light tone over the rest of the body, leaving a prominent section across the face completely white to produce a distinctive coat pattern.

Step 7: Add a Border Behind the Horse
Frame the completed animal portrait with a bold, graphic element that enhances the entire composition.
Framing the Subject
- Graphic Reinforcement: Go over the outer boundaries of the horse one final time to create a sharp contrast against the background.
- The Frame: Line up a straight ruler to construct a large, clean, balanced rectangle directly behind the animal figure.
- Background Value: Fill in the interior area of the rectangle using an even, light tone to create a contrast that pushes the horse forward.
Final Polish
- Maximizing Contrast: Darken the values in the mane and coat layers even further if needed to make the highlighted areas stand out dramatically.
- Smudge Protection: Slip a loose sheet of clean scrap paper underneath your hand to keep your hand from smudging your completed shading.
- The Result: Take a step back and look over your beautiful, high-contrast drawing of a horse with its mane flowing wildly in the wind!

Buy My Step-by-Step Art Books on Amazon!
If you enjoyed drawing with me and want to expand your artistic skills, please consider checking out my step-by-step drawing books on Amazon! My books break down a wide variety of animals into simple geometric shapes, making it easy and fun for artists of any skill level to follow along. Every purchase directly helps support this site so I can keep creating high-quality, free tutorials for the art community.
Click Here to Order Your Copy Today!
This is an Amazon affiliate link. If you choose to purchase through this link, I earn a small commission at no extra cost to you.
Thanks for visiting! Subscribe to the How2DrawAnimals YouTube Channel for new tutorials every week.
And to learn how to draw cartoons, visit EasyDrawingTutorials.com.
RELATED TUTORIALS
|
|
|
- Details
- Written by: CCP User
- Category: Animals
- Hits: 57
Use the step-by-step instructions below to learn how to draw a chibi mouse. Follow along with the video, or use the instructions in this article. By the end of this tutorial, even beginners will have a completed drawing of this cartoon animal!
Love drawing? Keep your artistic streak going and enjoy more free art lessons by:
- Bookmarking the How2DrawAnimals.com homepage for updates
- Subscribing to the How2DrawAnimals YouTube channel
- Visiting EasyDrawingTutorials.com for tons of free cartoon tutorials
This page contains affiliate links. If you choose to purchase through these links, I earn a small commission at no extra cost to you.
RELATED TUTORIALS
 |
 |
 |
To draw this cartoon animal step by step, follow along with the video tutorial below and pause the video after each step to go at your own pace. You may find it easier to follow the step-by-step instructions below the video. You may want to open the video in a new tab and use both drawing methods.
Materials You'll NeedBefore starting, gather these basic drawing supplies from Blick Art Materials. |
||
(an HB lead pencil is best for light sketches) |
|
|
(or Fine-Line Marker) |
(or Markers) |
(or Colored Pencils) |

Step 1: Drawing the Structural Guidelines
Start by creating a simple foundation for the character.
Head Circle
- Establish Height and Width: Make a couple of small marks to indicate the circle's height, then draw a couple more small marks on the sides to indicate the width.
- Connect the Marks: Link the marks using curved lines to finish the shape of the circle. Sketch lightly so it is easy to erase later. Tracing a circular edge like a bottle cap or lid is also perfectly fine.
Construction Guides and Body Structure
- Face Guides: Inside the circle, draw a curved horizontal construction line slightly lower than the center. Above that, draw a curved vertical construction line to the left of the center.
- Body Base: Below the circle, make a small mark for the bottom edge of the body and extend it sideways into a long horizontal line that is slightly shorter than the head's width.
- Connect the Body: Connect the horizontal line to the head circle using a couple of vertical lines. The body should be very small in relation to the head.

Step 2: Adding the Facial Features
Bring the character to life by sketching the large eyes, small nose, and wavy mouth.
Eyes and Highlights
- First Eye Shape: Inside the head, sketch a small circular shape for the first eye. Use a curved line for the top edge and a flat line for the bottom edge to create a half-circle look.
- Second Eye and Darkening: To the left of the vertical guide, draw a similar half-circle shape for the other eye. Make the eyes big in relation to the head, keeping a good amount of space between them. Darken the shapes once the position looks correct.
- Highlights and Light: Inside each eye, draw a tiny circle for a highlight. Along the bottom edge of each eye, add a curved line for reflected light.
Nose and Mouth
- Nose: Draw a small triangle where the two construction guides intersect. Keep this shape very small in relation to the large eyes.
- Mouth: Below the nose, draw a short wavy line similar to the letter W. Avoid making the mouth line too long.

Step 3: Defining the Ears and Head Shape
Give the head its final appearance with large round ears and defined cheeks.
Big Chibi Ears
- Right Ear: On the top right side of the head, sketch a big curved shape. The top is a sloping line, and the bottom is a long curved line resembling a sideways arc. Darken the lines and add an inner sloping line for the inner ear. At the bottom, add a couple of short angled lines resembling an M shape for a bit of fur.
- Left Ear: Draw a similar shape on the left side of the head. Since the character is turned, a large portion of this ear will be hidden behind the head, so make it look slightly thinner. Add a short sloping line inside for the inner edge.
Head Outline and Tuft of Fur
- Top Hair: Follow the path of the initial circle and add a few short angled lines at the top for fur. These lines should look like small triangles of different sizes.
- Cheeks and Final Proportions: Darken the left edge close to the eye so the top of the head remains thin, then curve the line outward at the bottom for the cheek. Repeat on the right side, drawing the cheek farther away from the initial circle. The bottom half of the head should end up wider than the top half. Use thick, dark lines for these shapes.

Step 4: Drawing the Body, Limbs, and Tail
Complete the drawing by adding the small arms, feet, and a long curved tail.
Arms and Body Definition
- Right Arm: Inside the body area under the head, draw a long curved line like a sideways arc. Add an angled line on the right side for structure. Notice how tiny the arm is compared to the body.
- Left Arm and Torso: Draw another small arc on the left for the other arm, making it slightly smaller due to the turn of the body. Darken the main shape under the head to finalize the body, making the edges more curved.
Feet and S-Shaped Tail
- Feet: On the bottom right side, draw a small oval-like shape for the foot. Since most of it stays hidden, only show the front as a small circle. To the left, draw a short horizontal line to create the other thin foot.
- Tail: Starting from the bottom right of the body, lightly sketch a long curved line resembling the letter S. Once the path looks right, darken it and draw a second parallel line to add thickness. Make the tip thin and pointy, while keeping the base wide. Go over your lines one last time to emphasize the shapes.

Step 5: Erase Guidelines and Ink Your Drawing
Clean up your pencil sketch to get your artwork ready for coloring. This keeps your finished illustration looking crisp and professional.
Permanent Ink Outlines
- Trace the Lines: Carefully go over your final pencil lines with a fine black ink pen or marker. Try to use smooth, continuous lines.
- Clean the Page: Allow the ink to dry completely to protect your drawing from smudging. Then use an eraser to clean away all remaining pencil guidelines.

Step 6: Color Your Drawing
Adding color gives your chibi mouse character its personality. Choose your favorite art medium to bring the piece to life.
Coloring Tools and Choice
- Select Your Media: Markers work wonderfully for a bright look, but you can use colored pencils, too. Feel free to use different shades of brown to fill in the mouse's fur, or color your mouse differently if you'd like to make it unique!

Buy My Step-by-Step Art Books on Amazon!
If you enjoyed drawing with me and want to expand your artistic skills, please consider checking out my step-by-step drawing books on Amazon! My books break down a wide variety of animals into simple geometric shapes, making it easy and fun for artists of any skill level to follow along. Every purchase directly helps support this site so I can keep creating high-quality, free tutorials for the art community.
Click Here to Order Your Copy Today!
This is an Amazon affiliate link. If you choose to purchase through this link, I earn a small commission at no extra cost to you.
Thanks for visiting! Subscribe to the How2DrawAnimals YouTube Channel for new tutorials every week.
And to learn how to draw cartoons, visit EasyDrawingTutorials.com.
RELATED TUTORIALS
|
|
|