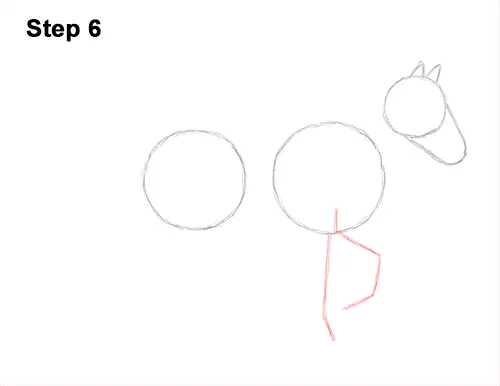
Step 6: Under the circle on the right, draw a line that slopes to the right as a guide for the front leg. At the bottom, bend the line down and then to the left to indicate the leg stepping forward. To the left, draw vertical line that bends slightly at the bottom as a guide for the horse's other front leg.
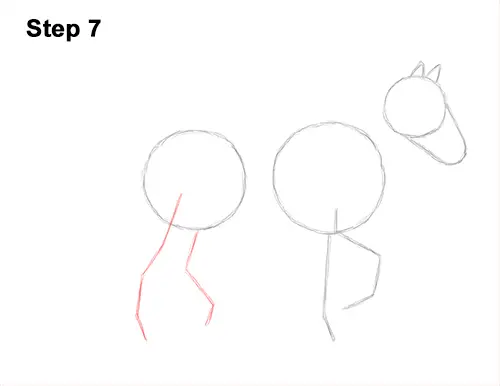
Step 7: Under the circle on the left, draw a long line as a guide for the first hind leg. This line should bend slightly near the middle and at the bottom to indicate where the gypsy vanner horse's joints will be. To the right, draw a more angled line as a guide for the other hind leg stepping forward.
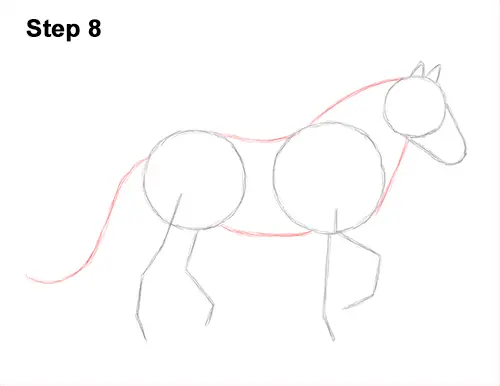
Step 8: Draw a series of curved lines that connect the circles together to form the rest of the body. The curved lines for the neck should be wider apart at the bottom. The lines for the back and underside should dip low in the middle. On the left side, draw a long line that curves at the bottom as a guide for the gypsy vanner horse's tail.
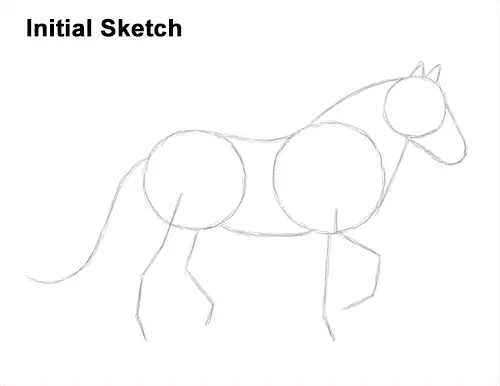
That's it for the guides! From this point on, press harder with your pencil for a more defined drawing.
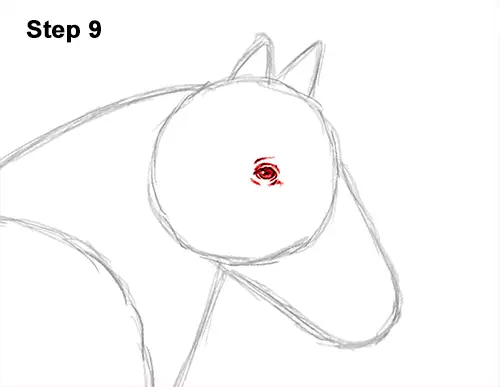
Step 9: Inside the head, near the middle/ right side, lightly sketch the eye as a small oval. When you get the size and position of the eye right, darken the lines. Make the sides a bit pointier. Inside the eye, off to the side, draw a tiny circle to represent glare. Shade the inside of the eye except for the tiny glare circle. Make the bottom part a bit lighter to give the eyeball a rounder look. Draw a couple of lines above and below the eye for the eyelids. Add a few more lines around the eye for the detail on the gypsy vanner horse's wrinkles.


