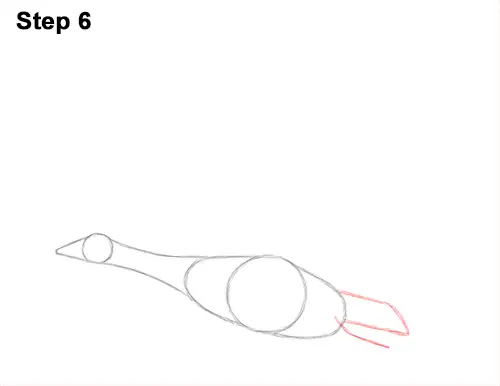
Step 6: Add the guide for the Canada goose's tail on the lower, right side of the body by first drawing two sloping lines. Use a shorter line to close off the shape of the tail. Add a small, angled line below as a guide for the foot.

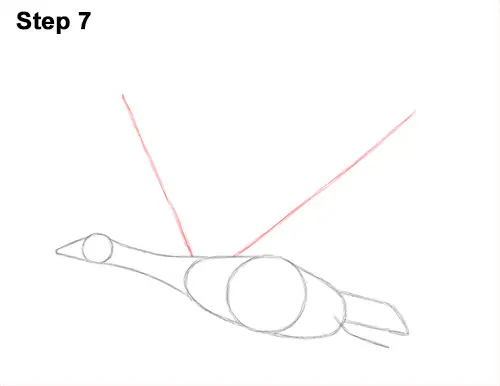
Step 7: On top of the body, draw a long, diagonal line as a guide for the Canada goose's first wing. Notice how long this line is compared to the body. Pay attention to its angle too. Remember to sketch lightly so that it's easy to erase if you make a mistake. To the left, near the neck, draw another long, diagonal line as a guide for the second wing.

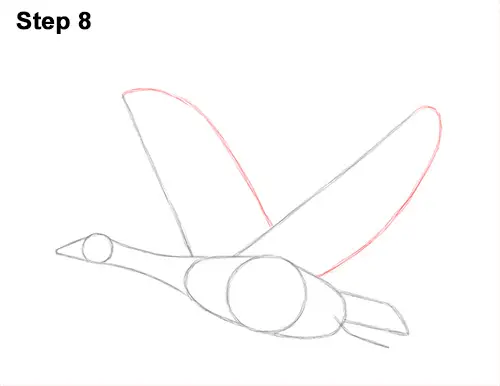
Step 8: Draw a long, curved line to each of the previous lines to complete the guides for the goose's wings. Don't overlap these guides and don't make the wing shapes too thin.

That's it for the guides! From this point on, press harder with your pencil for a more defined drawing.

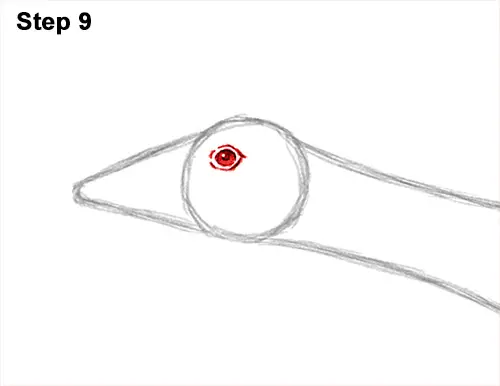
Step 9: Inside the head, on the top, left side, draw a small circle for the Canada goose's eye. Inside the eye, draw a tiny circle to represent glare. Shade the rest of the eye. Use a dark value for the eye. As you shade it, don't overlap the tiny glare circle. Draw a few curved lines around the eye for the bare skin found there.


