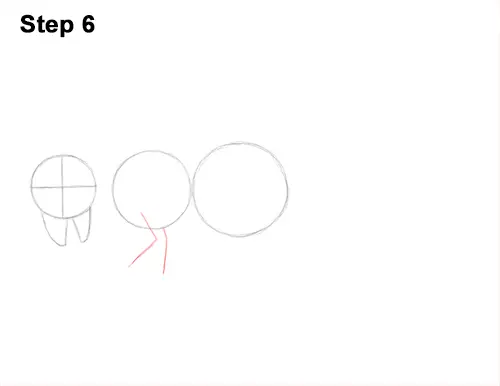
Step 6: Under the first circle, draw two short lines as guides for the dinosaur's front limbs. The first line should bend a bit.
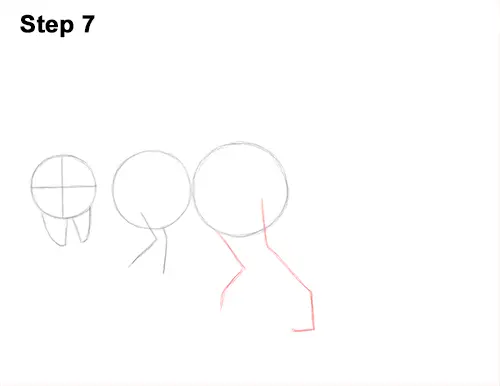
Step 7: Under the second circle, draw two longer lines as guides for the hind legs. Pay attention to where the lines angle and bend. This indicates where the joints will be later. The second line should be shorter because the pachycephalosaurus will be stepping forward charging.
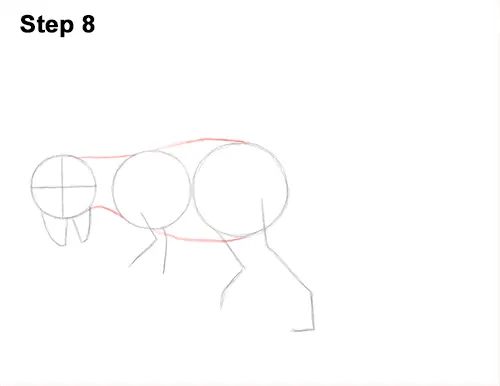
Step 8: Draw two short lines that connect the head to the body to form the guide for the neck. Connect the first two circles with longer lines to form the guide for the rest of the dinosaur's body.
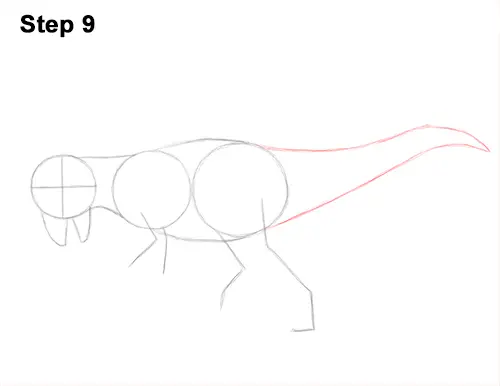
Step 9: Starting on the top, right side of the body, draw a long, wavy line for the first part of the tail. Then draw another line that starts on the lower, right side and meets the first line to form the bottom part of the tail. Notice how long the tail is compared to the pachycephalosaurus's body. Be sure to make the base thick and the tip narrow and pointy.
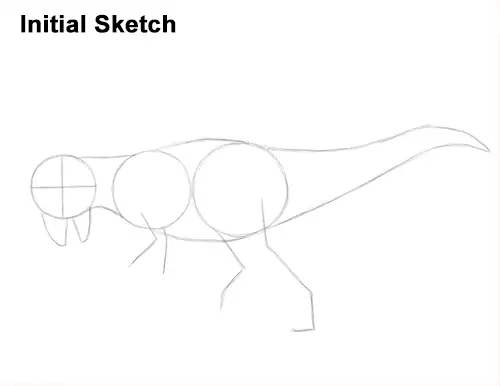
That's it for the initial sketch! From this point on, press harder with your pencil to get a more defined sketch.


