







Use the step-by-step instructions below to learn how to draw a horse portrait. Follow along with the video, or use the images in this article. By the end of this tutorial, even beginners will have a completed drawing of this beautiful animal!
Love drawing? Keep your artistic streak going and enjoy more free art lessons by:
- Bookmarking the How2DrawAnimals.com homepage for updates
- Subscribing to the How2DrawAnimals YouTube channel
- Visiting EasyDrawingTutorials.com for tons of free cartoon tutorials
This page contains affiliate links. If you choose to purchase through these links, I earn a small commission at no extra cost to you.
RELATED TUTORIALS
 |
 |
 |
To draw this horse step by step, follow along with the video tutorial below and pause the video after each step to go at your own pace. You may find it easier to follow the step-by-step images below the video. You may want to open the video in a new tab and use both drawing methods.
Materials You'll NeedBefore starting, gather these basic drawing supplies from Blick Art Materials. |
||
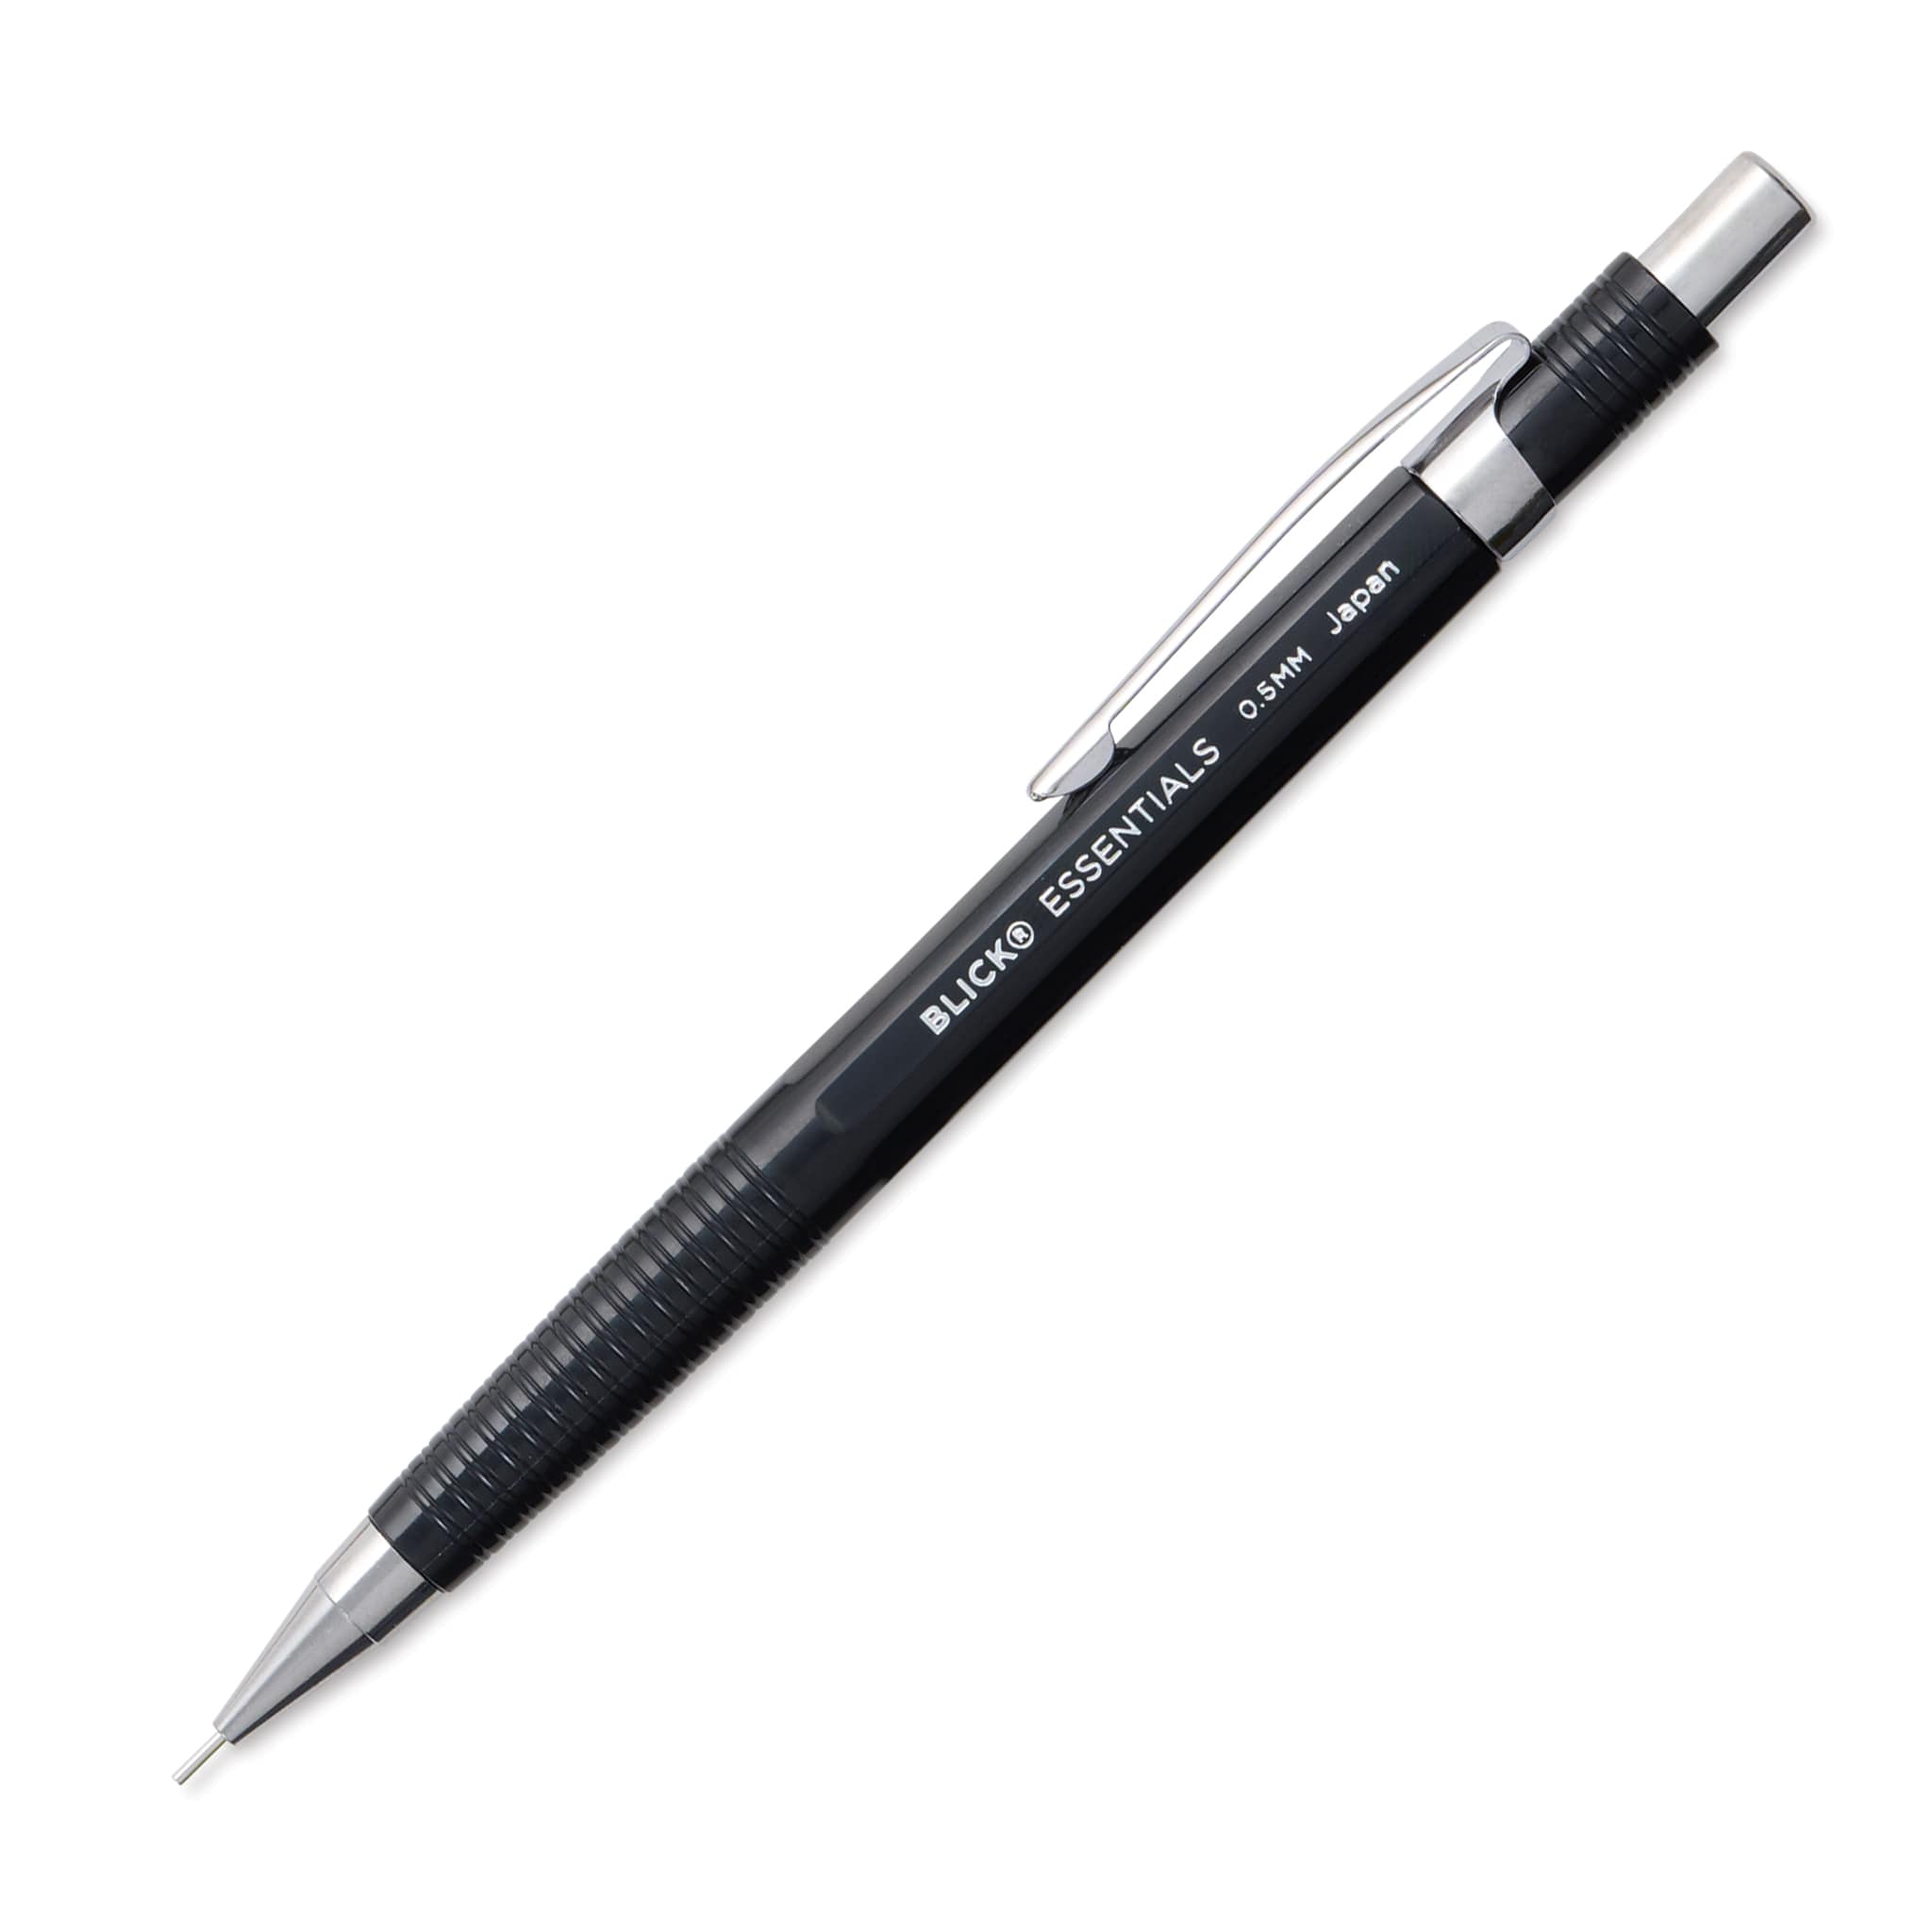 |
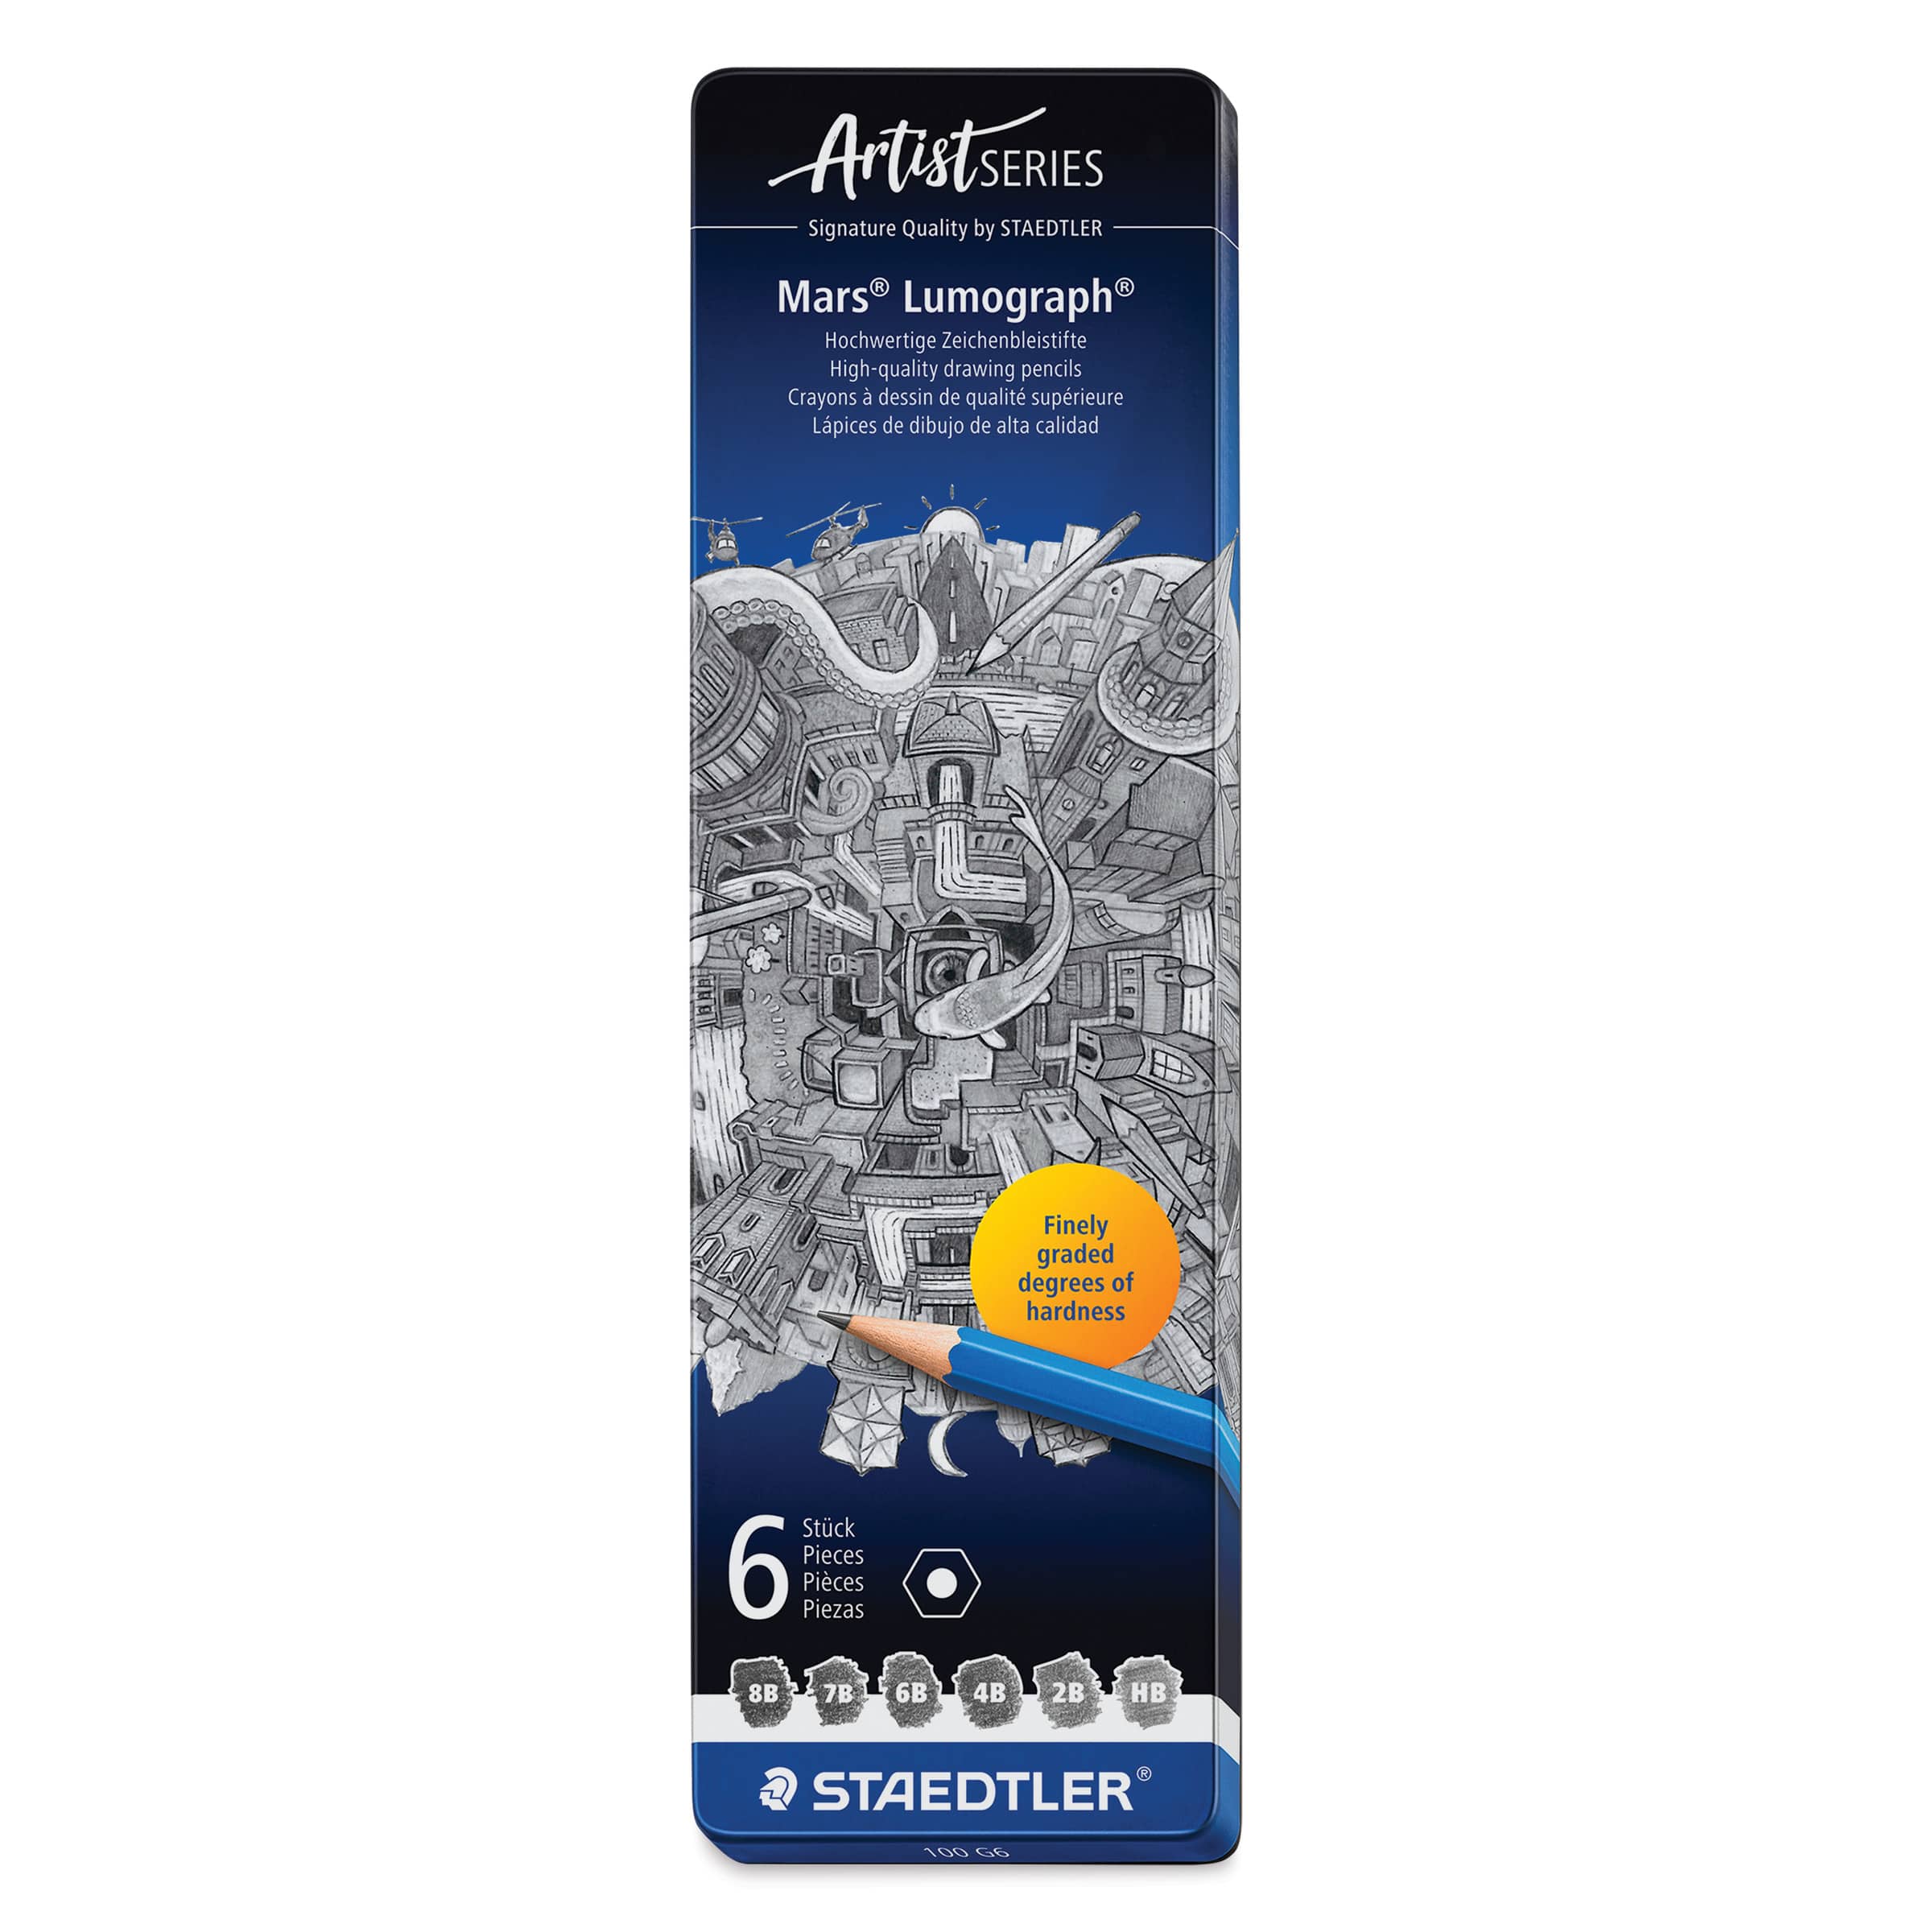 (an HB lead pencil is best for light sketches) |
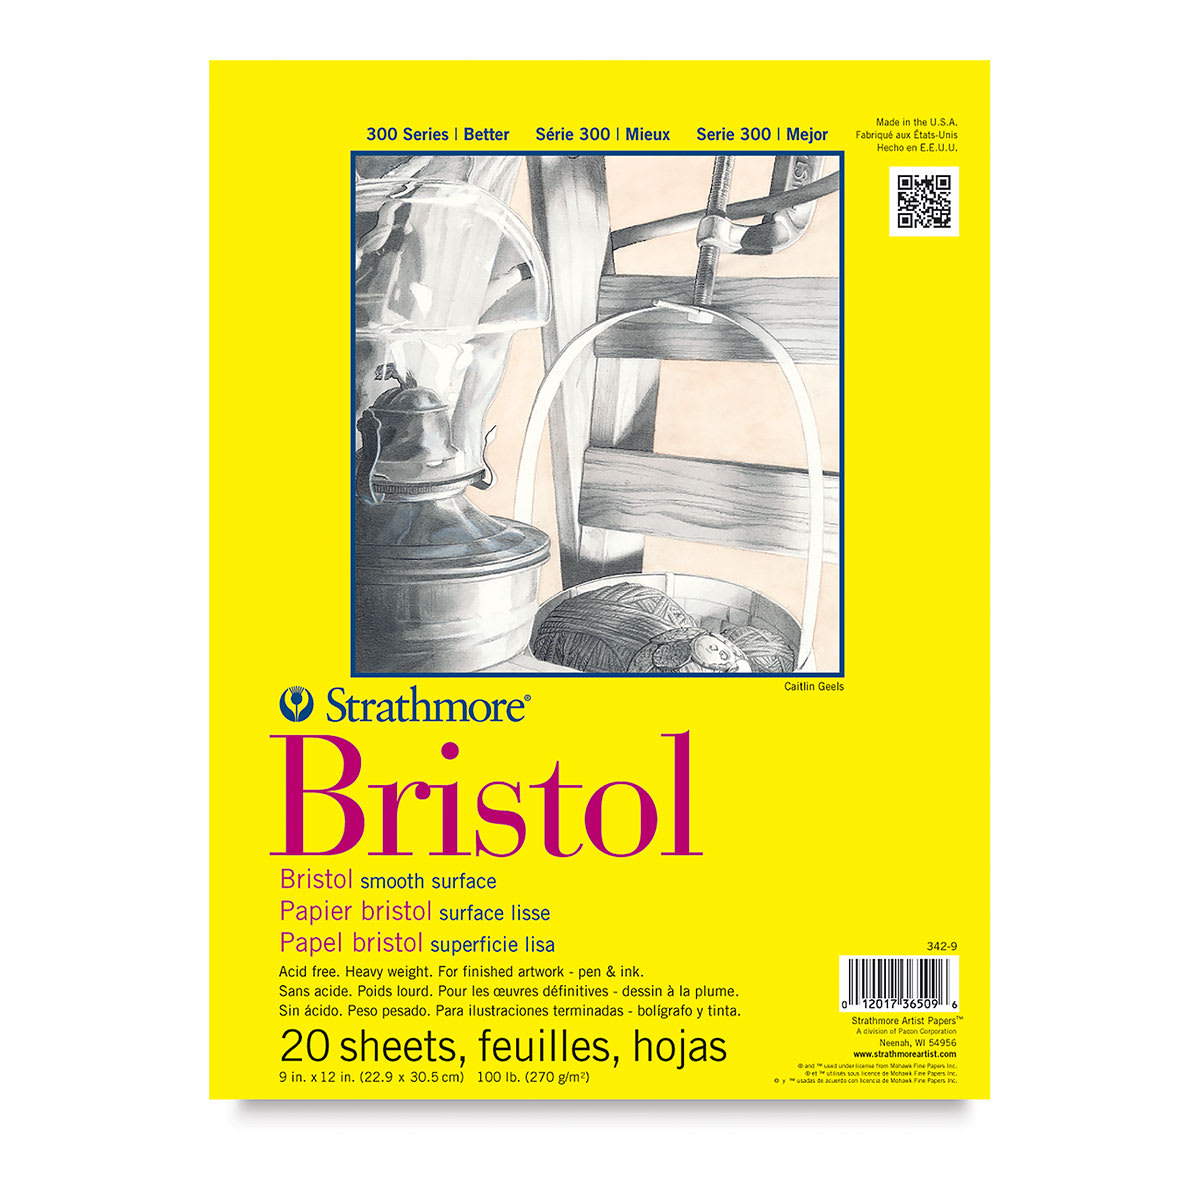 |
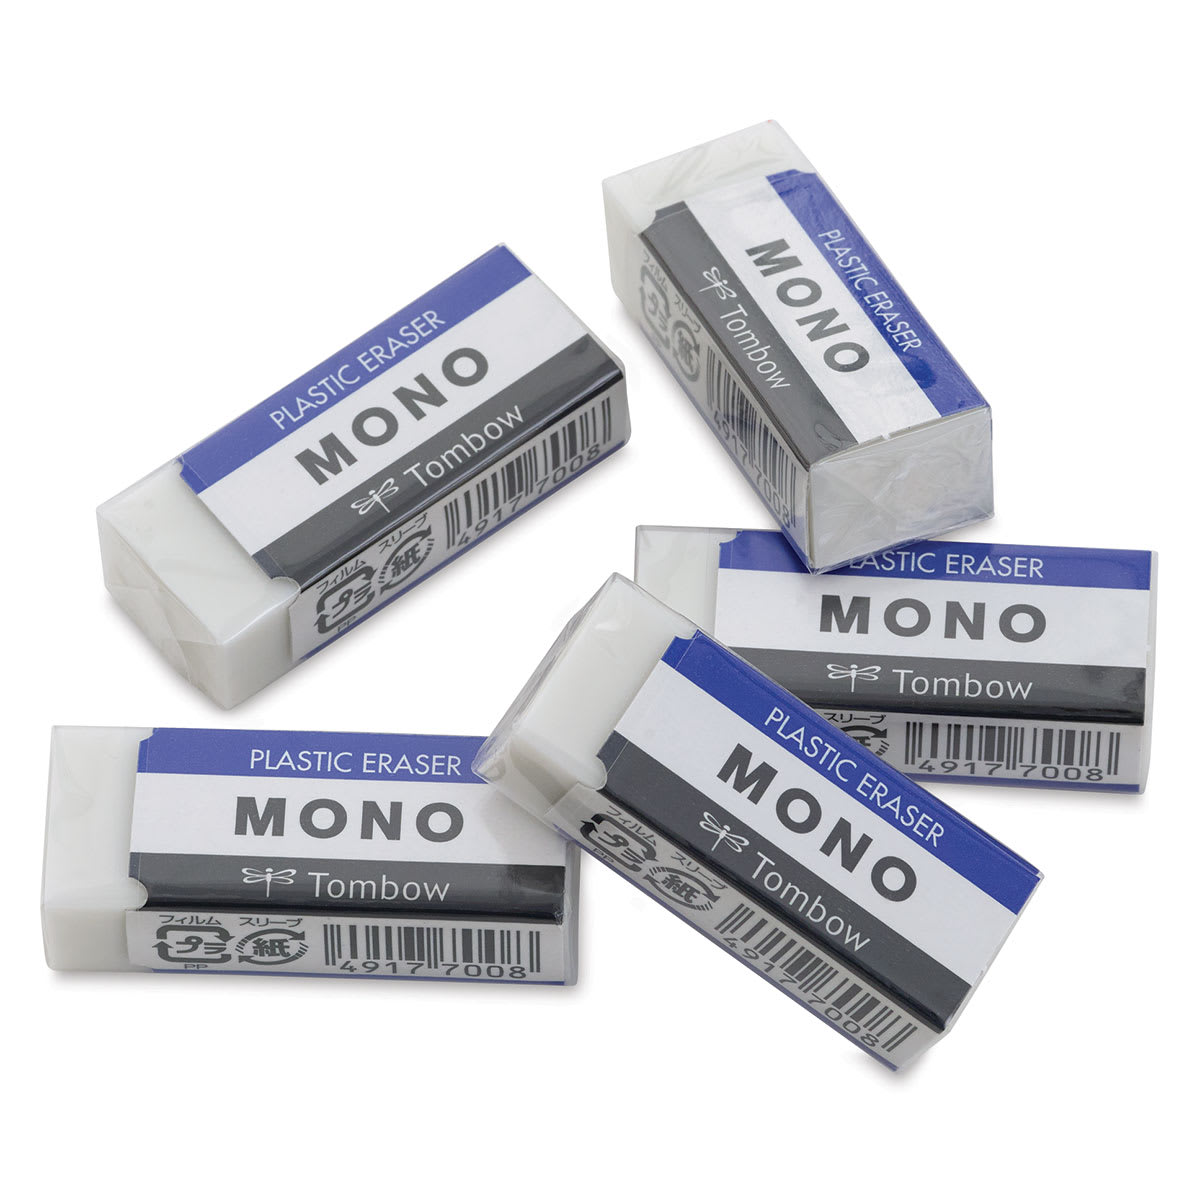 |
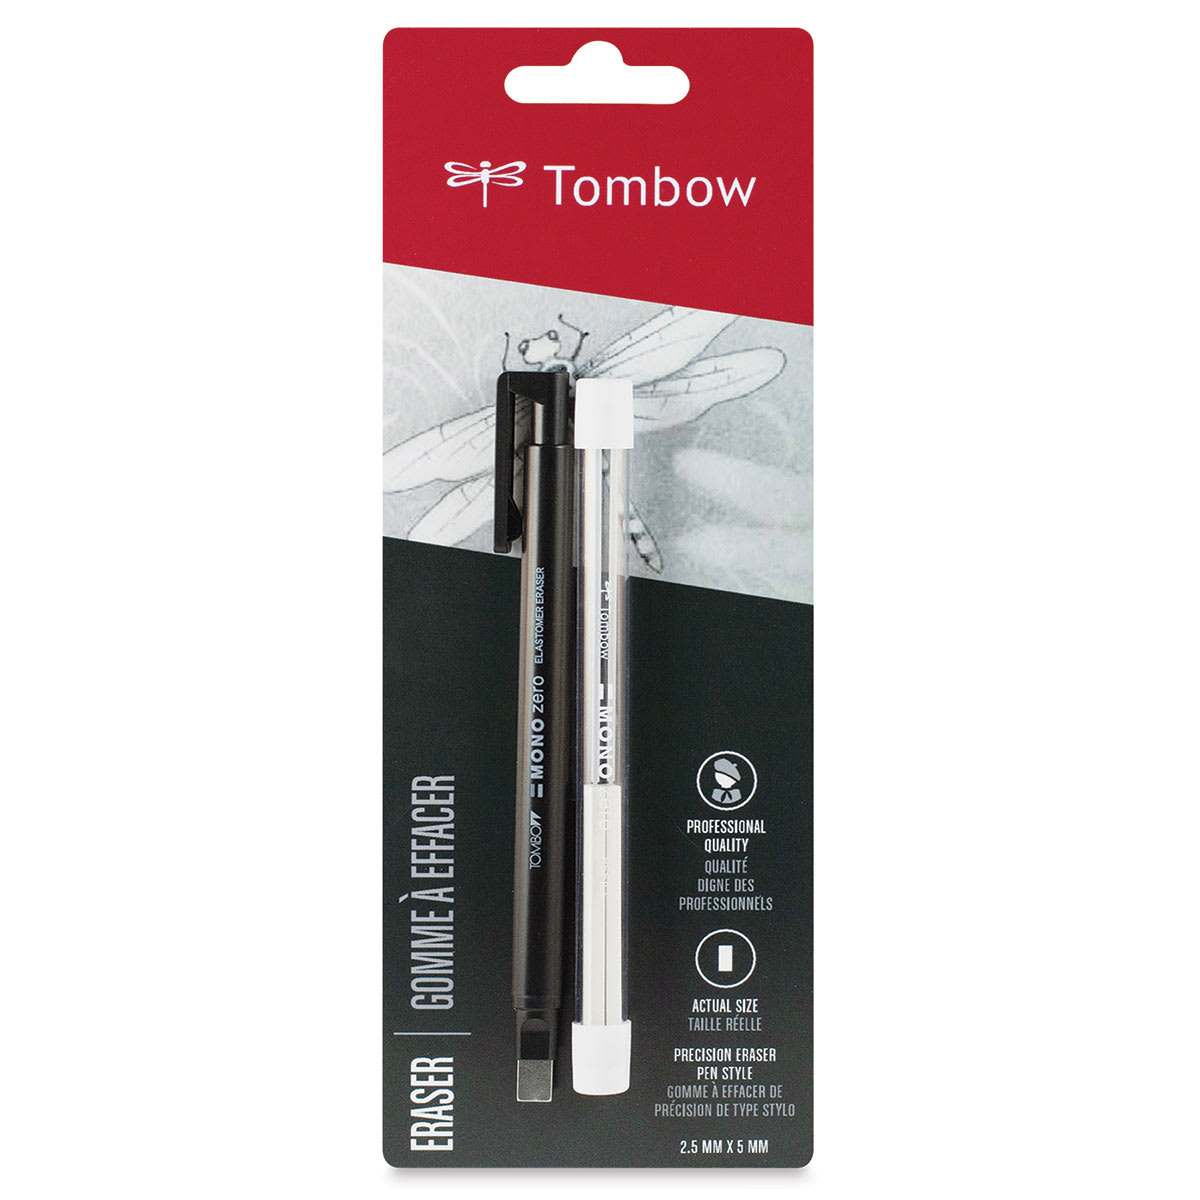 |
 |

Step 1: Create the Initial Guidelines Sketch
Start by sketching the basic structural shapes that form the framework for the horse's head and body. Remember to sketch lightly so these lines are simple to erase later on.
Head and Muzzle Guides
- The Circle: Make small marks for height and width, then connect them into a circle. You can trace a cup or lid if needed.
- The Muzzle: Add a large U-shaped guide on the bottom left side of the circle, making the top section wider than the bottom.
- Construction Line: Slant a long line across both shapes, positioning it closer to the right-hand edges to position features later.
Ears and Neck Structure
- The Ears: Draw two thin, tall triangular shapes on top of the circle to form an M-like guide.
- The Neck: Form the neck using a short vertical line on the left side and a much longer sloping line starting from the ear.
- Finishing the Form: Lengthen the head with short lines near the ears, close the neck with a curved baseline, and add side strokes for the visible upper body.

Step 2: Draw the Facial Features
With the guidelines set, you can begin defining the specific details of the horse's face. Press down a little harder with your pencil as you finalize these lines.
The Eye and Brow
- Eye Shape: Sketch a small circle or oval left of the construction guide, darken it, and place a rectangular eyelash on top.
- Eye Details: Add thick, dark creases above and below the circle, and fill in a small oval in the middle for the pupil.
- The Brow: Make a thick brow structure over the eye with a long curve on the left and a brief stroke to the right.
The Muzzle and Mouth
- The Nostril: Sketch a large circle near the bottom of the muzzle, make it angular as you darken it, and add surrounding crease lines.
- The Mouth Line: Follow the guide to detail the front muzzle, then draw an angled mouth line that curves up toward the eye.
- Lips and Chin: Draw an angled shape for the far-side nostril, a short line for the underlip, and clear strokes for the chin and loose skin.

Step 3: Finish Sketching the Head and Mane
Now it's time to build the dynamic structure of the ears, head contours, and the initial flowing shapes of the horse's hair.
Ears and Contours
- Both Ears: Darken both triangular ear guides, sketching in curved internal lines to depict their hollow openings.
- Head Outline: Follow the guides to trim down the head shape slightly, drawing the opposite brow on the left and a prominent muscular jaw curve on the right.
- Neck Lines: Darken the remaining neck and upper body paths, using long curves that follow the neck’s anatomy.
The Wind-Blown Mane
- Hair Clumps: Create pointy clumps of hair extending out to the left over the forehead, along with a small wavy lock next to the eye.
- Main Mane ;) Shapes: Draw the rest of the mane blowing leftward in the wind, breaking the mass into distinct pointy clumps rather than individual hairs.
- Texture and Base: Work thick texturing strokes through the center of the hair clumps, and add short curves along the right edge of the neck to establish the mane's base.

Step 4: Erase Guidelines and Tidy Your Sketch
Prepare your linework for the upcoming shading process by cleaning up your sketch.
Cleaning the Drawing
- Erasing Framework: Clear away the early circular and linear pencil guides using a thin pen-style eraser for greater accuracy.
- Restoring Details: Examine your final linework and re-sketch any essential contours or details that were accidentally picked up or faded by the eraser.

Step 5: Begin Shading
Introduce dimension into the piece by applying your primary foundational values and tracking your light source.
Foundational Shading
- Mane Values: Lay a heavy, dark value over the mane clumps, making sure to leave open, curved spaces untouched to serve as hair highlights.
- Highlight Adjustments: Use the corner of your eraser to touch up, shape, and refine the edges of those blank highlight sections.
- Shadow Placements: Imagine a top-down light source and blend a medium value strictly along the lower edges and undersides of the animal's features.

Step 6: Continue Shading and Outlining Details
Gradually intensify the tones across the portrait to draw out the underlying muscular anatomy and create deep tonal variation.
Developing Depth
- Line Definition: Go back over the main outer shapes with a dark graphite pencil to firmly ground the horse's features.
- Building Values: Work patiently from light tones to rich darks, varying your physical hand pressure on the pencil to adjust the darkness of the graphite.
- Pencil Selection: Use multiple grades of graphite, such as 2B, 4B, or 6B, to create deep, dark values smoothly.
- Coat Markings: Shade a light tone over the rest of the body, leaving a prominent section across the face completely white to produce a distinctive coat pattern.

Step 7: Add a Border Behind the Horse
Frame the completed animal portrait with a bold, graphic element that enhances the entire composition.
Framing the Subject
- Graphic Reinforcement: Go over the outer boundaries of the horse one final time to create a sharp contrast against the background.
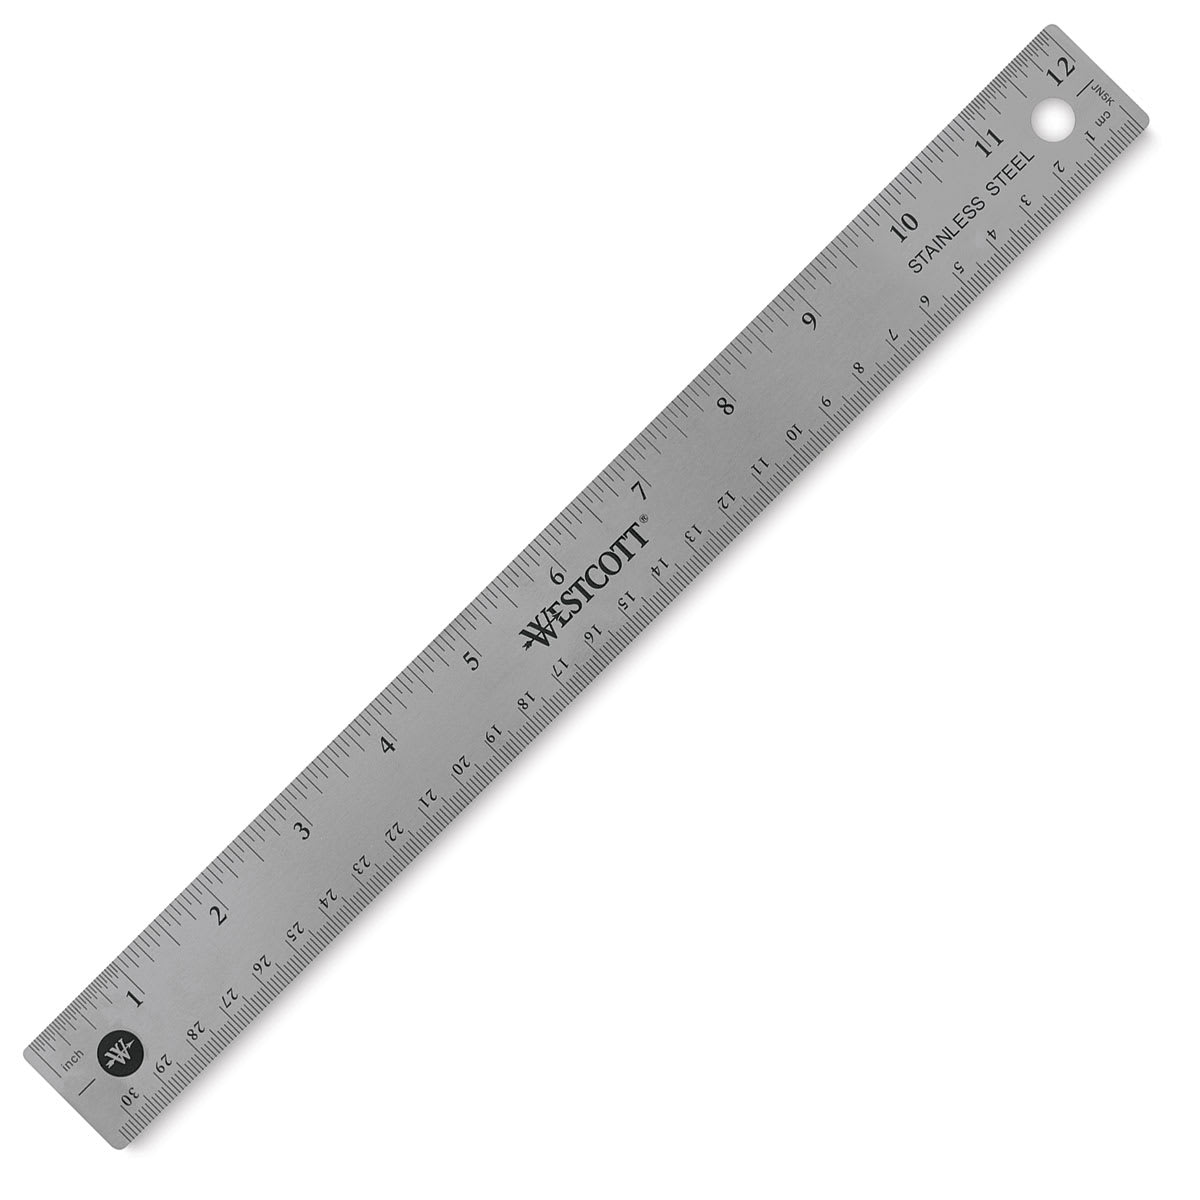
- The Frame: Line up a straight ruler to construct a large, clean, balanced rectangle directly behind the animal figure.
- Background Value: Fill in the interior area of the rectangle using an even, light tone to create a contrast that pushes the horse forward.
Final Polish
- Maximizing Contrast: Darken the values in the mane and coat layers even further if needed to make the highlighted areas stand out dramatically.
- Smudge Protection: Slip a loose sheet of clean scrap paper underneath your hand to keep your hand from smudging your completed shading.
- The Result: Take a step back and look over your beautiful, high-contrast drawing of a horse with its mane flowing wildly in the wind!

Buy My Step-by-Step Art Books on Amazon!
If you enjoyed drawing with me and want to expand your artistic skills, please consider checking out my step-by-step drawing books on Amazon! My books break down a wide variety of animals into simple geometric shapes, making it easy and fun for artists of any skill level to follow along. Every purchase directly helps support this site so I can keep creating high-quality, free tutorials for the art community.
Click Here to Order Your Copy Today!
This is an Amazon affiliate link. If you choose to purchase through this link, I earn a small commission at no extra cost to you.
Thanks for visiting! Subscribe to the How2DrawAnimals YouTube Channel for new tutorials every week.
And to learn how to draw cartoons, visit EasyDrawingTutorials.com.
RELATED TUTORIALS
|
|
|