







Use the step-by-step instructions below to learn how to draw a stylized tiger from the video tutorial. Follow along with the video, or use the images in this article. By the end of this tutorial, even beginners will have a completed drawing of this fierce big cat!
Love drawing? Keep your artistic streak going and enjoy more free art lessons by:
- Bookmarking the How2DrawAnimals.com homepage for updates
- Subscribing to the How2DrawAnimals YouTube channel
- Visiting EasyDrawingTutorials.com for tons of free cartoon tutorials
This page contains affiliate links. If you choose to purchase through these links, I earn a small commission at no extra cost to you.
RELATED TUTORIALS
 |
 |
 |
To draw this tiger step by step, follow along with the video tutorial below and pause the video after each step to go at your own pace. You may find it easier to follow the step-by-step images below the video. You may want to open the video in a new tab and use both drawing methods.
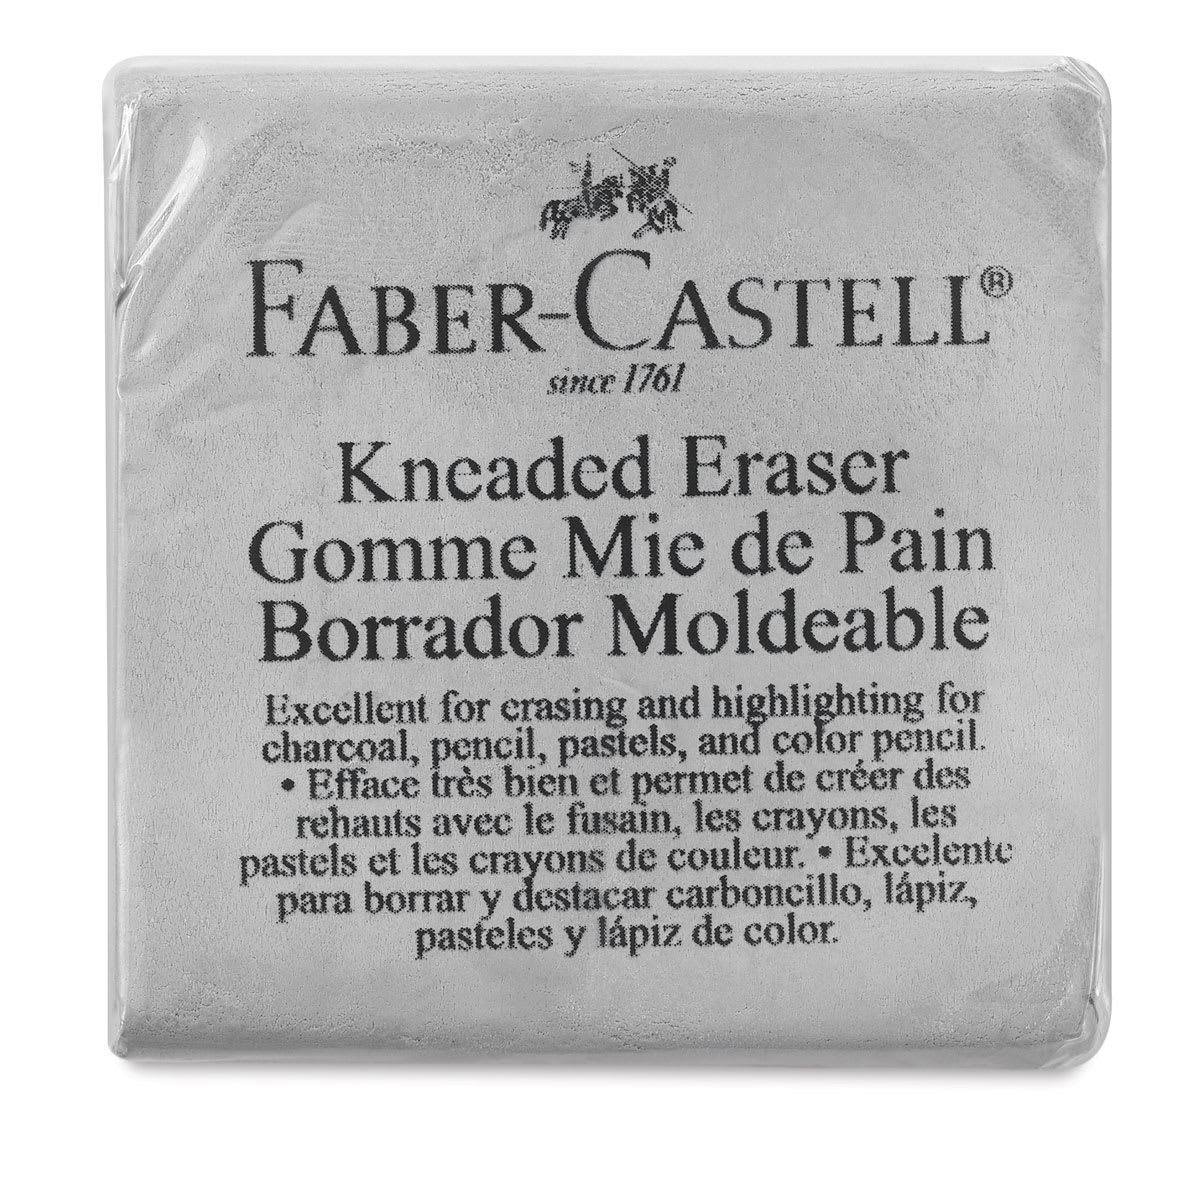
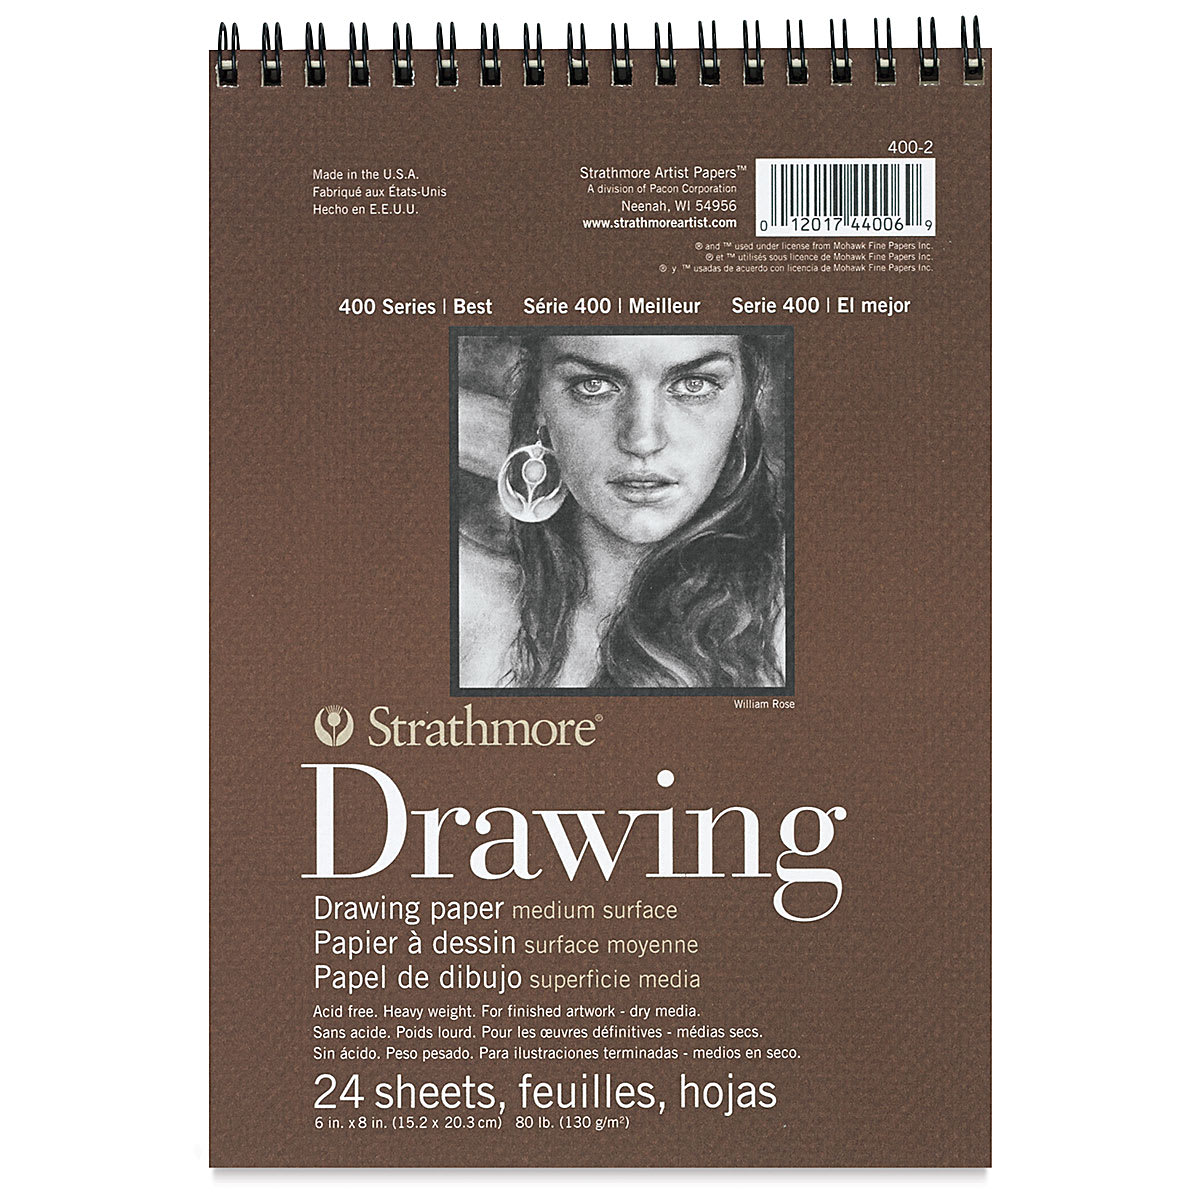
Materials You'll NeedBefore starting, gather these basic drawing supplies from Blick Art Materials. |
||
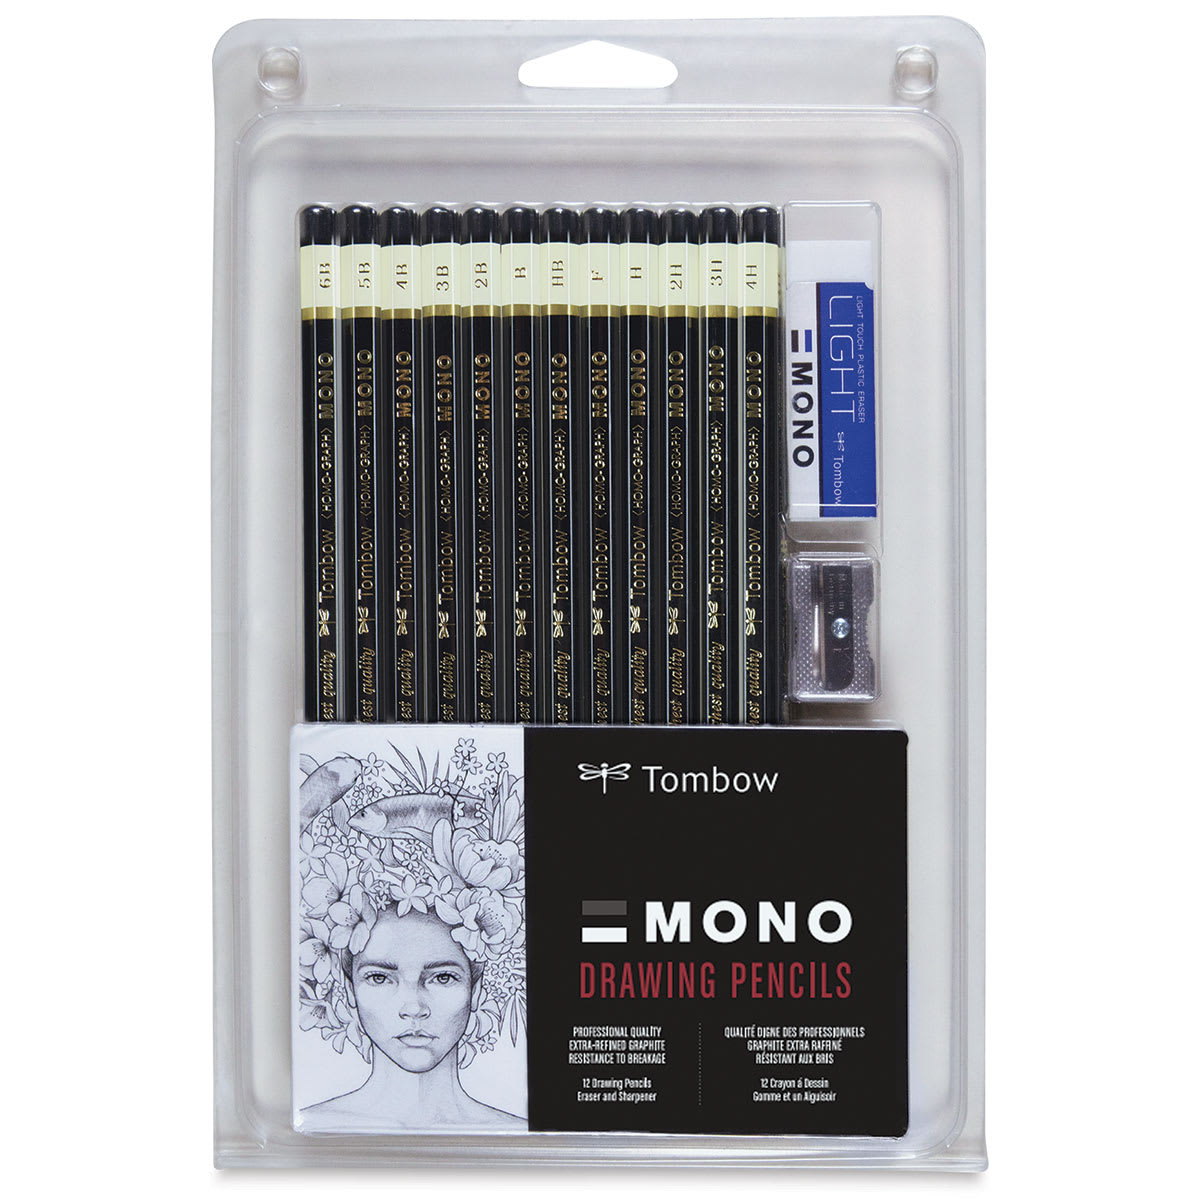 (an HB lead pencil is best for light sketches) |
 |
 |
Step 1: Sketch the Head Guide
Start by drawing a circle as a guide for the tiger's head. An easy way to draw a circle is to first make a few small marks to indicate the height, and then make a couple more marks on the sides to indicate the width. Connect the marks using curved lines to finish the shape. Sketch lightly at first so that it is easy to erase if you make a mistake. You do not have to draw a perfect circle, but you can trace the outer edge of a cup or a lid if you are having trouble. Go over the shape a few times to get it more or less correct.
- Add the Tilt Guide: Draw a long diagonal line across the entire circle. This will be a construction guide that helps you place the facial features later and determines the tilt of the head. At the bottom, make the line slightly longer so that it extends outside of the circle.

Step 2: Finish the Initial Sketch
Add more basic shapes and guides that will help you place the features later on.
- Establish the Jaws: At the bottom of the diagonal construction line, draw another short line that slopes the other way to create the front part of the muzzle. Connect this line to the circle using a couple more sloping lines to finish the guide for the top part of the muzzle or top jaw. This shape should be wide and similar to a rectangle. Below that, draw another shape that is also similar to a rectangle for the lower jaw, extending the lines well below the main circle. Close off the shape using a short horizontal line at the bottom.
- Sketch the Ear and Neck: At the top of the head, draw a triangular shape for the ear, placing it on the tip of the sloping construction line. Higher than that, draw a sloping line for the top part of the neck, and another short line at the bottom for the lower section of the neck. Make the neck quite thick and wide.
- Place the Eye and Nose Guides: Inside the head, draw a small oval as a guide for the eye. Place the eye close to the top edge of the muzzle and close to the left edge of the circle. Inside the muzzle near the front, draw a couple of short lines that form a triangular shape as a guide for the nose.

Step 3: Add the Eyes and Brow
Darken the shape of the eye and make it more angular so that it resembles a diamond. Make the sides pointier. The right side should point up toward the ear, and the bottom part should point down toward the nose. Notice how small the eye is in relation to the head. Above the eye, sketch a big curved line lightly at first, shaping it into a round, thick brow. Use a few angled lines here to create a furry texture. Draw a couple of angled lines below the eye for creases on the skin. Leave the inside of the eye blank to give the tiger a more menacing, stylized look.
Step 4: Draw the Nose and Upper Jaw
Draw the shape of the nose using the small triangular guide inside the muzzle. Darken the shape but make the sides more curved, pointing the top right corner up toward the eye. Inside the nose, draw a curved line for the nostril. Above the nose, draw a long, thick, dark curved line for the top part of the jaw. Follow the path of the guides, but curve the line to the right toward the eye.

Step 5: Form the Open Mouth and Canines
Darken the bottom edge of the top jaw along the guide line, curving it toward the right. On the right side, curve the line down to create the open mouth. Sketch the gums for the lower jaw lightly at first, forming a rectangular shape inside the guideline, and darken it once it looks correct. Draw a triangular shape for the first canine tooth. Place it near the middle of the muzzle, not too close to the front.
Add a few smaller triangular shapes for the rest of the upper teeth, and add another longer triangular shape for the canine on the other side of the jaw. At the bottom, draw another small triangular shape for the canine on the lower jaw, placing it close to the bottom edge of the gums.
Above the lower canine, draw a curved line for the top edge of the gums. Add a few more pointy shapes along the gums for the molars farther back in the mouth. To the left, draw a curved line for the middle crease of the tongue, and another long curved line for the rest of the tongue.

Step 6: Finish the Chin and Ear
Draw the chin as a curved line under the gums following the path of the guide. Use angled shapes that curve upward near the top to create a furry texture on the chin.
Use the triangular guide on top of the head to draw the ear. Because the ear is pointing backward, the inside will not be fully visible. Draw a curved line across the middle of the shape for the edge of the ear, and use short strokes to create a furry texture along the edge and the visible inner section. Darken the outer edges of the guides to create the top of the head. Make the lines a bit more curved so that the forehead stands out, using a few angled lines to create a furry texture on the neck.

Step 7: Add the Cheek Fur
Draw the side of the head by sketching a long curved line that sits slightly farther apart from the main circle guide, making the head look wide. Darken this line using shorter, angled lines to create a furry texture. Vary the sizes and shapes of these lines to add variety to the fur. Notice how they change orientation. They are more horizontal at the top and become more vertical toward the bottom.

Step 9: Add Stripes and Shading
Clean up any remaining guidelines. Add the final facial markings, muzzle wrinkles, and stripes across the crest and neck before darkening the final outlines to produce a bold, clean graphic look. Finish your rendering by placing long sweeping strokes on the muzzle for the whiskers. Using these images as reference, add light shading where the orange would appear on a tiger head, and any areas in shadow. Use more pressure on your pencil when shading dark areas, such as the stripes and around the mouth.

Buy My Step-by-Step Art Books on Amazon!
If you enjoyed drawing with me and want to expand your artistic skills, please consider checking out my step-by-step drawing books on Amazon! My books break down a wide variety of animals into simple geometric shapes, making it easy and fun for artists of any skill level to follow along. Every purchase directly helps support this site so I can keep creating high-quality, free tutorials for the art community.
Click Here to Order Your Copy Today!
This is an Amazon affiliate link. If you choose to purchase through this link, I earn a small commission at no extra cost to you.

Thanks for visiting! Subscribe to the How2DrawAnimals YouTube Channel for new tutorials every week.
And to learn how to draw cartoons, visit EasyDrawingTutorials.com.
RELATED TUTORIALS
|
|
|