







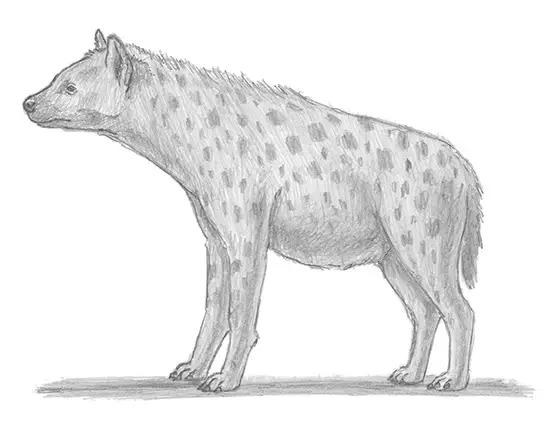
Use the step-by-step instructions below to learn how to draw a hyena. Follow along with the video, or use the images in this article. By the end of this tutorial, you will have a completed drawing of this fascinating animal!
Love drawing? Keep your artistic streak going and enjoy more free art lessons by:
- Bookmarking the How2DrawAnimals.com homepage for updates
- Subscribing to the How2DrawAnimals YouTube channel
- Visiting EasyDrawingTutorials.com for tons of free cartoon tutorials
This page contains affiliate links. If you choose to purchase through these links, I earn a small commission at no extra cost to you.
RELATED TUTORIALS
 |
 |
 |
To draw this hyena step by step, follow along with the video tutorial below and pause the video after each step to go at your own pace. You may find it easier to follow the step-by-step images below the video. You may want to open the video in a new tab and use both drawing methods.
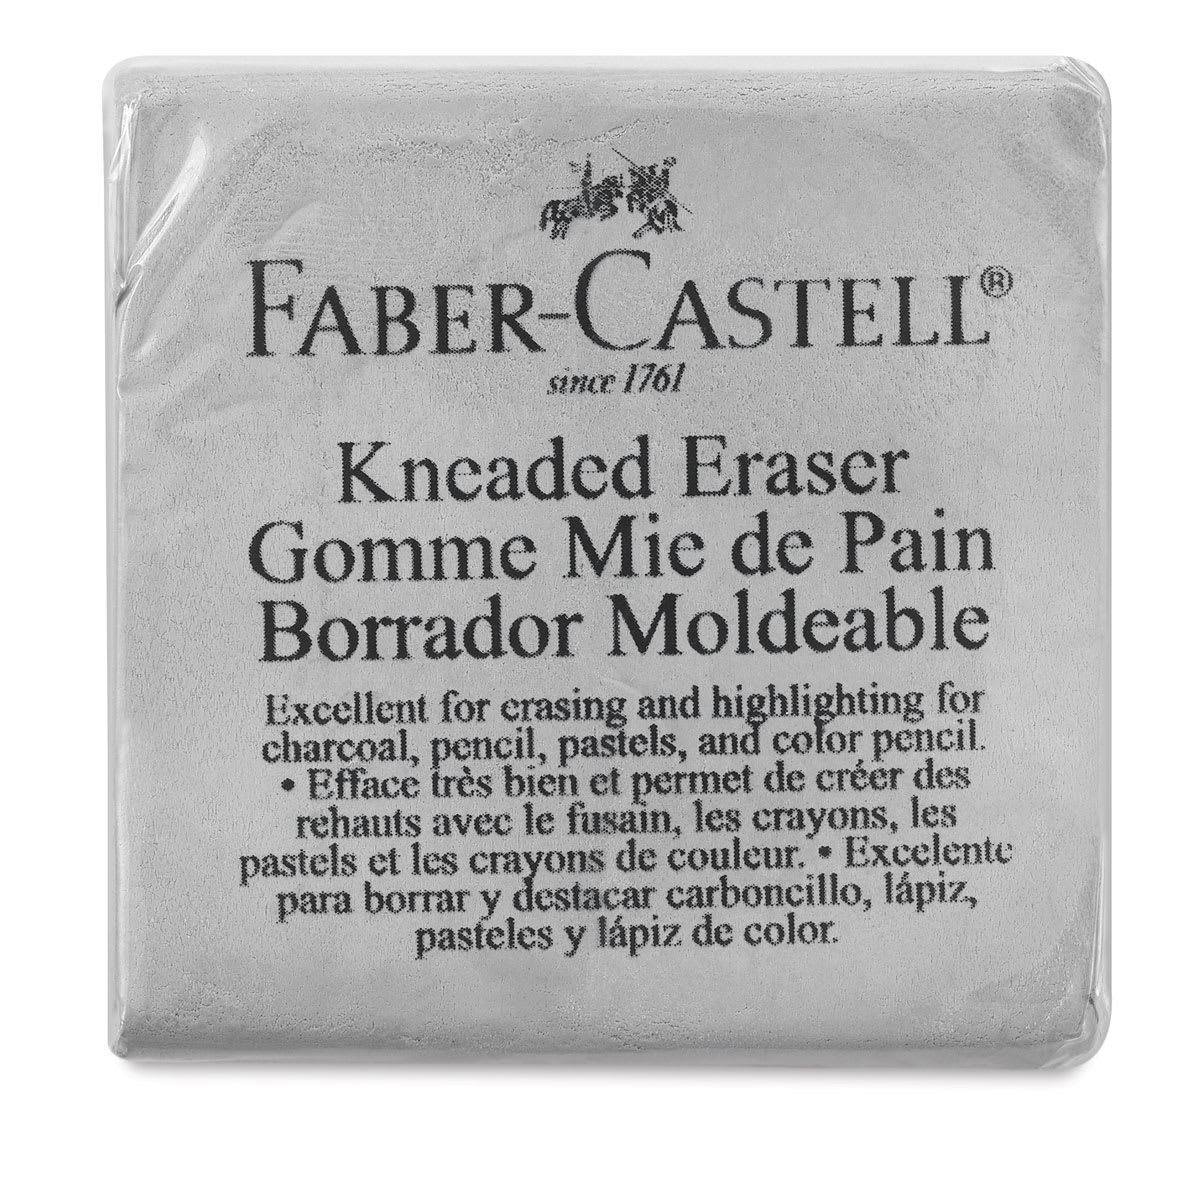
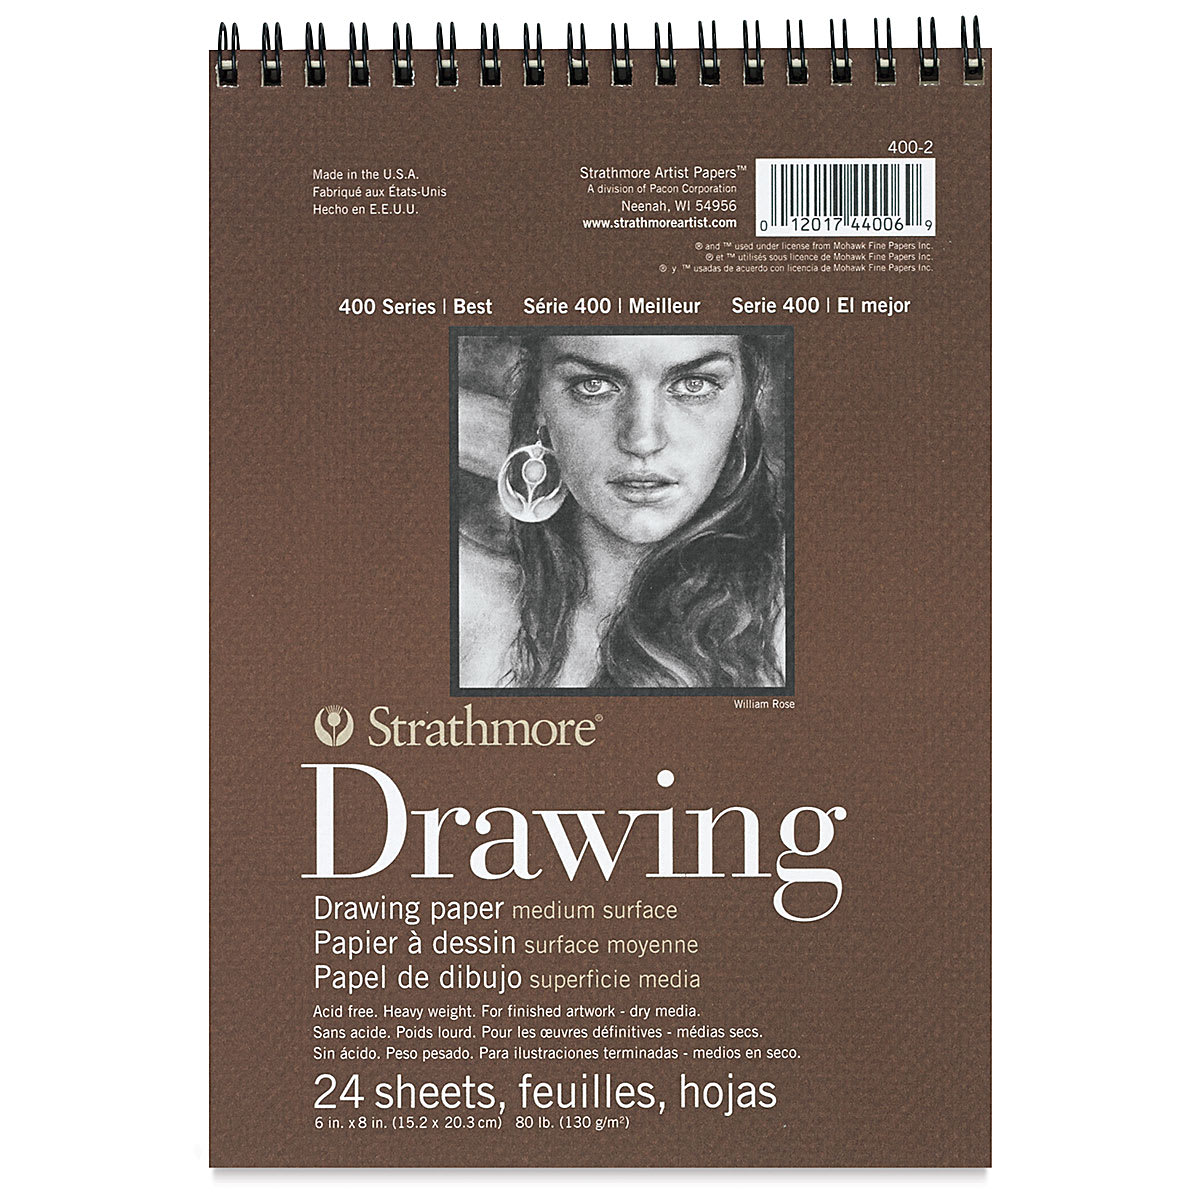
Materials You'll NeedBefore starting, gather these basic drawing supplies from Blick Art Materials. |
||
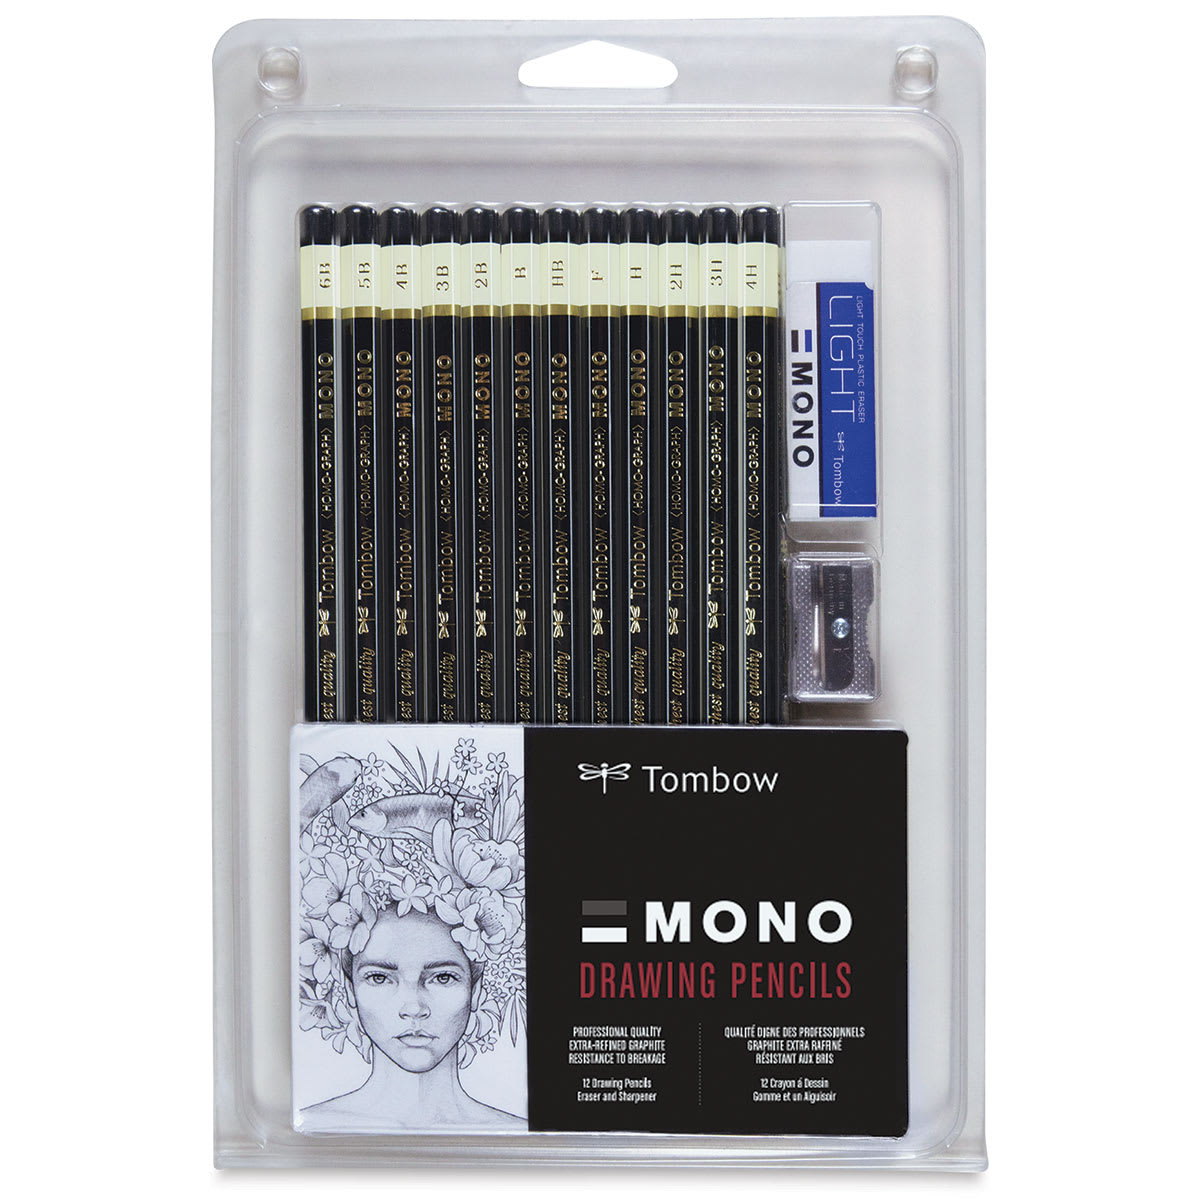 (an HB lead pencil is best for light sketches) |
 |
 |
Step 1: Constructing the Head and Front Body Guides
Start by drawing a circle as a guide for the head. First make a couple of small marks to indicate the circle's height. On the sides, make a couple more small marks to indicate the circle's width. Connect the small marks using curved lines to finish the shape of the circle. You don't have to draw a perfect circle, but if you are having trouble, trace the outer edge of a circular item like a coin or a bottle cap.
To the right, draw a bigger circle as a guide for the front part of the body. Sketch lightly at first so that it is easy to erase if you make a mistake.
- Proportional Sizing: Make the body circle around three times the size of the head.
- Line Placement: Do not overlap the head as you draw this shape.

Step 2: Adding the Rear Body and Facial Guide Lines
On the bottom right side, draw a circular shape as a guide for the back portion of the body. Most of this circle will be hidden behind the front part of the body, so only draw a small section of it.
Inside the head, draw a curved horizontal line for a construction guide. Place the line slightly lower than the center of the circle. Above that, draw a curved vertical line for another construction guide.
- Proportion: Keep the back shape small since the main mass rests on the front circle.
- Facial Alignment: Cross the horizontal and vertical head guides carefully so it's easy for you to place the facial features later on.
Step 3: Creating the Muzzle and Ear Arcs
On the bottom half of the head, draw a small circle as a guide for the muzzle. Draw the bottom part of the muzzle so that it extends outside of the head circle.
On top of the head, draw two big curved shapes as guides for the ears. The shapes should be similar to big arcs. The ears should be exceptionally big in relation to the head.
- Muzzle Form: Let the small circle break out of the boundary of the main head circle.
- Ear Scale: Exaggerate the size of the arcs slightly to create that distinct hyena look.
Step 4: Establishing Leg and Tail Guidelines
Under the front part of the body, draw a long vertical line as a guide for the front leg. Bend the line slightly near the middle to indicate the joints. At the bottom, draw a short horizontal line for the foot. To the left, draw a long angled line as a guide for the other front leg, bending it more to show a forward step.
Under the back portion of the body, draw a long sloping line as a guide for the hind leg, bringing the bottom of the line close to the front leg. Draw a shorter line at the top for the secondary hind leg, and add a short line on the top right for the tail.
- Front Joints: Create natural bends in the guidelines for more realistic-looking animal anatomy.
- Leg Slope: Angle the hyena's left hind leg forward underneath the frame.

Step 5: Detailing the Eyes
Inside the head, lightly sketch two small circles for the eyes. Place the eyes on top of the horizontal construction guide and on either side of the vertical guide. When you get the sizes and positions correct, darken the shapes.
- Corners: Make the sides pointier for the corners of the eyes as you darken them.
- Perspective: Make the eye on the right a bit smaller because the head is slightly turned.
- Pupils: Keep the borders thick and dark, adding a couple of curved creases below the eyes, tiny highlight circles inside, and short vertical lines for slit pupils.
Step 6: Drawing the Nose, Mouth, and Jaw
Lightly sketch a small square-like shape inside the muzzle for the nose, placing the bottom along the edge of the head circle. Darken the shape, adding a couple of small shaded circles for the nostrils with short curved lines on their outer edges. Add a short line between the nostrils and darken the top and bottom.
Below the nose, draw a horizontal line for the mouth, curving the outer tips up. Darken the muzzle along the path of the initial guide circle. Under the mouth, draw a curved line for the chin, extending it further to the left to form the lower jaw.
Darken the ear guides, making the tops pointier. Add a few short strokes inside for the furry bases and a curved line for the side of the first ear. Follow the path of the first circle to finish the head shape, keeping the jaw area angular. Draw a couple of short lines next to the ears for the top of the neck.
- Nose Highlights: Leave a thin strip blank at the top of the nose for a highlight.
- Jaw Definition: Make the jawline angular.

Step 7: Drawing the Front Legs
Use the guidelines to build out the front legs. Sketch the shapes around the lines, widening the tops and narrowing the bottoms. Curve the shapes at the joints and add small square-like shapes for the feet. Darken the final lines and add short vertical and curved lines at the bottom to separate the toes.
- Stepping Foot: Draw the bottom of the forward foot slightly higher to show movement.
- Texture: Use short strokes at the tops of the limbs to create coat's texture.

Step 8: Finalizing the Hind Legs, Body, and Tail
Use the long sloping line on the right side as a guide to sketch the main hind leg. Add a small curved shape near the middle to indicate the joint and add curved lines at the bottom to separate the toes. Sketch the visible parts of the background hind leg tucked behind the first.
Connect the rest of the body along the outer edges of your guides. Draw a sloping line above the head for the top of the neck and make the top of the body slightly higher than the initial guide circle. Add a series of short strokes along the bottom to create the shaggy fur on the underside. Finish the tail shape around its guideline using short strokes for a furry texture.
- Underside Texture: Keep strokes loose along the belly for the shaggy fur found there.
- Structure Lines: Add a few short structural lines within the body shape to provide depth.

Step 9: Erasing Guidelines
Erase the initial construction guidelines to clean up the drawing. It is fine if some faint lines remain behind. Redraw any final outlines that were accidentally removed during the process.

Step 10: Begin Shading
Start by using a dark value to establish core shadows across the body, which gives the figure volume. Start light and gradually build up to darker tones. Use a dark value on the muzzle and shade in the direction of the fur, which radiates outward from the nose. Use a medium value to coat the rest of the body.
- Pencil Pressure: Push down lightly for soft tones and increase pressure for deep shadows.
- Fur Direction: Always lay down pencil strokes matching the natural growth pattern of the hair.

Step 11: Adding Patterns and Environmental Details
Darken the final outlines to emphasize the hyena's muscular shape. Using a dark value, render the iconic spotted pattern across the coat. Do not draw the spots as perfect circles; make them small, irregular shapes distributed naturally along the torso and legs.

Add a few short strokes on the muzzle to create whiskers. Finally, draw a series of short vertical and angled strokes along the bottom of the feet to create a realistic grassy texture for your animal to stand on. Keep refining the values until you are satisfied with the final look.
- Spot Variegation: Vary the size and spacing of the coat markings to prevent a uniform look.
- Take Your Time: Take breaks during complex shading passes to keep your hand steady (and to keep your patience!).

Buy My Step-by-Step Art Books on Amazon!
If you enjoyed drawing with me and want to expand your artistic skills, please consider checking out my step-by-step drawing books on Amazon! My books break down a wide variety of animals into simple geometric shapes, making it easy and fun for artists of any skill level to follow along. Every purchase directly helps support this site so I can keep creating high-quality, free tutorials for the art community.
Click Here to Order Your Copy Today!
This is an Amazon affiliate link. If you choose to purchase through this link, I earn a small commission at no extra cost to you.
Thanks for visiting! Subscribe to the How2DrawAnimals YouTube Channel for new tutorials every week.
And to learn how to draw cartoons, visit EasyDrawingTutorials.com.
RELATED TUTORIALS
|
|
|