







Use the step-by-step instructions below to learn how to draw a Giant Panda eating bamboo. Follow along with the video, or use the images in this article. By the end of this tutorial, even beginners will have a completed drawing of a Panda Bear!
Love drawing? Keep your artistic streak going and enjoy more free art lessons by:
- Bookmarking the How2DrawAnimals.com homepage for updates
- Subscribing to the How2DrawAnimals YouTube channel
- Visiting EasyDrawingTutorials.com for tons of free cartoon tutorials
This page contains affiliate links. If you choose to purchase through these links, I earn a small commission at no extra cost to you.
RELATED TUTORIALS
 |
 |
 |
To draw this panda step by step, follow along with the video tutorial below and pause the video after each step to go at your own pace. You may find it easier to follow the step-by-step images below the video. You may want to open the video in a new tab and use both drawing methods. Take your time and create art at your own pace.
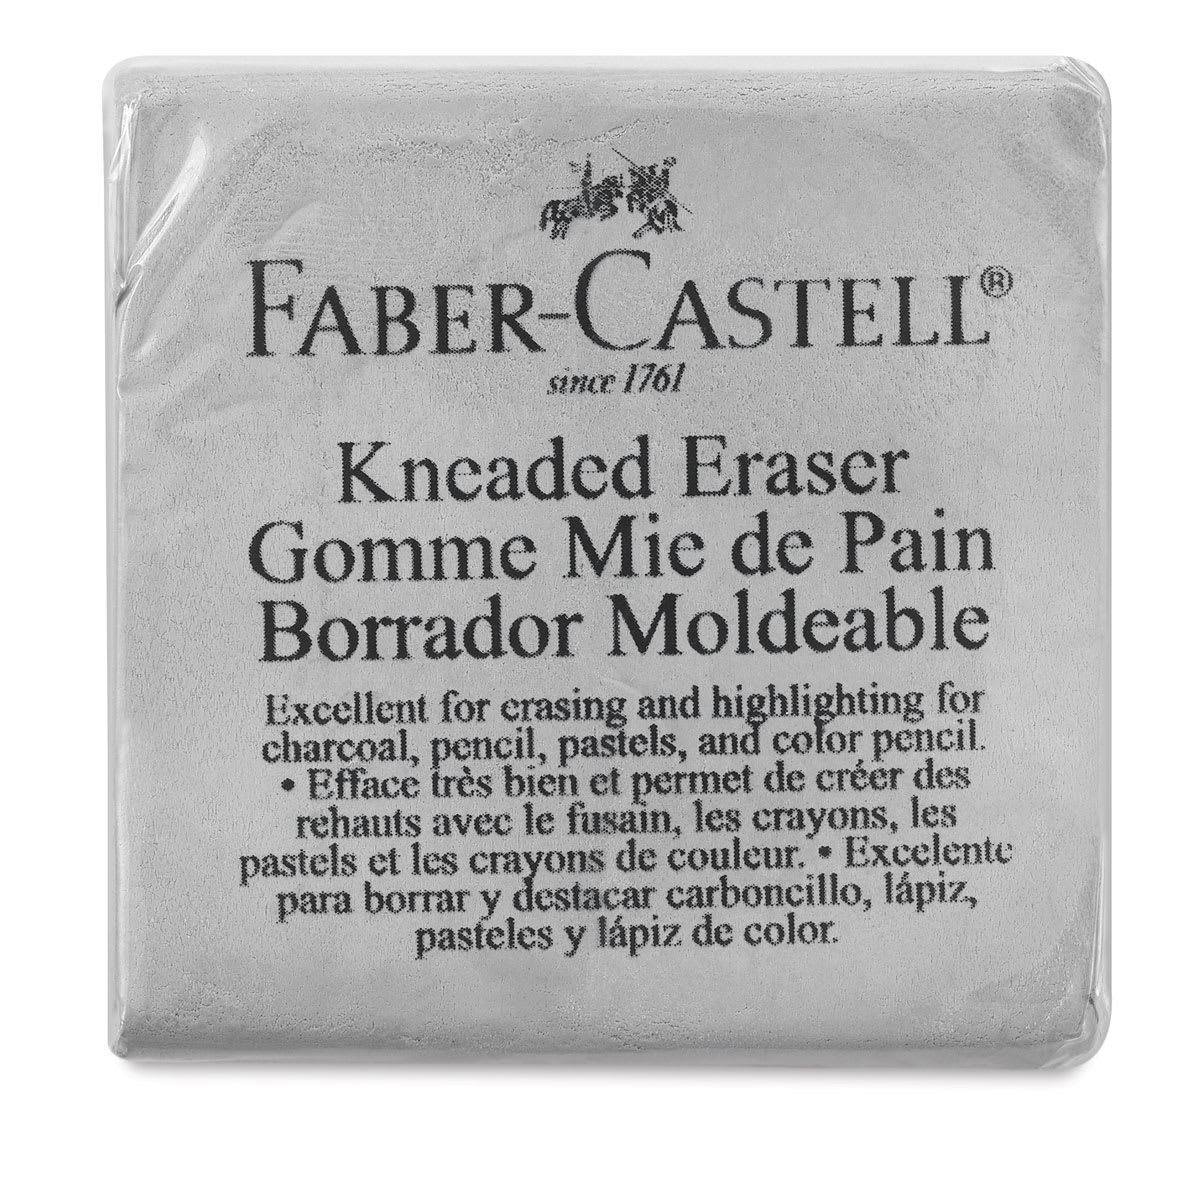
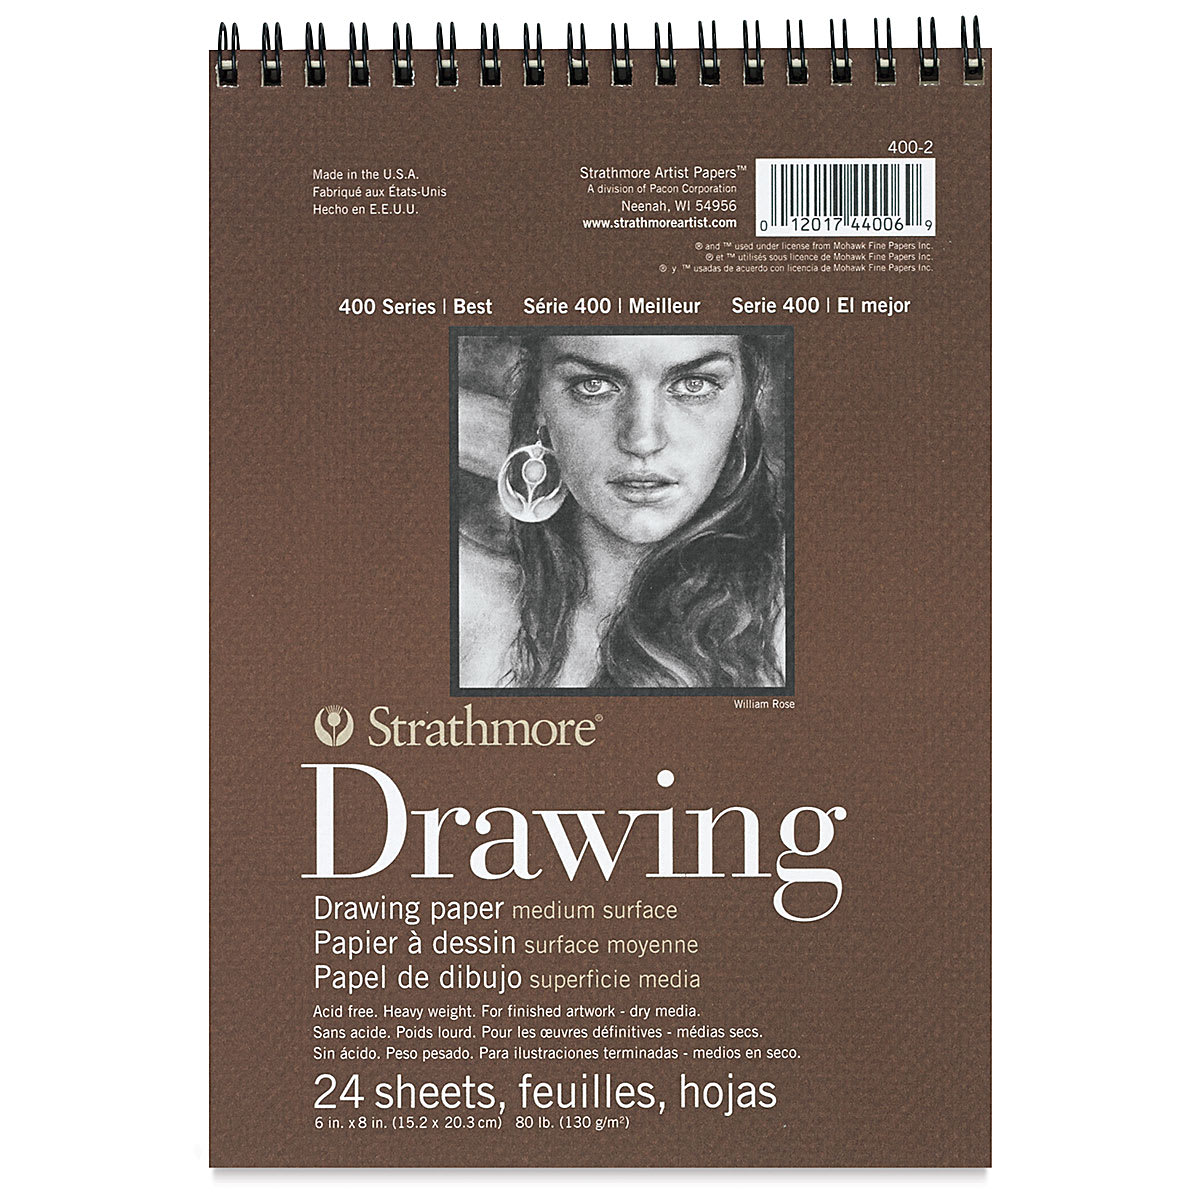
Materials You'll NeedBefore starting, gather these basic drawing supplies from Dick Blick. |
||
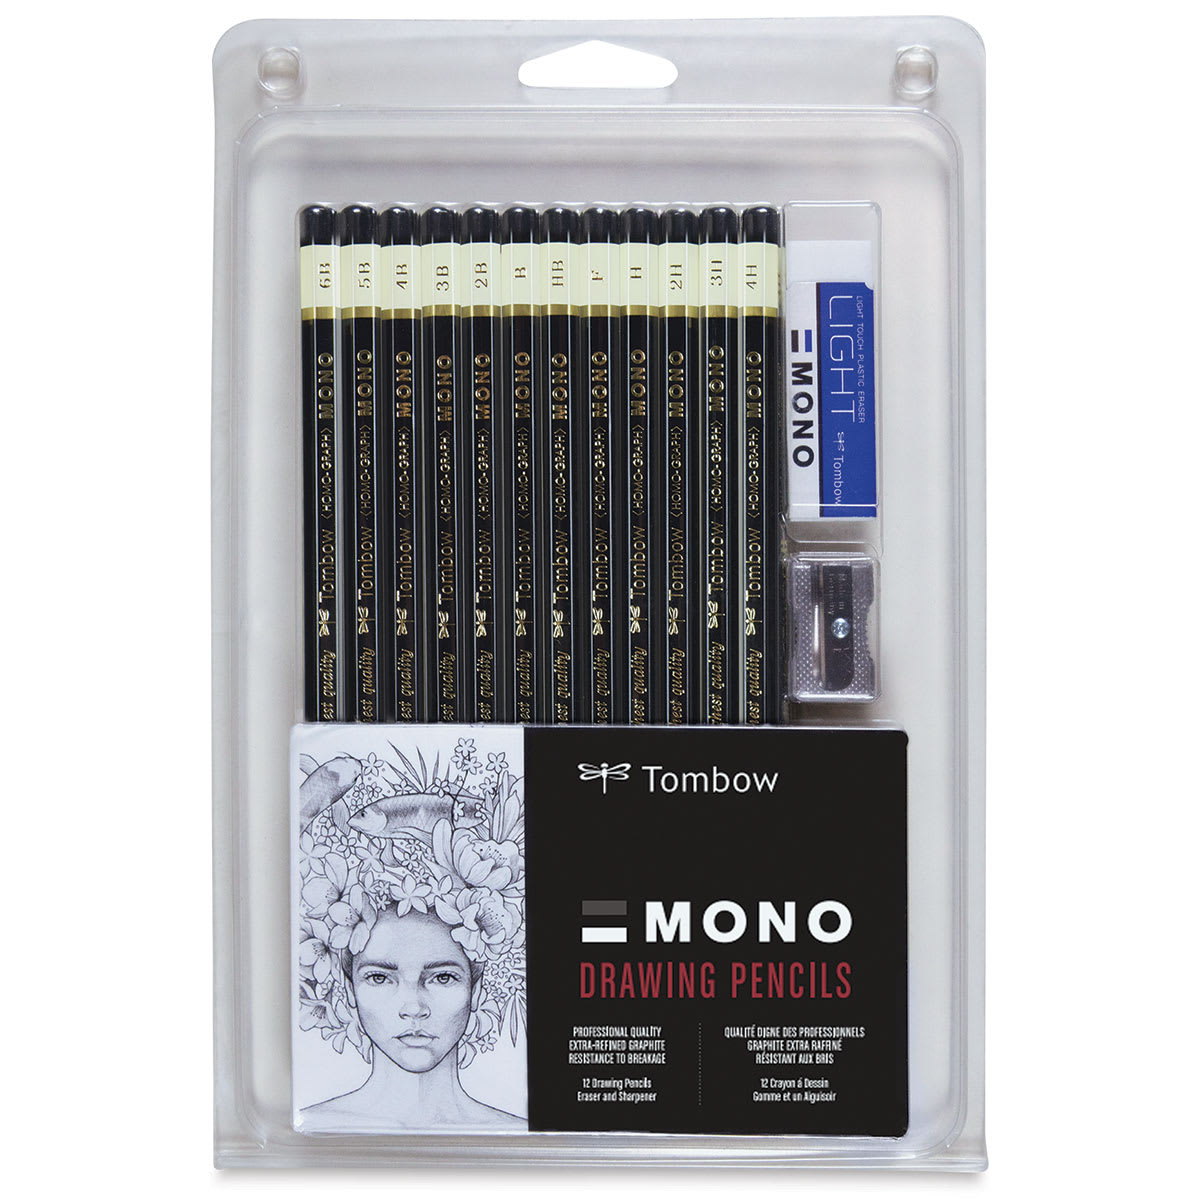 (an HB lead pencil is best for light sketches) |
 |
 |

Step 1: Sketching the Guidelines
Establish the foundation of your panda drawing with basic proportions and geometric shapes. Sketch lightly so mistakes are easy to erase.
Head and Face
- Main Head Circle: To draw a circle, mark the height and width with four small marks, and then connect them using curved lines. You can trace a round object like a lid or bottle cap if you have trouble drawing circles freehand.
- Construction Guides: Draw a sloped horizontal line slightly higher than the center of the circle, and a curved vertical line on the top right side.
- Muzzle Guide: Add a smaller circle inside the bottom half of the head, keeping its scale relative to the main head circle.
Ears and Body
- Ear Guides: Draw two small arc-like structures sitting on top of the head circle.
- Left Arm and Back: Sketch a long curved line from the upper-left side of the head downward, then loop it back up toward the lower right side of the head. Curve the top section outward to establish the front part of the arm.
- Right Arm and Torso: Extend a long sloping line from the right side of the head, curving it at the base. Drop another sloping line down for the outer body edge, and place a wide, small square-like shape at the bottom for the hand.

Step 2: Drawing the Facial Features
Use the facial construction guides to place and detail the eyes, nose, and mouth.
Eyes and Eye Patches
- The Eyes: Sketch two small circles directly on the horizontal guide line on either side of the vertical guide. Darken them with pointed corners and add crease lines around the outer edges.
- Pupils and Highlights: Place tiny highlight circles inside, and then add and shade smaller circles for the pupils.
- Eye Spots: Draw large, long patches extending far down below the eyes. Use short, quick strokes for a furry edge, and curve the center inward toward the eyes. Make the right patch slightly smaller due to the turn of the head.
Nose and Mouth
- The Nose: Lightly place a small triangular nose near the right edge of the muzzle circle. Define it with a wavy top line, thin curved nostril shapes, and a pointed bottom point.
- The Mouth: Curve a line rightward from beneath the nose up to the edge of the muzzle. Run another line leftward, then draw a lower curved line going down using short, textured strokes to create an open mouth. Inside, add tiny triangular teeth (making the canine larger) and a lower lip line.
- The Chin: Finish the facial layout by tracking the lower edge of the initial head circle with a series of short, furry strokes.

Step 3: Defining the Head, Ears, and Body
Build real structure and fur textures over your guide lines.
Head and Ears
- Ears: Trace the ear arcs using short strokes for a furry finish, shaping them with a natural curve. Sketch inner lines to show the ear canals.
- Head Shape: Draw the top of the head slightly higher and more rounded than the original circle. Expand the bottom half wider than the initial guide, using jagged, short strokes to convey thick fur. Use angled strokes along the back left line for the neck.
Arms and Torso
- Left Forelimb: Darken the long left guide loop with short, texturing fur lines. Separate the fingers at the paw with short curves, and close off the upper arm shape on the left.
- Right Forelimb and Body: Refine the right hand inside its square guide, drawing inner curved lines for distinct fingers. Darken the final sloping back line with textured fur strokes.

Step 4: Adding the Bamboo and Details
Give your panda a detailed stalk of bamboo to much on.
Bamboo Details
- Main Stalk: Run a long, thick, double-lined parallel shape diagonally across the torso. Make sure your lines run behind the hand rather than overlapping it.
- Segments: Draw short horizontal bands across the stalk to indicate natural bamboo nodes.
- Chewed Pieces: Extend a few thin, splintered lines directly out from the open mouth to make it look like a piece of bamboo is actively being broken off and eaten.

Step 5: Erasing Guidelines and Shading
Clean up the page and add dramatic contrasting values to make your panda look three-dimensional.
Final Clean-up and Values
- Line Clean-up: Erase all internal construction lines. Re-darken any outlines that were softened or lost in the process.
- Dark Fur Sections: Fill in the ears, eye patches, nose, and arms with a rich, dark pencil value. Layer your shading slowly, leaving slight patches a bit lighter to suggest highlights on shiny fur.
- White Fur Highlights and Bamboo: Lay down soft, light shading on the white areas of the body to form realistic shadows, always working your pencil in the direction of natural fur growth. Put a light tone across the bamboo stalk to complete the piece.

Buy My Step-by-Step Art Books on Amazon!
If you enjoyed drawing with me and want to expand your artistic skills, please consider checking out my step-by-step drawing books on Amazon! My books break down a wide variety of animals into simple geometric shapes, making it easy and fun for artists of any skill level to follow along. Every purchase directly helps support this site so I can keep creating high-quality, free tutorials for the art community.
Click Here to Order Your Copy Today!
This page contains affiliate links. If you choose to purchase through these links, I earn a small commission at no extra cost to you.

Thanks for visiting! Subscribe to the How2DrawAnimals YouTube Channel for new tutorials every week.
And to learn how to draw cartoons, visit EasyDrawingTutorials.com.
RELATED TUTORIALS
|
|
|