







Use the step-by-step instructions below to learn how to draw a python coiled on a tree branch. Follow along with the video, or use the images in this article. By the end of this tutorial, even beginners will have a completed drawing of this incredible snake!
Love drawing? Keep your artistic streak going and enjoy more free art lessons by:
- Bookmarking the How2DrawAnimals.com homepage for updates
- Subscribing to the How2DrawAnimals YouTube channel
- Visiting EasyDrawingTutorials.com for tons of free cartoon tutorials
This page contains affiliate links. If you choose to purchase through these links, I earn a small commission at no extra cost to you.
RELATED TUTORIALS
 |
 |
 |
To draw this snake step by step, follow along with the video tutorial below and pause the video after each step to go at your own pace. You may find it easier to follow the step-by-step images below the video. You may want to open the video in a new tab and use both drawing methods.
Materials You'll NeedBefore starting, gather these basic drawing supplies from Blick Art Materials. |
||
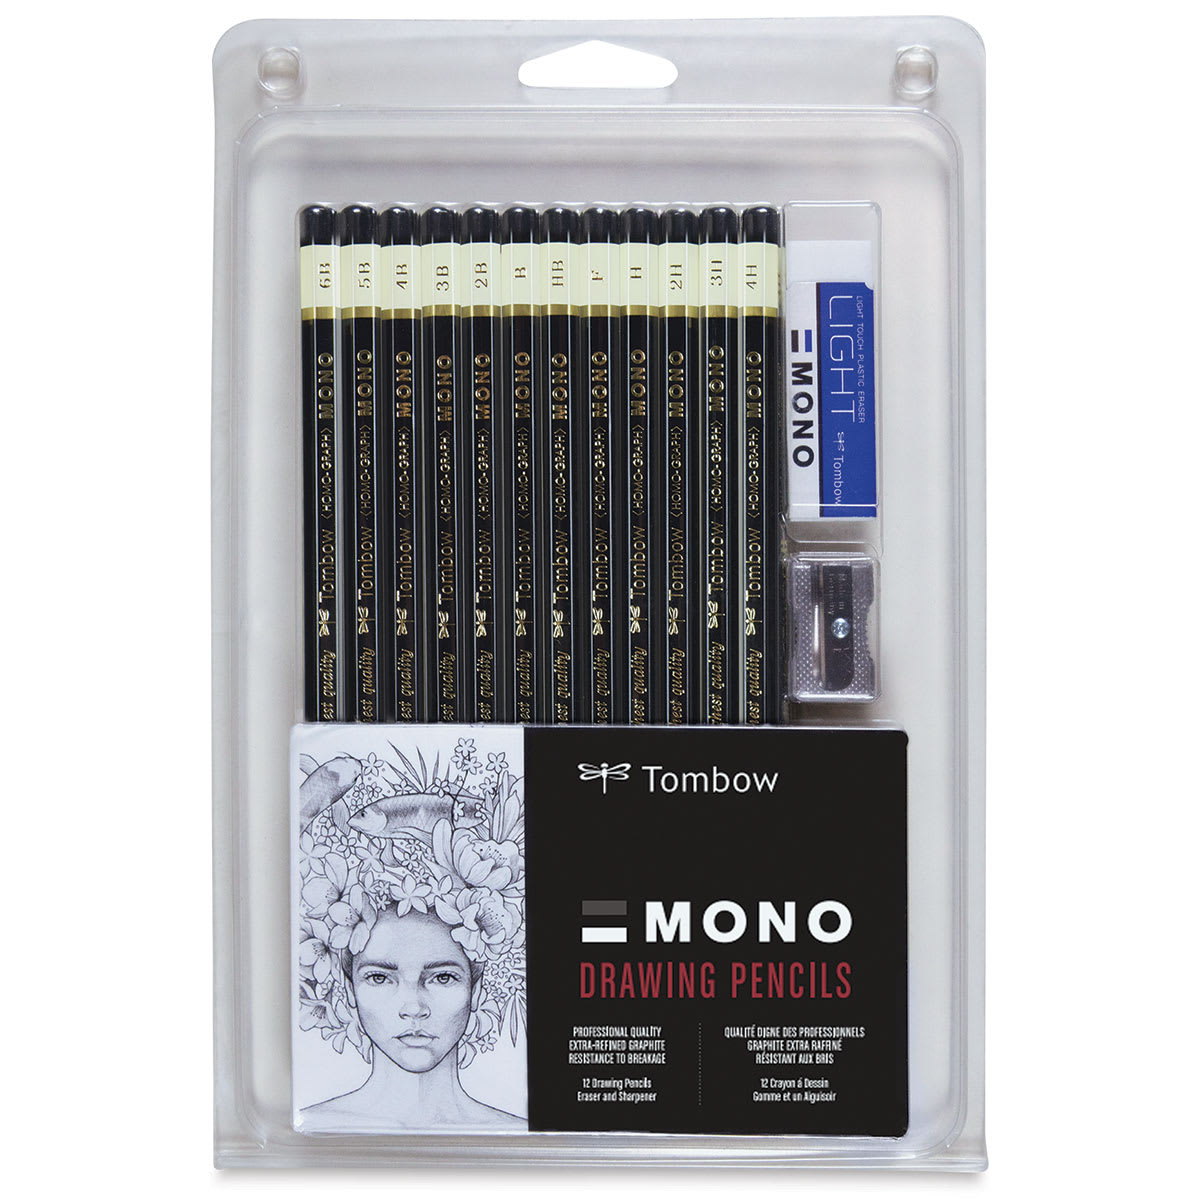 (an HB lead pencil is best for light sketches) |
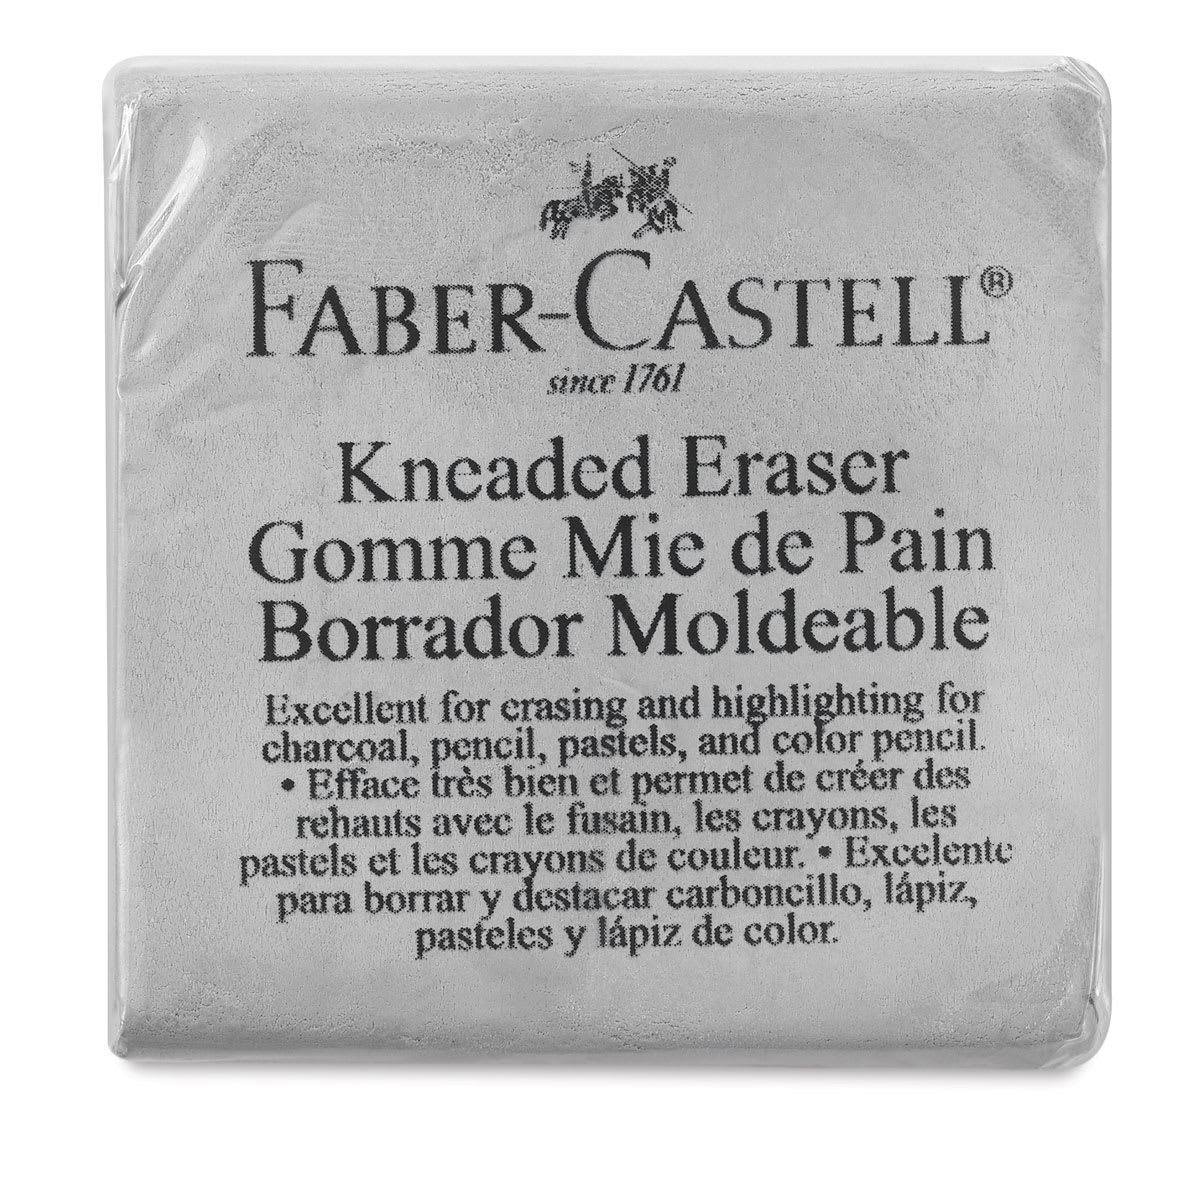 |
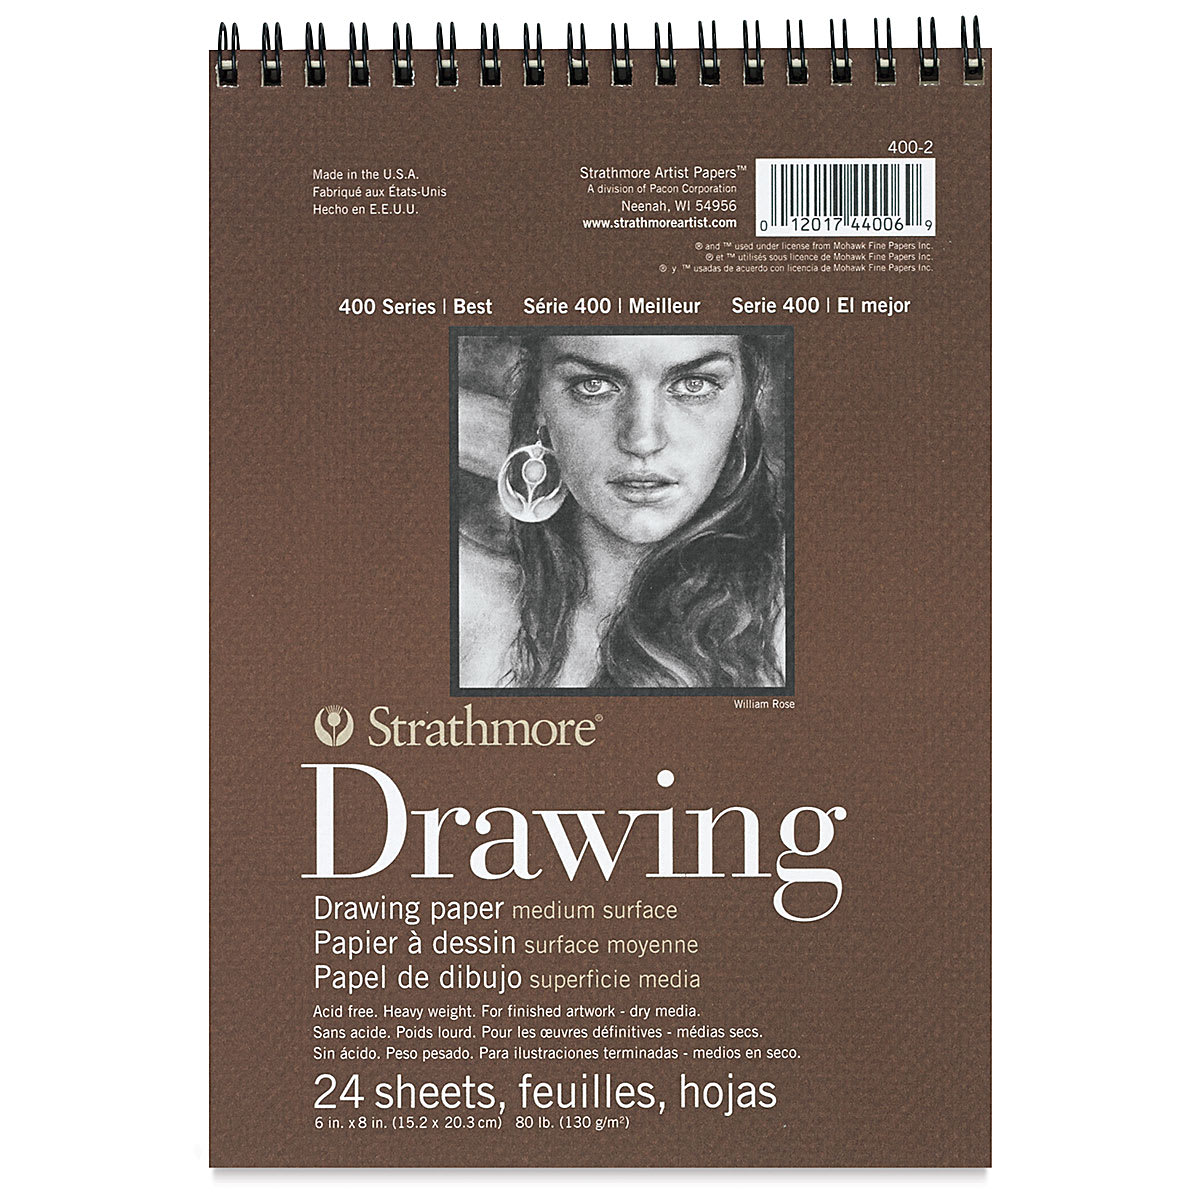 |
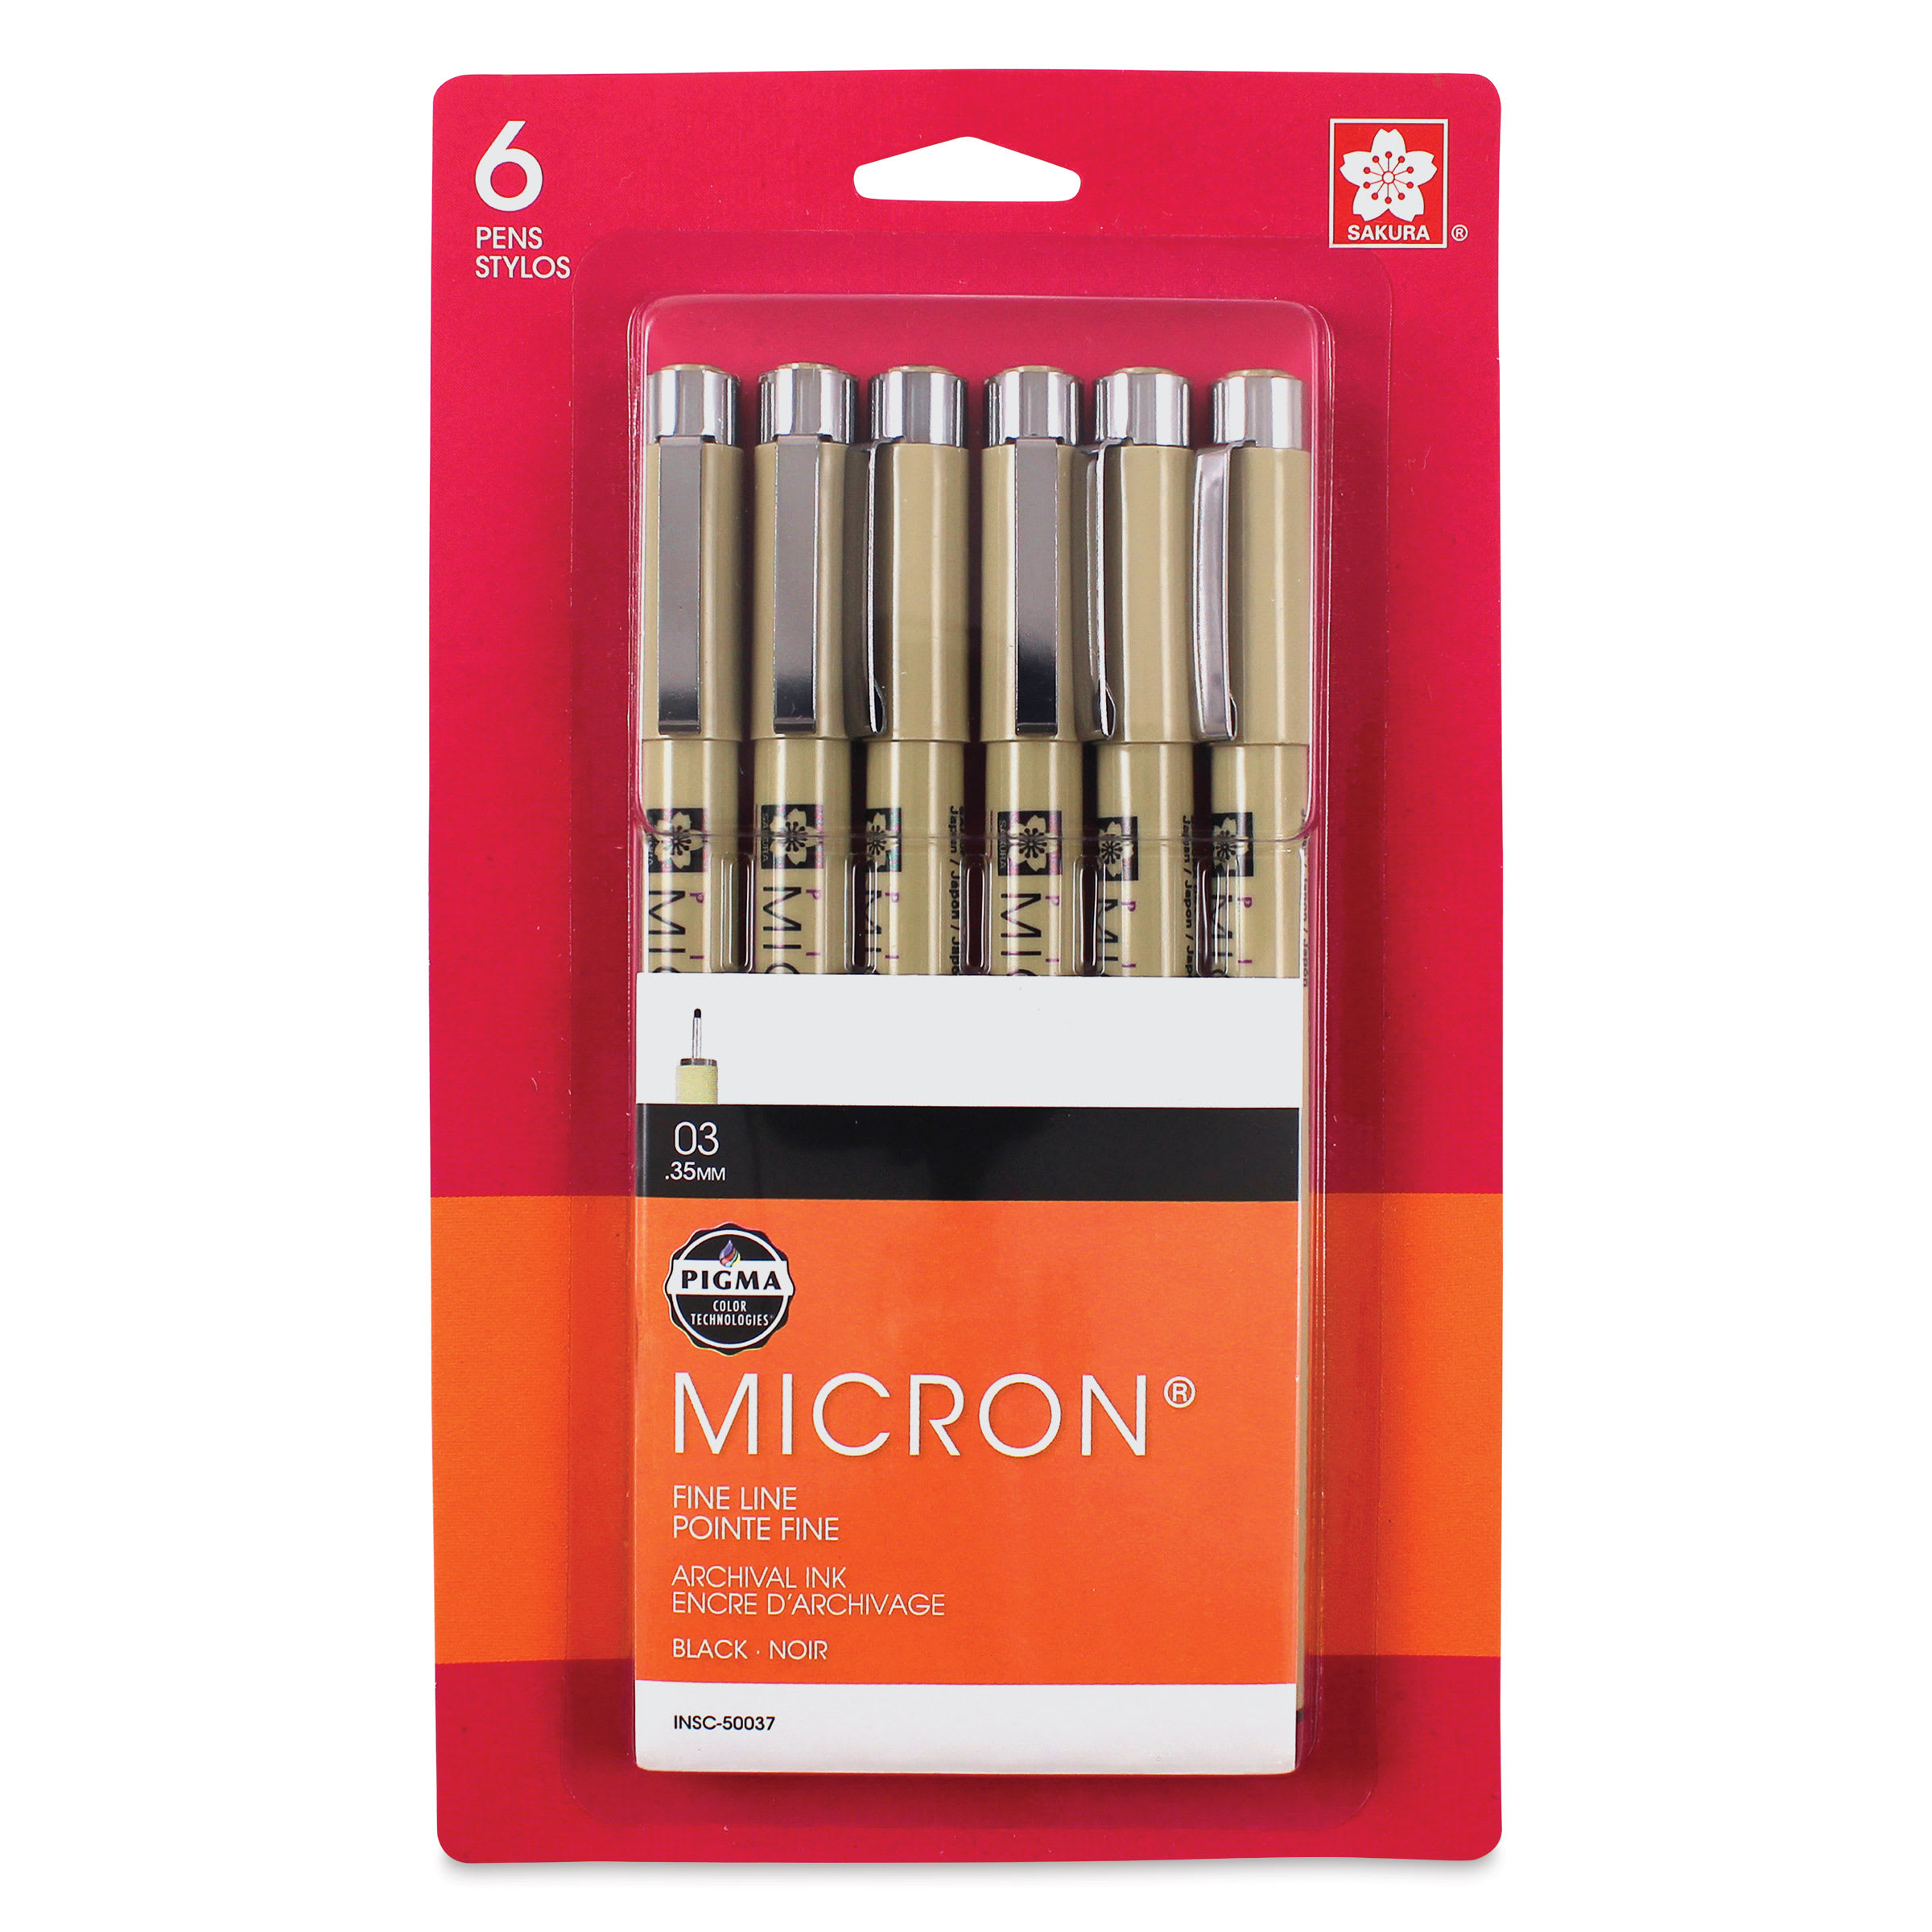 (or Fine-Line Marker) |
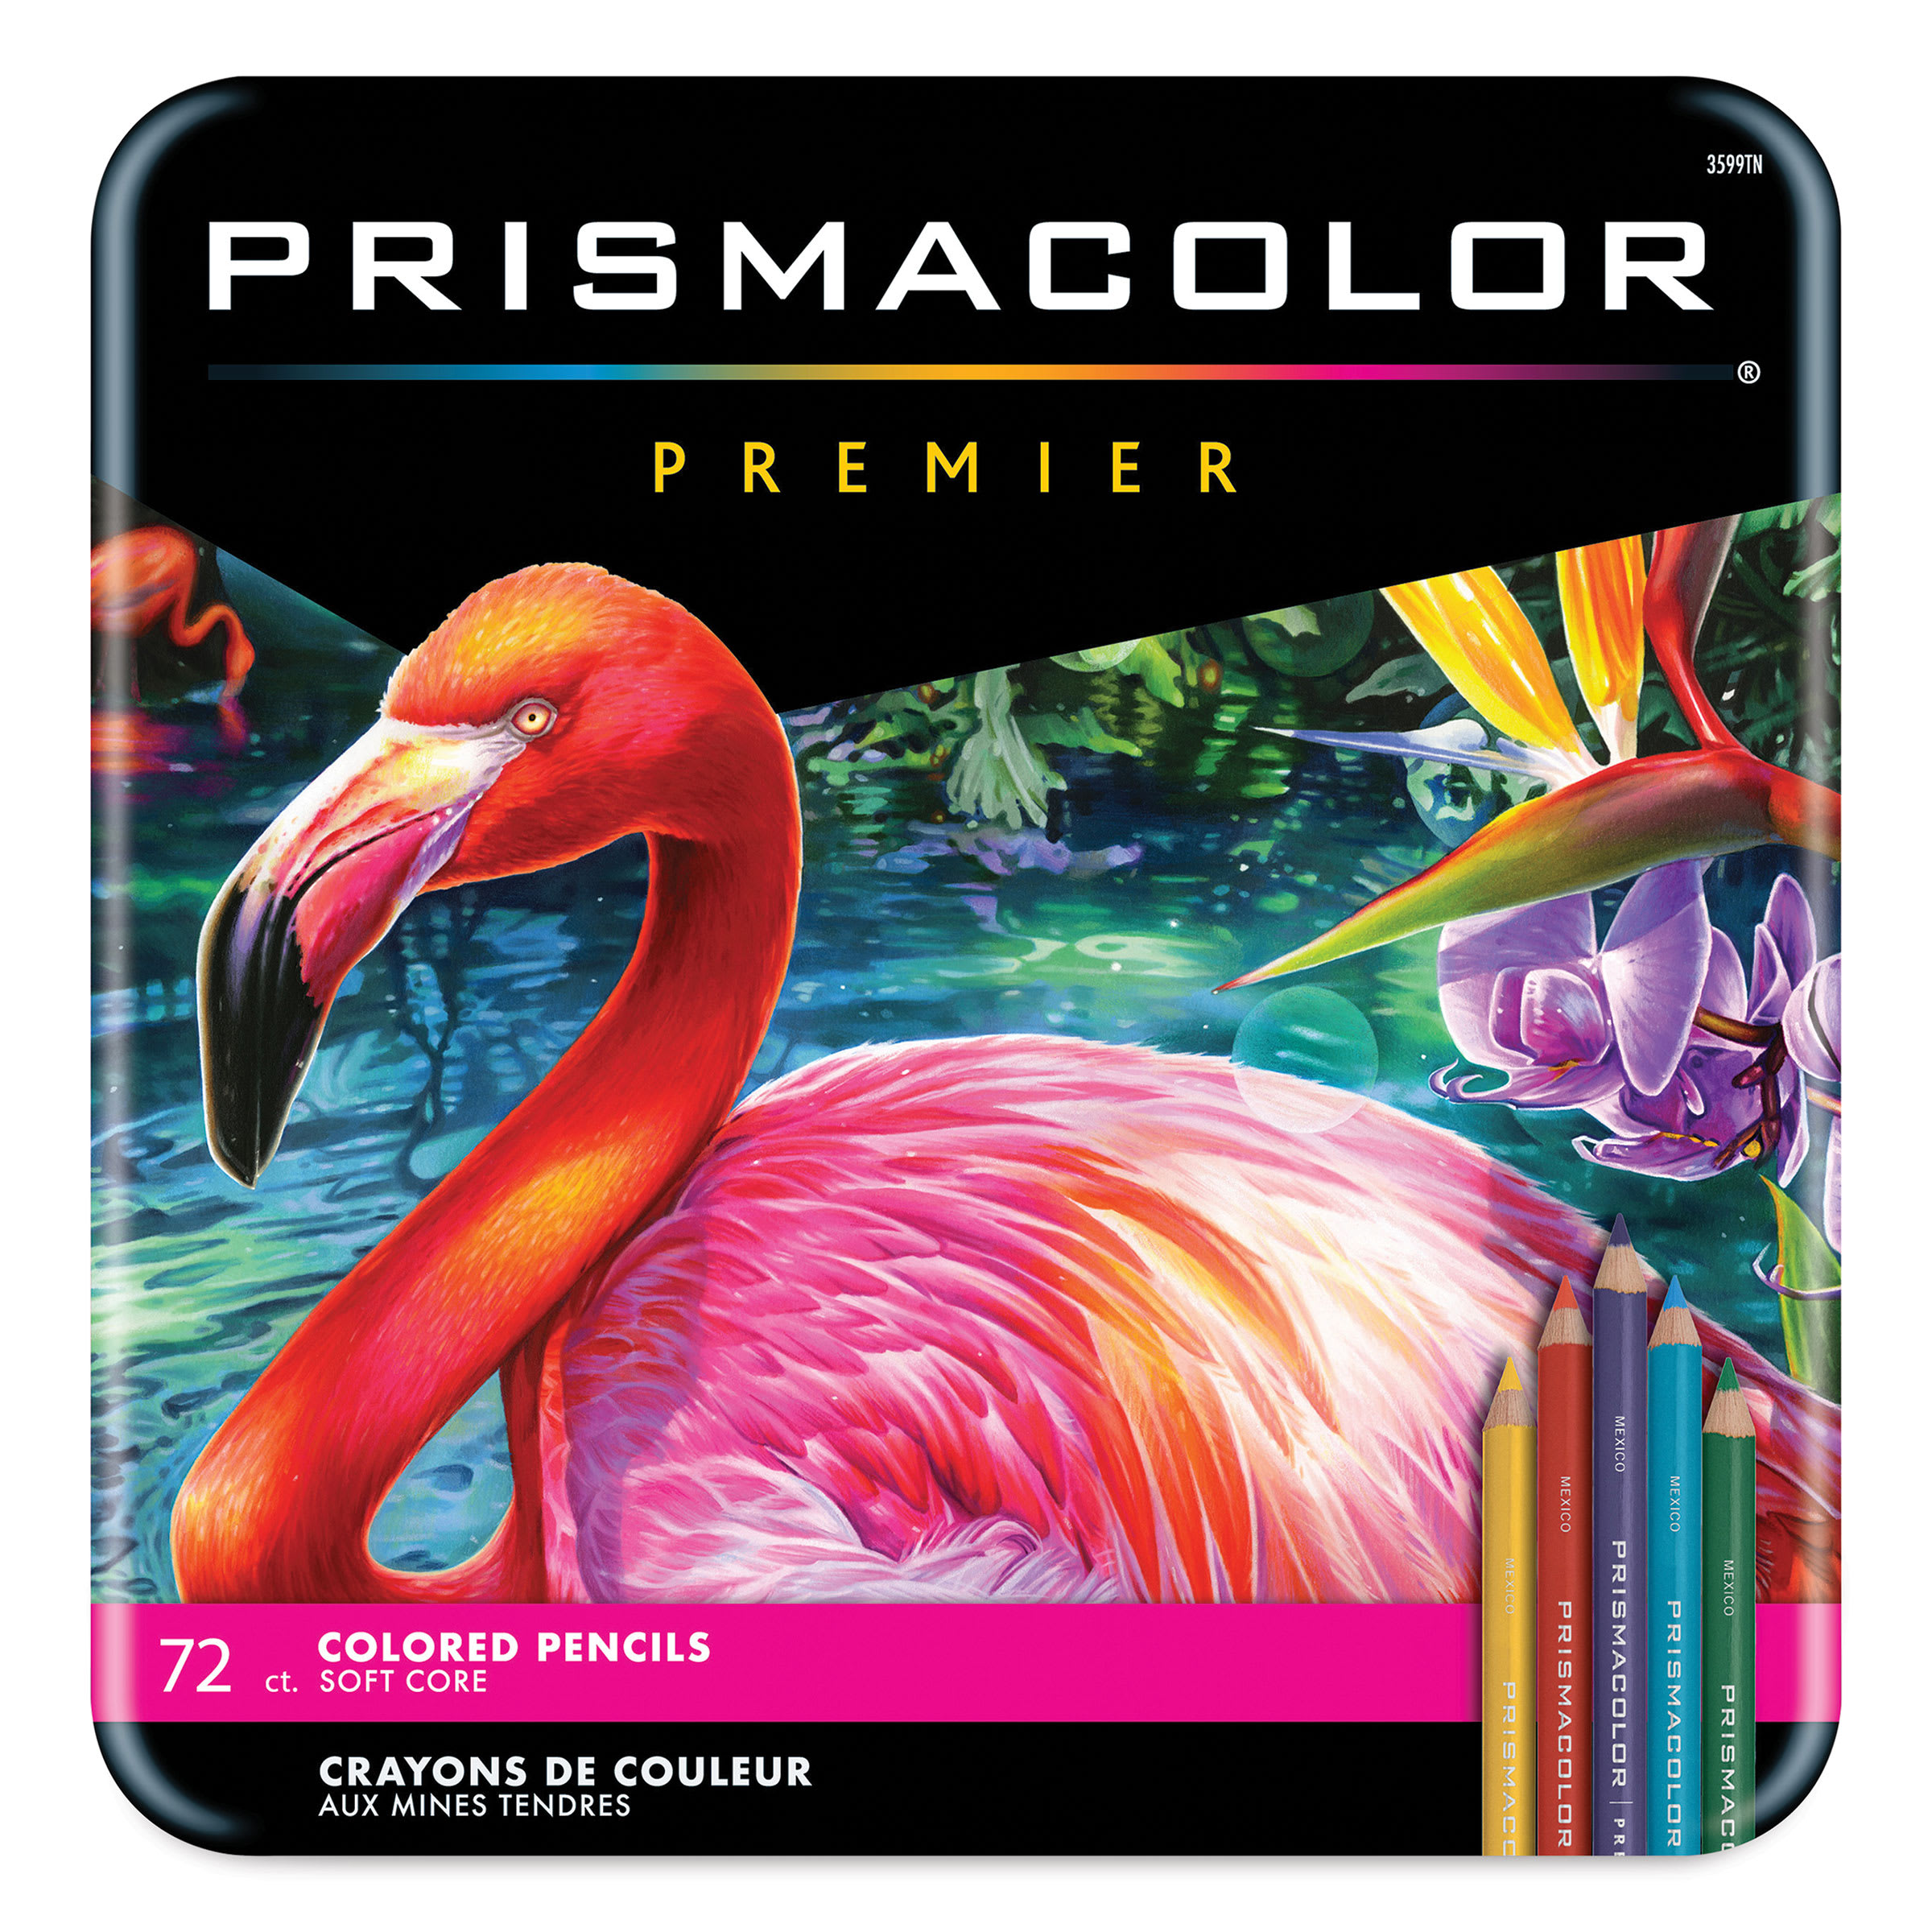 (or Markers) |
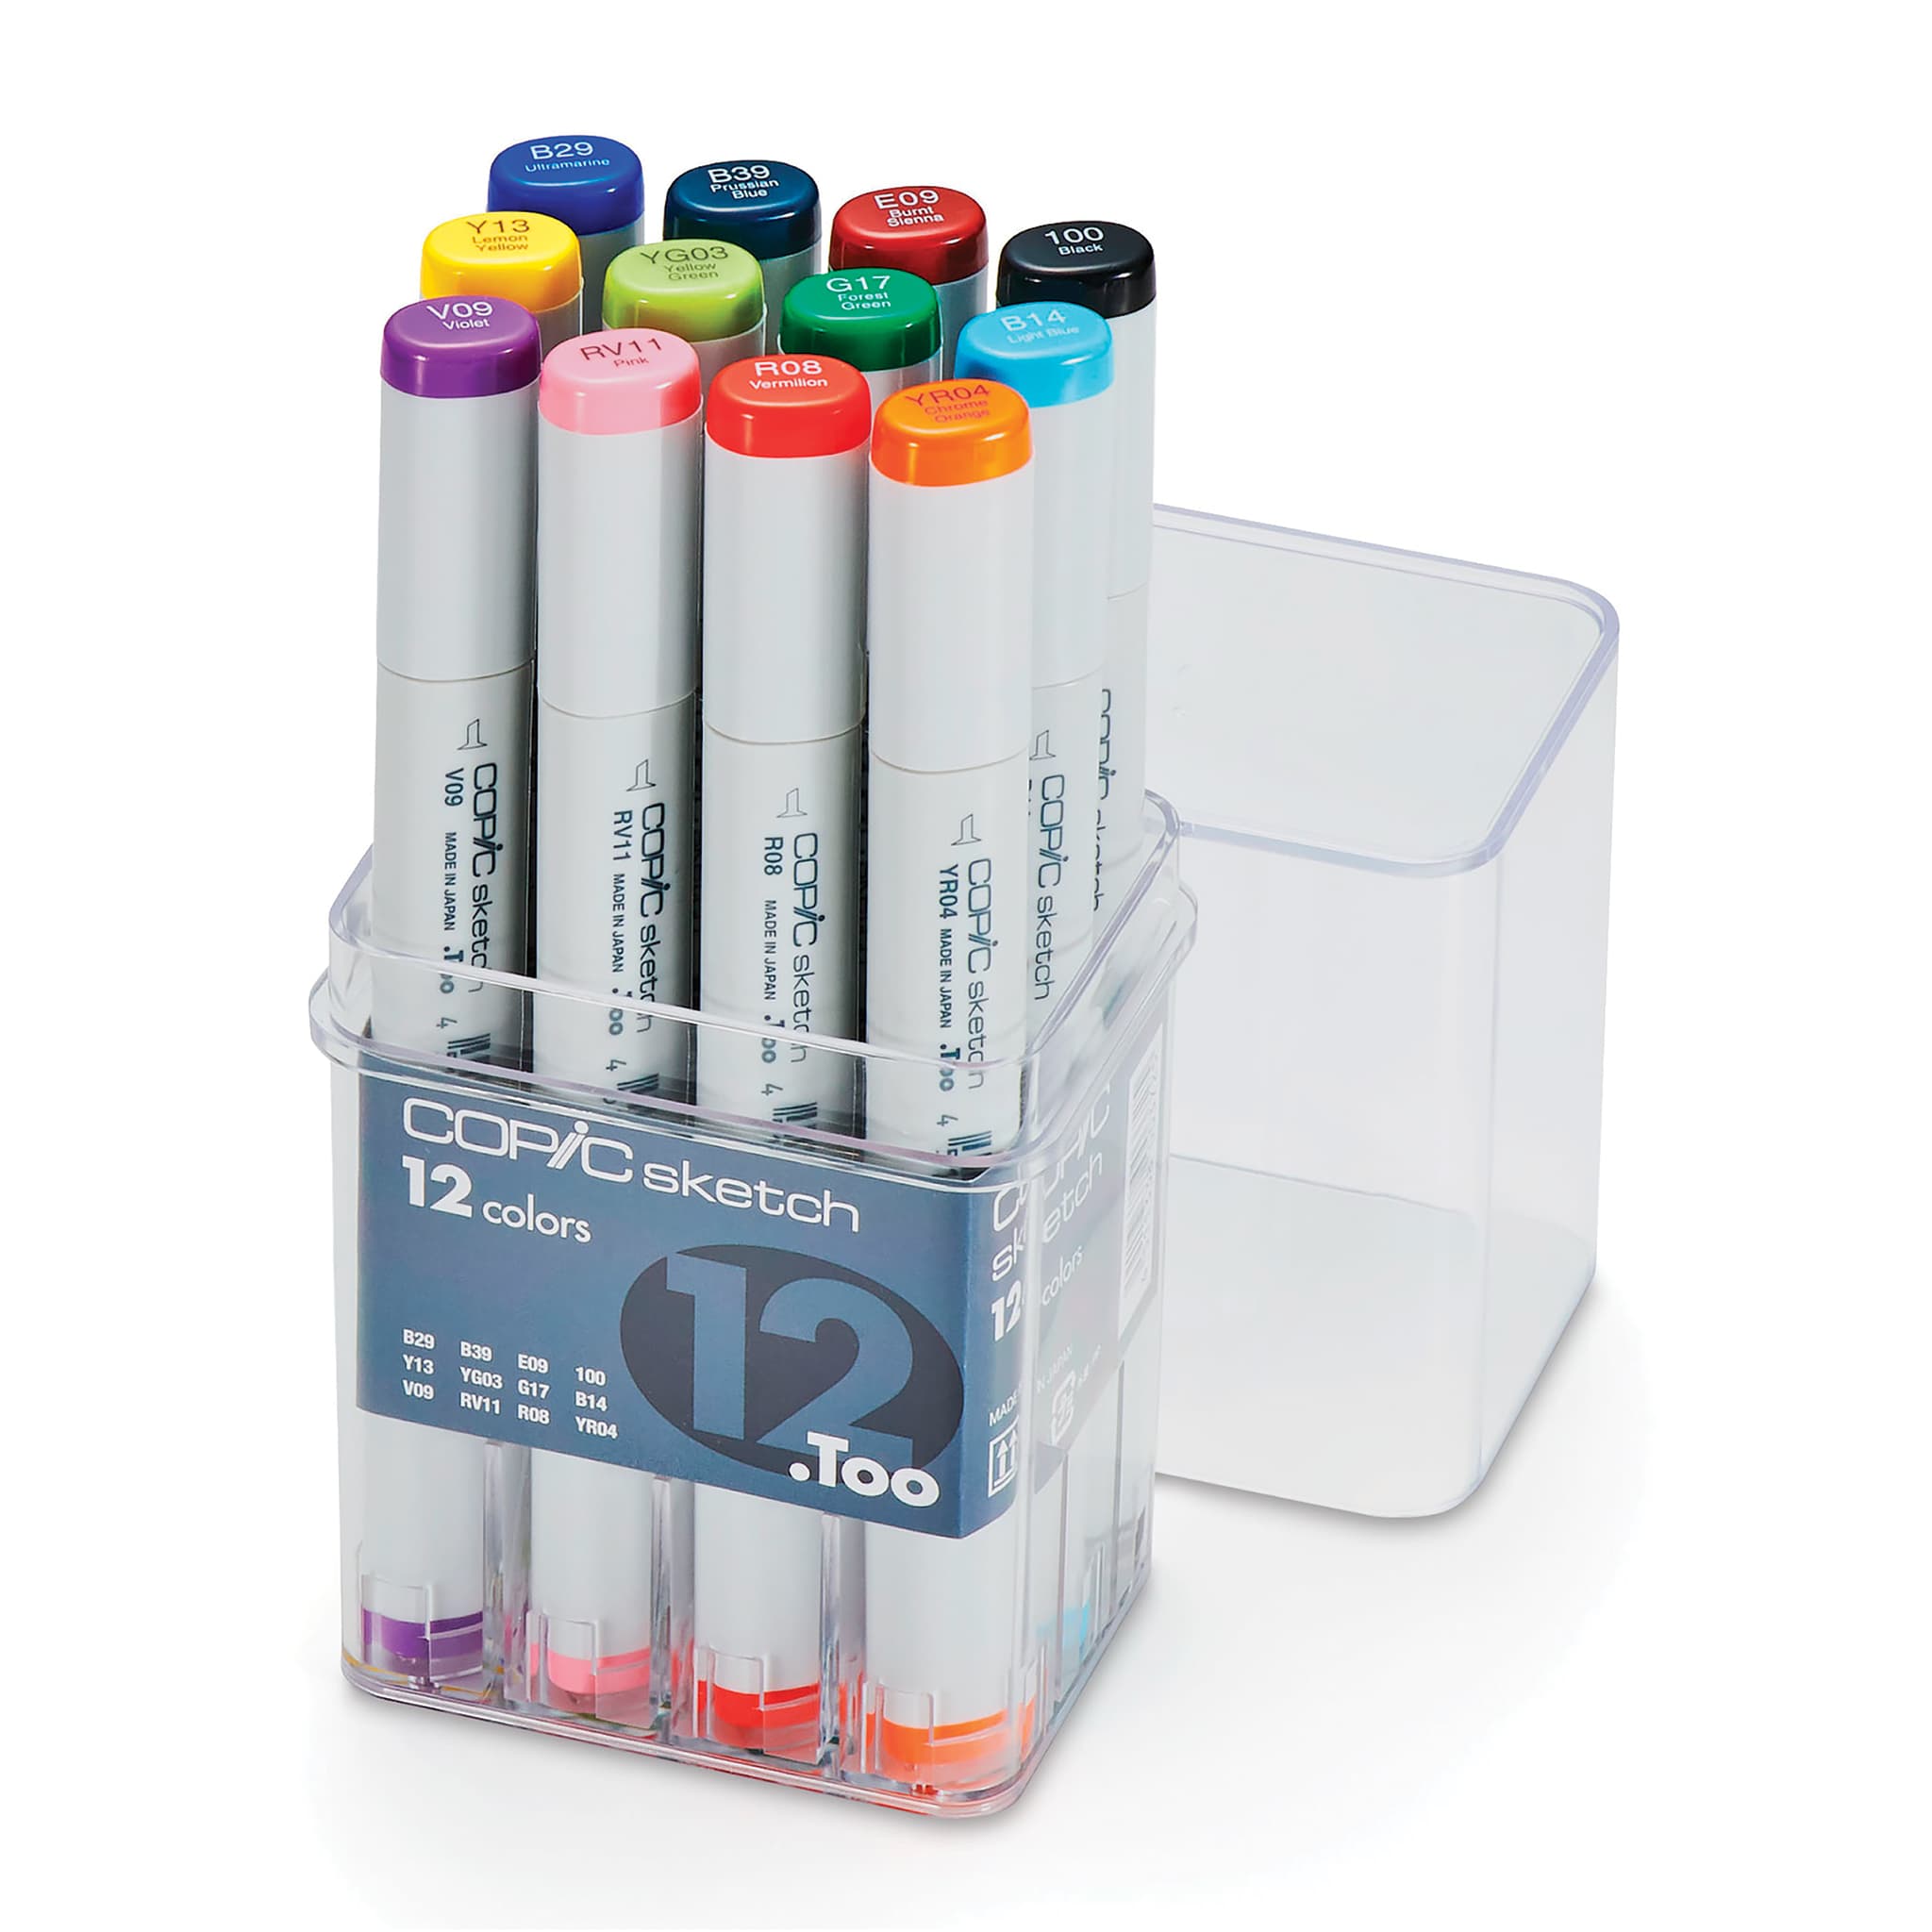 (or Colored Pencils) |
Step 1: Create the Initial Sketch
All it takes to begin are some simple shapes and lines. The initial sketch will guide you when you begin adding the python's details later on.
- Head Oval: Make four tiny marks to indicate the height and width of the oval. Space the horizontal width marks farther apart than the vertical height marks. Then connect the marks using curved lines. Sketch with very minimal pencil pressure so mistakes are simple to clean up later.
- Facial Feature Guidelines: Sketch a smooth, curved horizontal line straight through the middle of the oval. Then add a curved vertical line across the upper half of the head shape.

Step 2: Begin the Upper Body
Start drawing the snake's body looping around a tree branch.
- Neck: Extend a line from the top of the head curving upward and out to the right. Draw a parallel line starting from the right edge of the oval head.
- S-Shape: Form the first major curve of the body now. Loop the parallel lines back toward the left side, mimicking a rounded letter S.
- Overlap Start: Bend the tip slightly upward and add a lower overlapping line toward the right.
Step 3: Sketch Branch and Rest of the Body
Establish the branch the python has coiled around and finish the body through the tip of the tail.
- Sloping Branch: Run two long, diagonal lines across the page, breaking them where the snake body sits. Make the bottom base of the branch a bit wider than the top section.
- U-Shape: Lightly sketch a large hanging loop that dips down beneath the branch line. Make sure the body lines up with the branch as it goes behind and around.
- Vertical Links: Draw wide, vertical curves wrapping from the top of the branch down underneath. Keep the spacing wide to show off the python's thick, powerful muscle structure.
- Tail Tip: Place one last coil looping around the far right side of the wood. Bring the lines together into a thin, tapering tip to close out the tail.

Step 4: Draw the Facial Features
Begin detailing the python's face.
- Head: Add the head shape within the head guide. The head is smaller than the original oval guide. Note the slopes and shapes of the flat head.
- Eye Placement: Sketch two small circles directly on the horizontal line, noting here where they appear in relation to the vertical guide. Darken the outer shapes and add a sloping brow line above each eye. Include vertical slit pupils.
- Face Details: Draw a W-shaped mouth line, a short nose bridge line, and heat-sensing pits along the lips.
- Tongue: Draw a long forked tongue coming out of the center of the closed mouth.

Step 5: Add Structure to the Body
Just a couple of long, curved pencil strokes will do the trick.
- Create Dimension: Add some smooth lines along the curves of the body to make the snake seem 3-dimensional. Lightly sketch in some parallel lines with your pencil, using the reference here as a guide for placement.
Step 6: Ink and Clean Up Your Sketch
Most of this drawing will pop during coloring, when you add the pattern. For now, ink your final lines and clean up the pencil sketch.
- Inking: Carefully go over the final lines of your sketch with a black pen or permanent marker.
- Cleanup: Erase any extra pencil marks once the ink dries.

Step 7: Add Color and Final Details
Define the python's pattern and colors to finish your drawing! Grab your favorite markers or colored pencils, and choose your color palette.
- Shadows: As you color, keep in mind where shadows should fall under the branch and on the underside of the snake, and add darker shadowed tones in these places.
- The Pattern: Create large, irregular shapes along the body with dark brown, and fill them in with a lighter brown color. The marks on the head will look more like stripes. Fill the remaining skin with a lighter color, keeping highlights and shading in line with the light source.

- The Branch: Shade the branch with a light tan brown and add some texture to the bark with thin, dark strokes.
- One Last Pass: Take one last look at your work and add any final details and clean up anything you're unhappy with before you consider your drawing complete!

Buy My Step-by-Step Art Books on Amazon!
If you enjoyed drawing with me and want to expand your artistic skills, please consider checking out my step-by-step drawing books on Amazon! My books break down a wide variety of animals into simple geometric shapes, making it easy and fun for artists of any skill level to follow along. Every purchase directly helps support this site so I can keep creating high-quality, free tutorials for the art community.
Click Here to Order Your Copy Today!
This is an Amazon affiliate link. If you choose to purchase through this link, I earn a small commission at no extra cost to you.

Thanks for visiting! Subscribe to the How2DrawAnimals YouTube Channel for new tutorials every week.
And to learn how to draw cartoons, visit EasyDrawingTutorials.com.
RELATED TUTORIALS
|
|
|