







Use the step-by-step instructions below to learn how to draw a dolphin leaping out of the water. Follow along with the video, or use the images in this article. By the end of this tutorial, even beginners will have a completed drawing of this graceful marine animal!
Love drawing? Keep your artistic streak going and enjoy more free art lessons by:
- Bookmarking the How2DrawAnimals.com homepage for updates
- Subscribing to the How2DrawAnimals YouTube channel
- Visiting EasyDrawingTutorials.com for tons of free cartoon tutorials
This page contains affiliate links. If you choose to purchase through these links, I earn a small commission at no extra cost to you.
RELATED TUTORIALS
 |
 |
 |
To draw this dolphin step by step, follow along with the video tutorial below and pause the video after each step to go at your own pace. You may find it easier to follow the step-by-step images below the video. You may want to open the video in a new tab and use both drawing methods. Take your time and create art at your own pace.
Materials You'll NeedBefore starting, gather these basic drawing supplies from Blick Art Materials. |
||
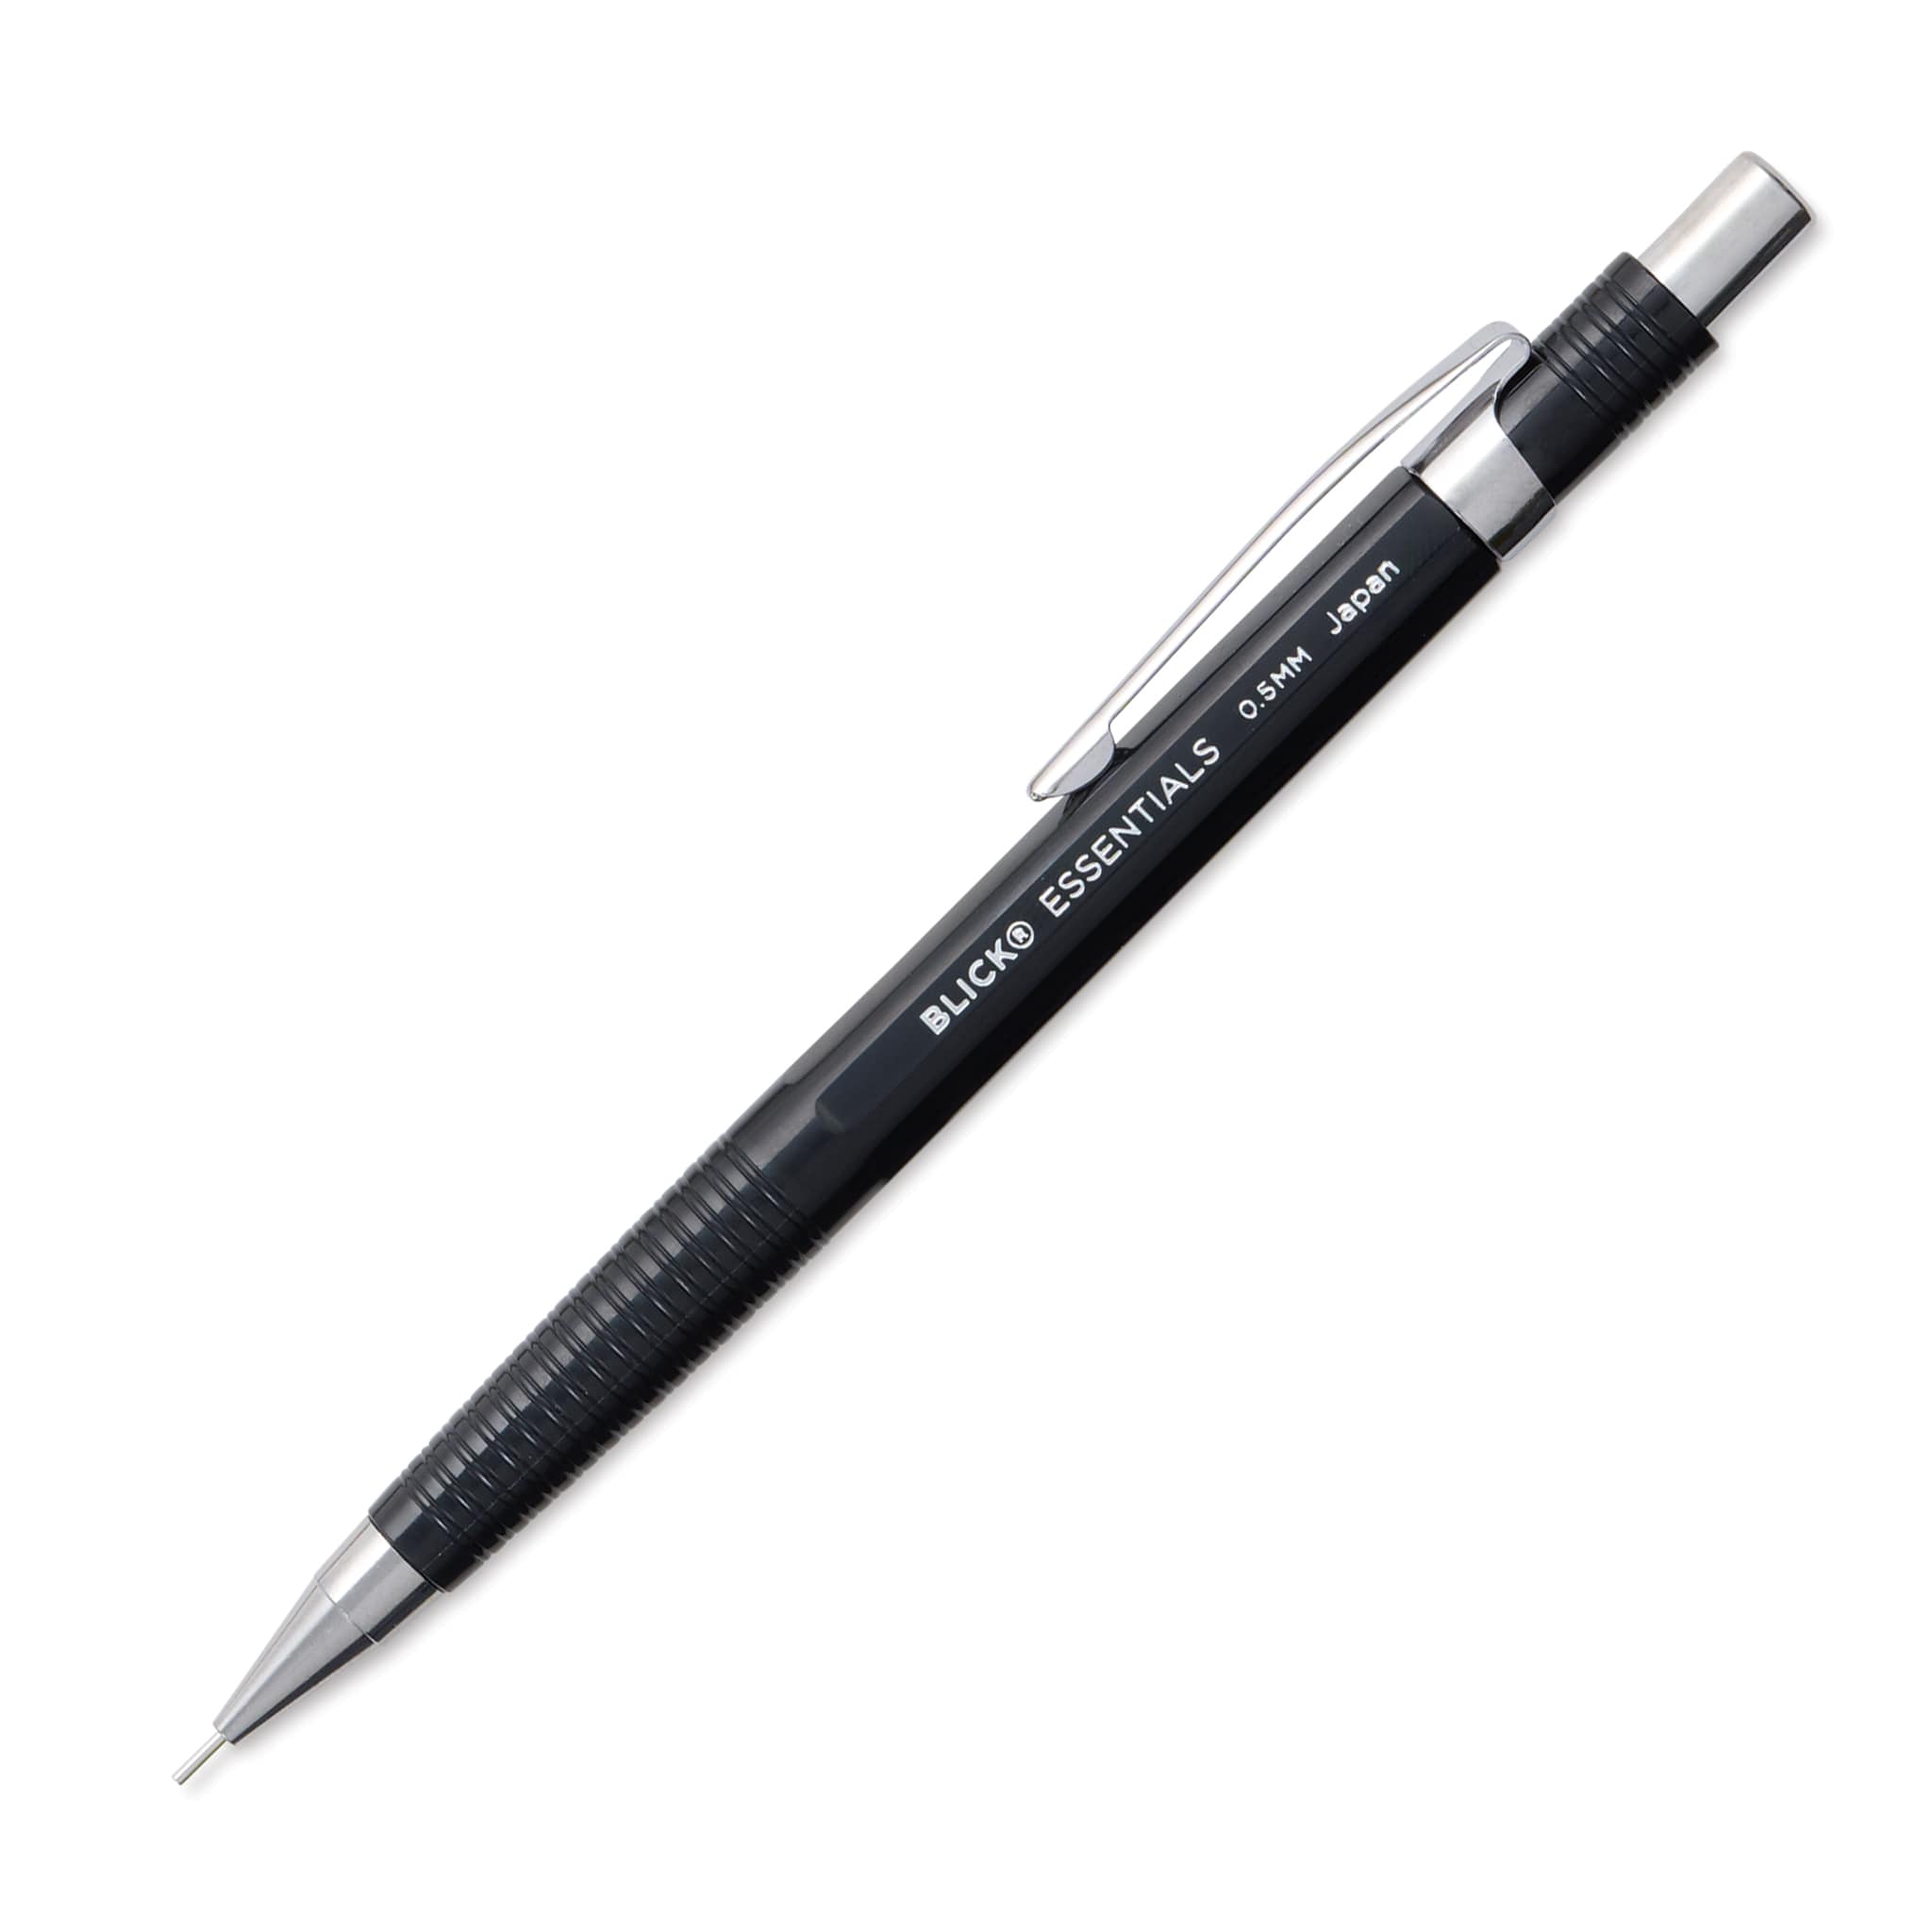 |
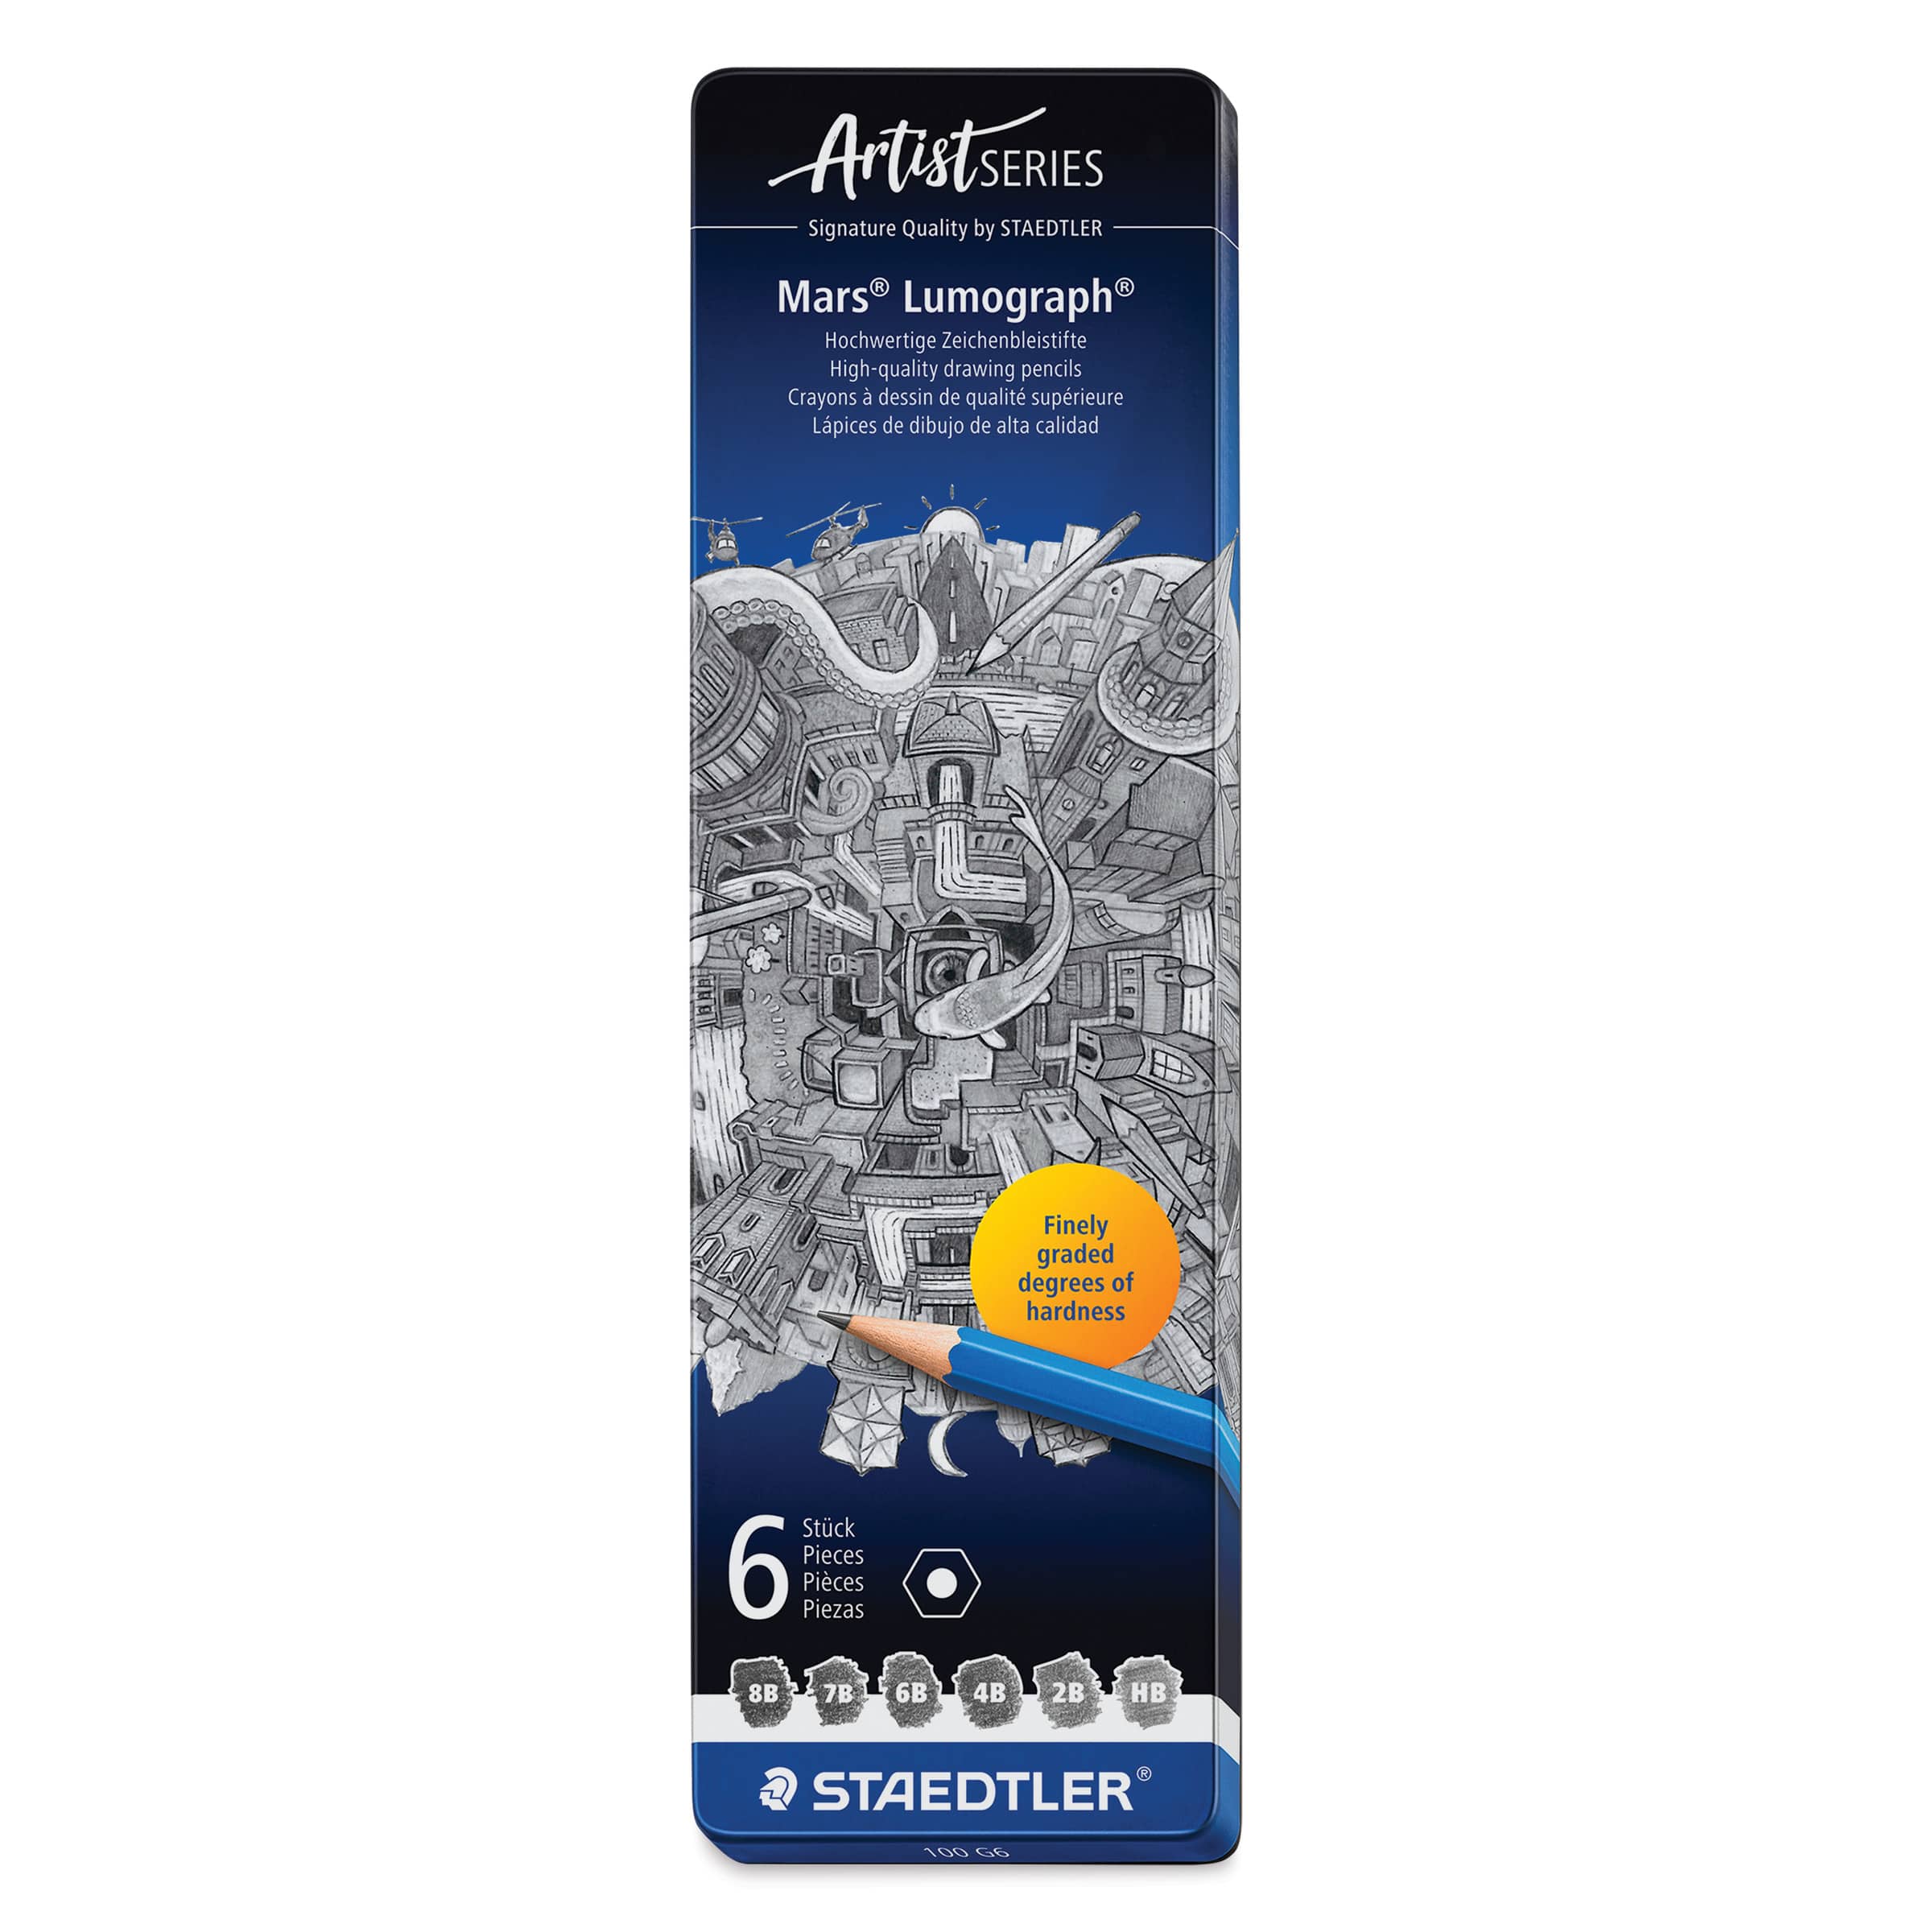 (an HB lead pencil is best for light sketches) |
 |
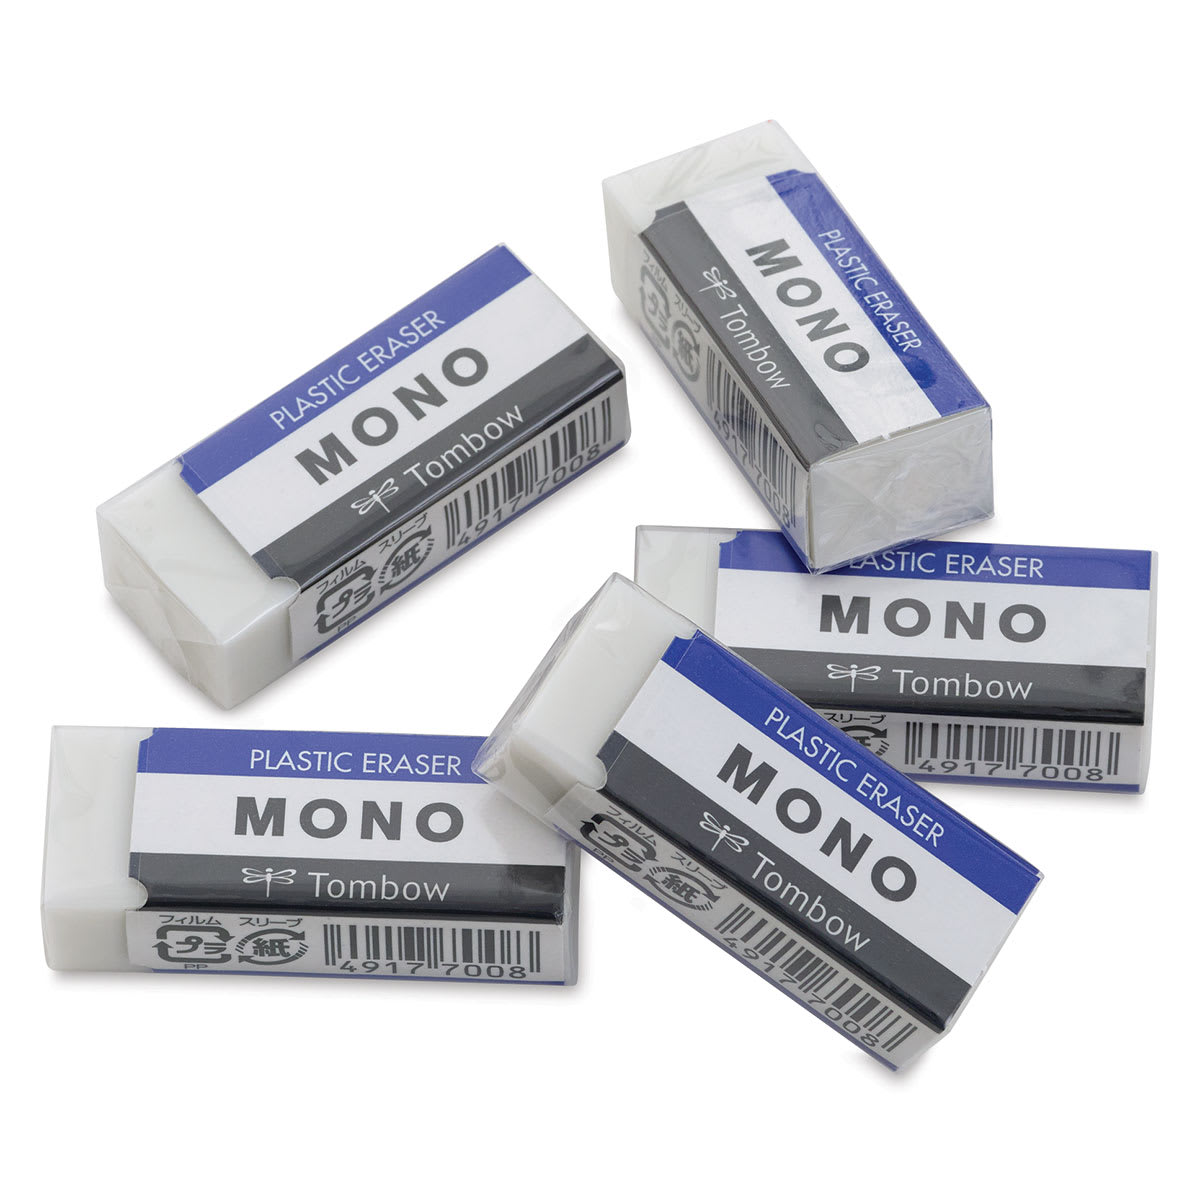 |
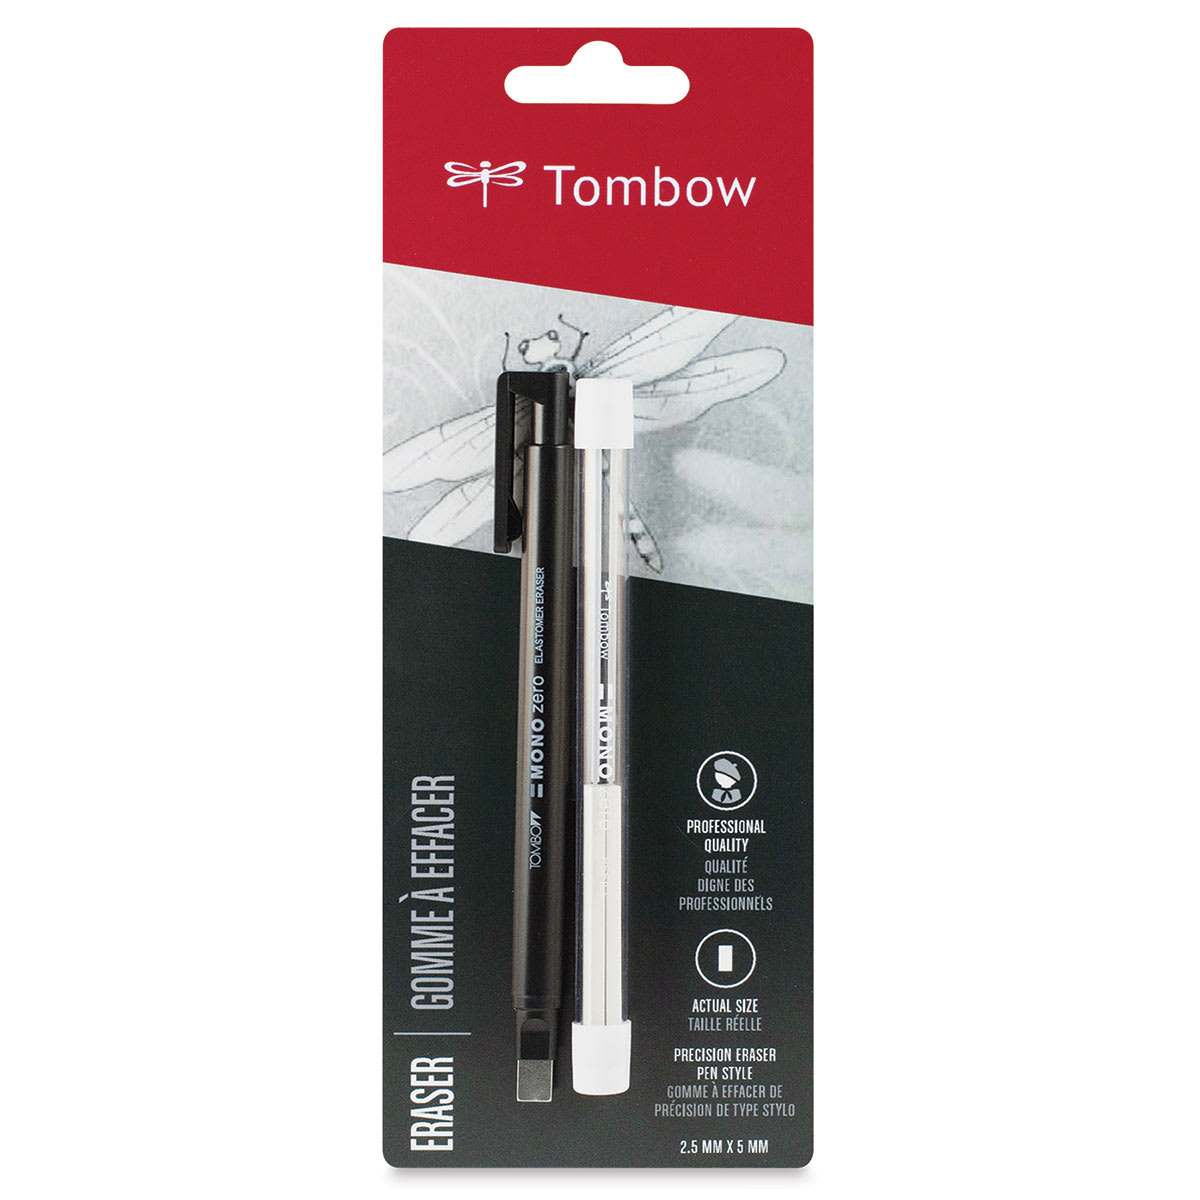 |
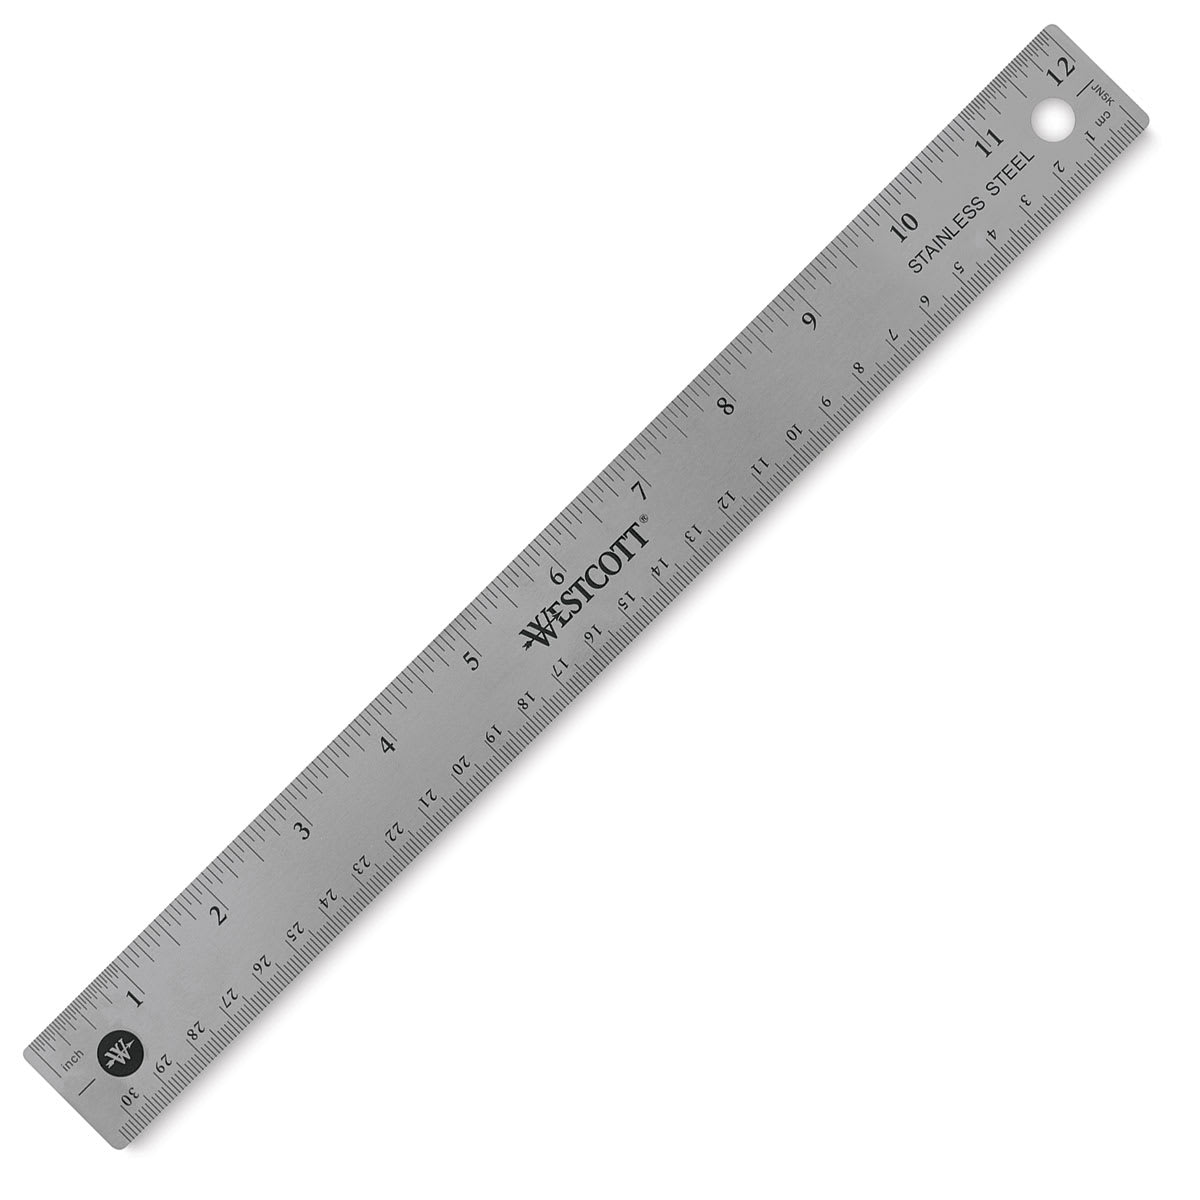 |

Step 1: Establishing the Framework
Begin your sketch using light, smooth pencil strokes to establish the dolphin's general shapes. Sketch lightly on your drawing paper to make sure that mistakes can be erased easily.
Proportional Circles
- The Head: Draw a circular guide on the left side. First make small marks with your pencil to indicate the height and width of the circle, then connect them with curved lines. If you have trouble drawing freehand circles, you can always trace something with a circular edge, like a coin or bottle cap.
- The Front Torso: Draw a slightly larger circle directly to the right of the head.
- The Rear Torso: Draw a third circle on the lower right, keeping it roughly equal in size to the head circle but spaced out so the body will be long enough.
Facial and Body Connections
- Head Guidelines: Sketch a plus-sign crosshair across the head circle, followed by a long diagonal line across the middle to correctly place the mouth.
- The Beak: Add an arc-like shape extending from the front side of the head circle along the diagonal guideline.
- The Body and Tail: Connect the three main circles using sweeping, curved lines. Extend the lower body downward using two long, sloping lines that converge into a pointed, long-triangular tip. Add a horizontal line at the end for the tail flukes.
- The Fins: Sketch a triangular shape on top of the torso for the dorsal fin (curving the left line and keeping the right line straight), and draw a matching shape below the torso for the front pectoral flipper.

Step 2: Refining the Features
Once your framework is complete, you can begin darkening your lines and adding more details.
Defining Features and Fins
- The Eye: Place a small circle below the horizontal crosshair and to the right of the vertical line. Make the corners pointy, add wrinkles/creases around the skin, draw a tiny highlight circle inside, and fill the center pupil.
- The Beak and Blowhole: Trace the beak guide, making a long mouth line back toward the eye. Mark a thin, horizontal oval on top of the head for the blowhole, keeping the curve of the head flatter than the original circle.

Step 3: Finalizing Body Contours
Refine the dorsal fin, tail flukes, and primary flipper by giving them curved, natural lines. Sketch a smaller triangular section beneath the chin to indicate the pectoral flipper on the other side of the body. Darken the main body contours, keeping the underside of the tail section slightly wavy.

Step 4: Cleaning and Initial Shading
Use a click eraser to remove the original internal guidelines and circular framework shapes, fixing any outline paths that disappear during the process. Apply graphite smoothly, starting with soft pressure and gradually shifting to darker pencils (like a 2B or 4B in your pencil set) for deep shadows along the underbelly. Leave bare, unshaded white strips along the top to create a slick, glistening reflection of light.

Step 5: Creating the Water Environment
To emphasize the leaping action, shade a horizontal gradient at the bottom, beginning with light shading before moving to dark. Add sharp, dark triangles across the surface to form rippling waves. Finally, use a kneaded eraser or plastic eraser to pull highlights from the water and create small dripping droplets splashing off the dolphin's tail flukes.

Step 6: Framing Your Artwork
If you'd like, add a clean linear border box around your drawing using a ruler. Extend the tone and gradient of the water surface all the way to the edges of this border to give your artwork a polished, framed appearance.

Step 7: Final Touches
Review your entire drawing. Darken the outer edges of the splashing water to emphasize the shapes and build up any remaining shadows until you are completely happy with the result. Your leaping dolphin is complete!
Buy My Step-by-Step Art Books on Amazon!
If you enjoyed drawing with me and want to expand your artistic skills, please consider checking out my step-by-step drawing books on Amazon! My books break down a wide variety of animals into simple geometric shapes, making it easy and fun for artists of any skill level to follow along. Every purchase directly helps support this site so I can keep creating high-quality, free tutorials for the art community.
Click Here to Order Your Copy Today!
This is an Amazon affiliate links. If you choose to purchase through this link, I earn a small commission at no extra cost to you.
Thanks for visiting! Subscribe to the How2DrawAnimals YouTube Channel for new tutorials every week.
And to learn how to draw cartoons, visit EasyDrawingTutorials.com.
RELATED TUTORIALS
|
|
|