







Use the step-by-step instructions below to learn how to draw a Labrador Retriever Dog (Head Detail). Follow along with the video, or use the images in this article. By the end of this tutorial, even beginners will have a completed drawing of this popular dog breed!
Love drawing? Keep your artistic streak going and enjoy more free art lessons by:
- Bookmarking the How2DrawAnimals.com homepage for updates
- Subscribing to the How2DrawAnimals YouTube channel
- Visiting EasyDrawingTutorials.com for tons of free cartoon tutorials
This page contains affiliate links. If you choose to purchase through these links, I earn a small commission at no extra cost to you.
RELATED TUTORIALS
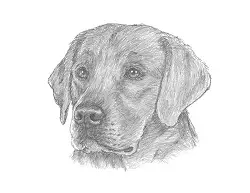 |
 |
 |
To draw this dog step by step, follow along with the video tutorial below and pause the video after each step to go at your own pace. You may find it easier to follow the step-by-step images below the video. You may want to open the video in a new tab and use both drawing methods. Take your time and create art at your own pace.
Materials You'll NeedBefore starting, gather these basic drawing supplies from Dick Blick. If you choose to purchase through these links, I earn a small commission at no extra cost to you. |
||
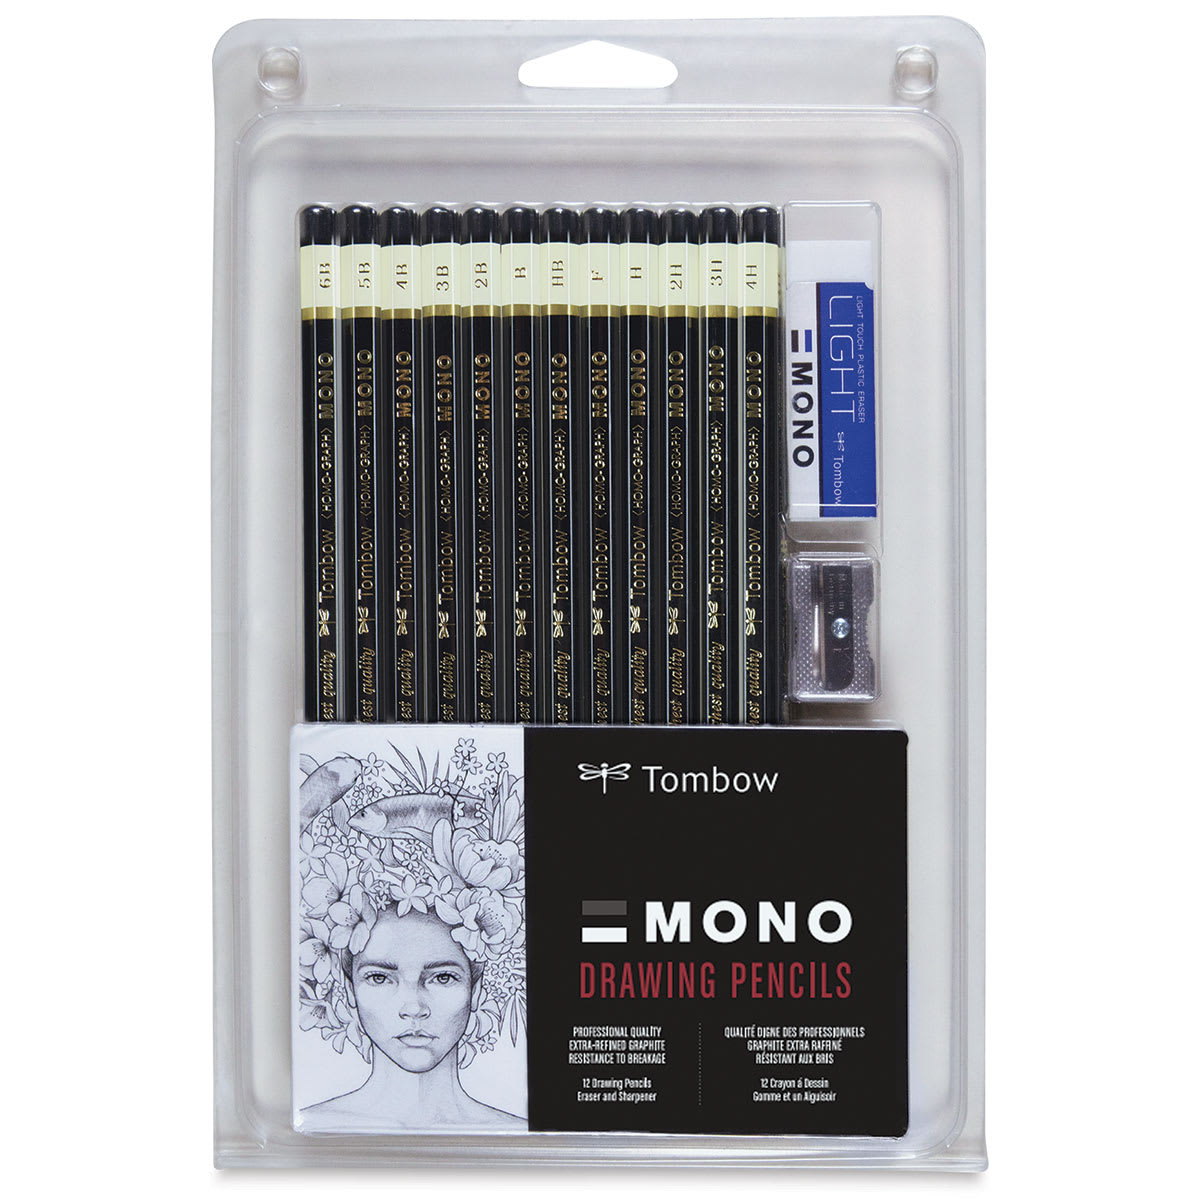 (an HB lead pencil is best for light sketches) |
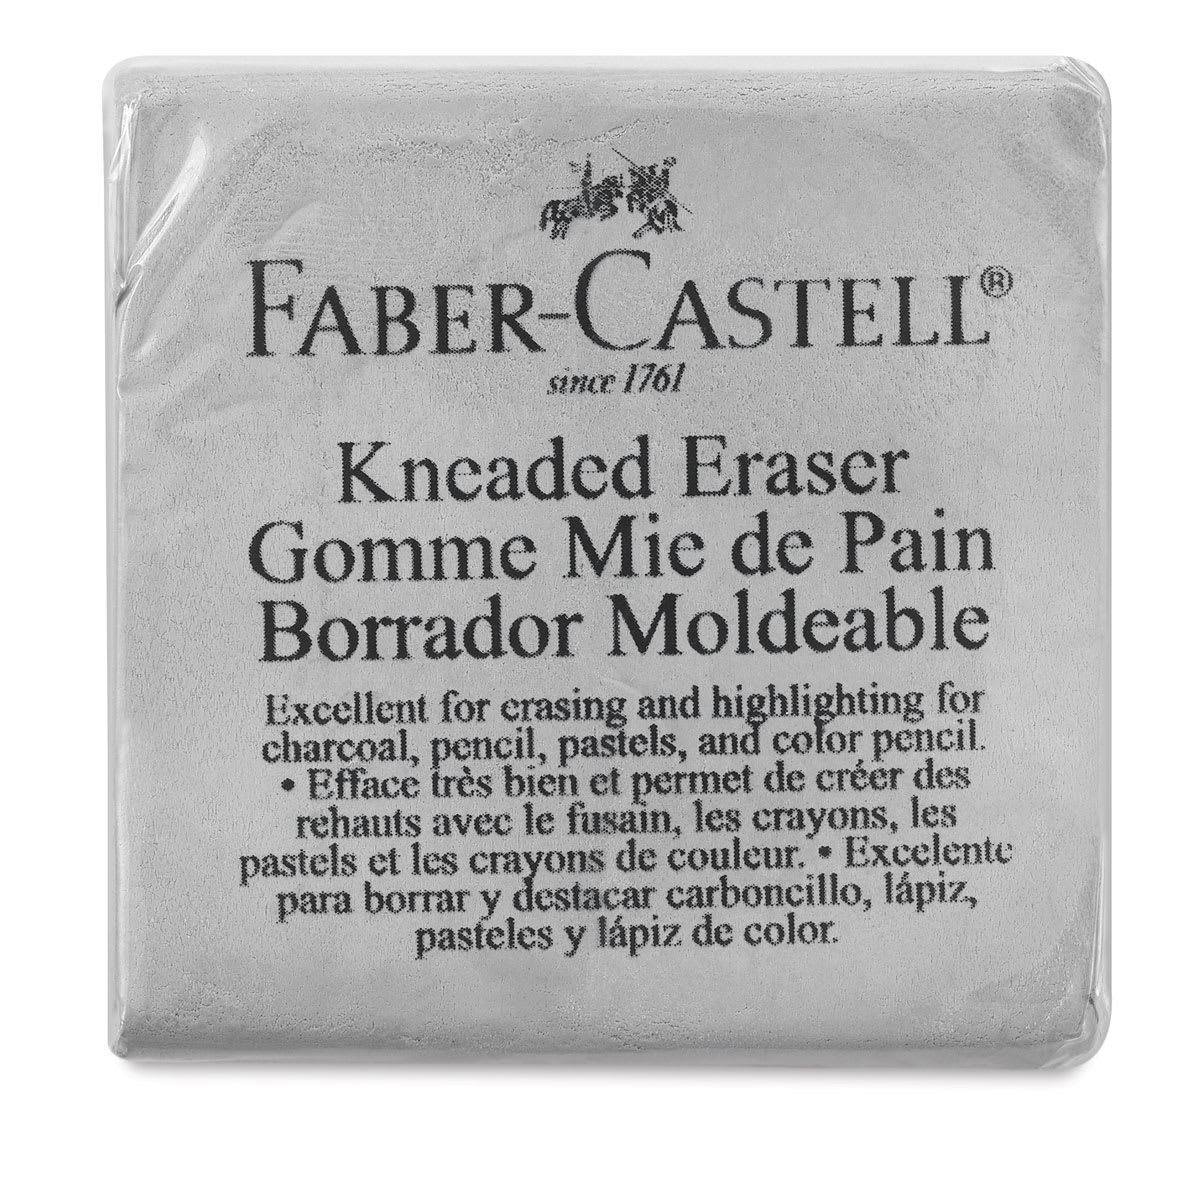 |
 |

Step 1: Draw the Head Guide
Begin by drawing a circle as a guide for the head. Sketch lightly at first so it is easy to erase if you make a mistake.
TO DRAW A CIRCLE: Make a few small marks to indicate the circle's height. Make a couple more small marks on the sides to indicate the width. Then connect the small marks using smooth, curved lines to finish the circle. If you have trouble drawing one, you can trace the outer edge of a cup or a bowl.
Step 2: Add Construction Guides
Inside the circle, add the internal structural lines that will help determine the layout of the facial features.
- Horizontal Line: Draw a long horizontal line across the circle, placing it slightly higher than the center. Curve it slightly so that it conforms to the round shape of the circle. The tilt of this line determines the tilt of the head.
- Vertical Line: Draw a curved vertical line at the top of the head for another construction guide. Place this line close to the left edge of the initial circle.
Step 3: Sketch the Muzzle Guide
Draw a big oval on the left side of the head as a guide for the dog's muzzle.
- Sizing and Placement: The oval should be quite large in relation to the head, with a big part of it extending past the left side of the main circle.
- Orientation: Tilt the oval slightly so that it follows the same angle as the horizontal construction guide inside the head. You can use the small marks method here as well to build the shape.
Step 4: Place the Jaw and Ear
Establish the structural boundaries for the bottom jaw and the prominent ear on the right side of the head.
- Lower Jaw Line: At the bottom of the muzzle, draw a short line that connects the oval back to the head circle to define the lower part of the jaw.
- Ear Framework: On the right side of the head, draw a big triangle as a guide for the ear. Start by drawing a vertical line close to the right edge of the big circle. Then, draw a large angled line—similar to a greater-than sign (>)—to complete the triangular shape. Ensure this ear guide is very big in relation to the head.
Step 5: Add the Neck
Under the head structure, draw a couple of curved lines as guides for the neck. Make sure the shape of the neck is framed pretty wide. Place the right-hand neck line directly next to the base of the ear guide. This completes the construction guidelines, and you are ready to begin the final drawing details.

Step 6: Place the Eyes
Inside the head structure, lightly sketch two small circles for the eyes. Place them directly on top of the horizontal construction guide, with one eye sitting on either side of the vertical guide line. The eyes should sit very close to the top boundary of the muzzle shape. Due to the three-quarter perspective of the turned head, make the eye on the left side slightly smaller and thinner than the eye on the right.
Step 7: Detail the Right Eye
Once you are happy with the eye shapes, darken the lines to lock in the final features.
- Outer Corner: As you darken the eye on the right, draw an angled line on its right edge that looks similar to a greater-than sign (>). Close off the shape on the left side by darkening the initial circle to create a sharp, triangular look.
- Inner Corner & Creases: Draw a couple of short lines on the bottom left side for the inner corner of the eye, pointing down and to the left toward the muzzle. Add a couple of curved lines around the eye for skin creases, making the line at the top slightly higher and more curved to define the brow.
Step 8: Detail the Left Eye
Move to the eye on the left side. Because of the way the head is turned, much of this eye is hidden. Darken the narrow shape and add a couple of structural lines to give it definition while keeping it thin. On its left side, draw another curved line to represent the profile boundary of the face, following the natural curvature of the eye.
Step 9: Add Pupils and Highlights
Bring life to the eyes by adding highlights and pupils inside the circles.
- Right Eye: Draw a tiny circle off to the side to create a small catchlight or highlight. In the middle of the eye, draw a slightly bigger circle for the pupil. Shade in the pupil darkly, being careful not to overlap or paint over the tiny highlight circle.
- Left Eye: Follow the same process for the turned eye on the left. Because of the perspective, keep it simple by drawing a small shape and shading it in to represent the pupil without overcomplicating the details.

Step 10: Draw the Nose Pad
Inside the muzzle area, lightly sketch a large oval for the nose, placing it right on the top-left edge of the muzzle guide. Once the size and position look right, darken the shape. Curve the lines inward slightly as you darken the sides of the oval. Add a short line near the top to separate the top plane from the front plane of the nose. Inside, draw two small circular shapes and shade them in for the nostrils, making the left one slightly thinner. Finish the nose by drawing a vertical crease line between the nostrils and darkening the bottom edge so it is slightly pointier than the initial oval.
Step 11: Sketch the Mouth Split
Directly below the nose, draw a line that curves out to the right to define the first part of the mouth split. This line should extend slightly farther out than the original muzzle oval, ending roughly beneath the vertical alignment of the right eye. Sketch another curved line just under the nose to establish the front part of the muzzle and opposite side of the lips, followed by a light line further down to mark out the lower jaw.
Step 12: Refine the Drooping Lips
Labrador Retrievers have loose, slightly drooping skin around their mouth. Draw a couple of curved lines on the right side of the mouth to capture this drooping lip detail. When the shapes look accurate, darken the lines. Include a small, curved shape on the right side to indicate the visible gum line where the lip sags down. Darken the short line on the left side for the visible portion of the chin, and add another small curved line near the middle to show the loose skin on the far side of the jaw.
Step 13: Define the Bridge of the Nose
Draw a long line extending upward from the top of the nose pad back to the inner corner of the left eye to outline the upper bridge of the muzzle. Add a short, intentional notch line next to the eye to clearly separate the nasal bridge from the forehead structure.

Step 14: Contour the Ear
Use the large triangular guide on the right side to shape the floppy ear. Follow the general path of your guide lines, but break up the rigid lines into natural, organic curves. Add a few quick, angled strokes at the top to create a furry texture along the base. Incorporate a few long, curved creases down the ear flap to suggest folds, and fill the interior of the ear with extra short strokes to give the folds a realistic, fuzzy texture.
Step 15: Outline the Skull and Neck Folds
Use the remaining structural guidelines to finalize the outer boundaries of the head and neck.
- Skull & Far Ear: Darken the top portion of the main head circle, adding subtle waves to define the bone structure of the skull. At the very top, add a couple of small angled strokes to represent the tips of fur from the ear on the far side of the head.
- Neck Skin: Follow the lower neck guidelines with loose, overlapping curved lines to emphasize the heavy, sagging skin common around a retriever's throat. Add a few minor angled marks inside the head perimeter to build up underlying muscle definition.

Step 16: Erase the Guidelines
Take a thin eraser—such as a click-pen eraser—and carefully clean up your drawing by removing the horizontal, vertical, and overlapping structural guidelines. It is fine if some faint remnants are left behind, but removing the guides from the spaces between your final lines ensures a professional finish. Once erased, take your pencil and re-darken any final details that may have been accidentally lightened.
Step 17: Lay Down Base Shading
Begin adding tone to your portrait to establish depth, volume, and three-dimensional form. Apply a light, even layer of medium-value shading across the head. Start softly, gradually increasing your pencil pressure or swapping to softer graphite grades like 4B or 6B to create deeper core shadows. Keep a scrap piece of paper tucked under your hand while you work to prevent smudging your clean lines.

Step 18: Shade the Features and Whiskers
Add contrast by deepening the tones around the main facial features. Shade the eyes with a soft, light value, making sure to leave the tiny highlight circles bright white. Lightly draw tidy rows of small dots below the nose to create the whisker pads. Next, apply a very rich, dark value to the gums and across the entire nose pad, leaving a clean, unshaded strip running along the top ridge of the nose to simulate a soft light reflection.

Step 19: Render the Coat Texture
Build up a realistic coat appearance by slowly applying darker values across the head. Use short, rhythmic pencil strokes that flow in the exact direction of natural fur growth. To create convincing highlights on the coat, leave the topmost surfaces of the head and muzzle completely blank. Pay close attention to how light and shadow alter the shapes of the fur folds. If you have a pet dog at home, feel free to use them as a live reference for how the coat lays!

Step 20: Do Your Final Pass and Add Contrast
To finalize your drawing, go over your primary outlines one last time using a rich, dark value to create a sharp, graphic pop. Scatter a few more fine, short hatch lines across the face to enhance the fur texture. If you like, you can lightly shade a soft, low-contrast tone around the outer edges of the dog to create a simple background vignette that makes your drawing stand out. Shading takes patience, so take your time and keep rendering until you are fully happy with your finished Labrador Retriever!

Buy My Step-by-Step Art Books on Amazon!
If you enjoyed drawing with me and want to expand your artistic skills, please consider checking out my step-by-step drawing books on Amazon! My books break down a wide variety of animals into simple geometric shapes, making it easy and fun for artists of any skill level to follow along. Every purchase directly helps support this site so I can keep creating high-quality, free tutorials for the art community.
Click Here to Order Your Copy Today!
This is an Amazon affiliate link. If you choose to purchase through this link, I earn a small commission at no extra cost to you.

Thanks for visiting! Subscribe to the How2DrawAnimals YouTube Channel for new tutorials every week.
And to learn how to draw cartoons, visit EasyDrawingTutorials.com.
RELATED TUTORIALS
|
|
|