Page 2 of 4
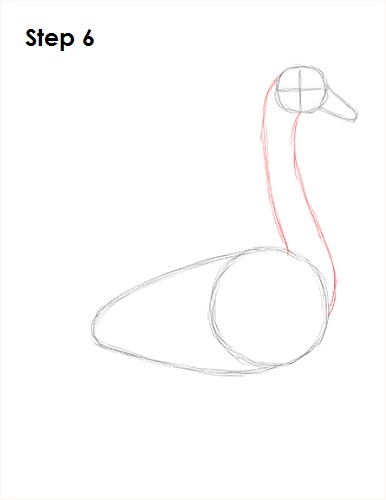
Step 6: Draw a couple of curved lines that connect the head to the body to form the swan's neck.
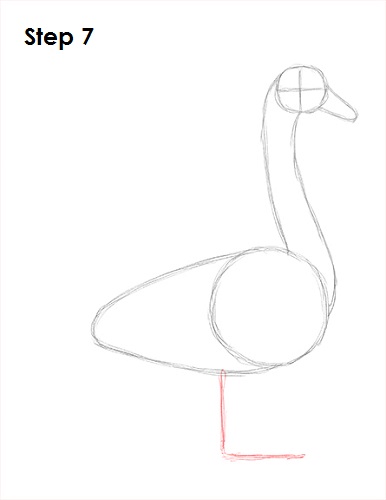
Step 7: Under the swan's body, draw an L-shaped line as a guide for the feet.
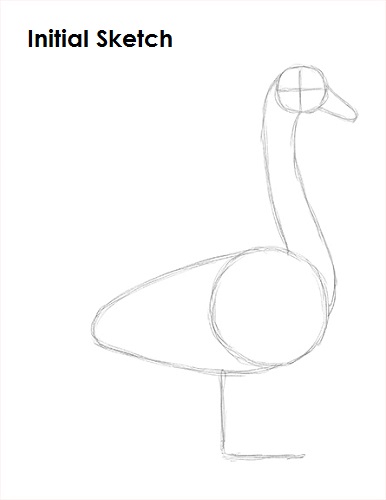
That's it for the initial sketch! From this point on, press harder with your pencil to get a more defined sketch.
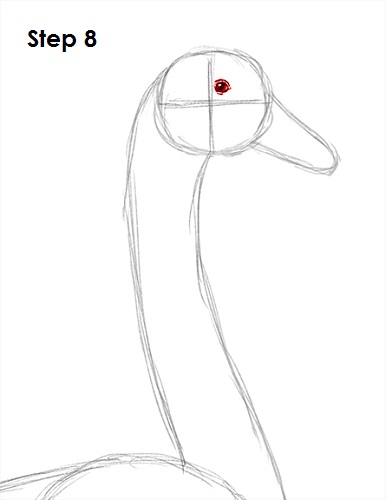
Step 8: Use the intersecting lines as guides to place the swan's eye inside the head. The shape of the swan's eye is similar to an oval with pointed ends. Shade the inside of the eye except for a tiny circle to represent glare. Draw a few smal lines on the outside of the swan's eye for extra detail.
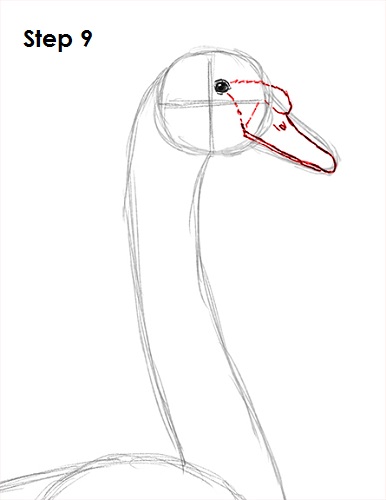
Step 9: Use the initial arc and lines as guides to draw the swan's beak. First draw the base of the beak as a series of squiggly lines that extend from the eyes to the left side of the beak. Add a small bump on top of the beak. Use the initial arc as a guide to draw the top part of the beak. Draw a small oval and a line next to it on the top part of th ebeak for the nostril. Draw the bottom part of the swan's beak as well.


