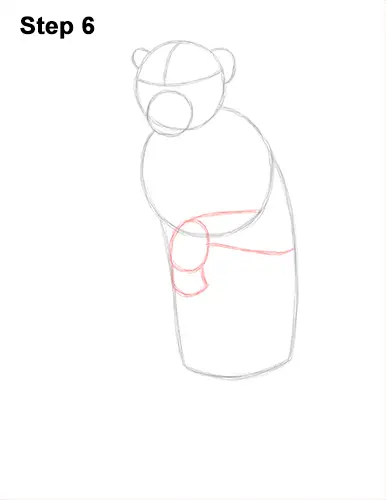
Step 6: On the lower, left side of the body circle, draw a small oval as a guide for the macaque's hand. This oval should be small and it should overlap the edge of the body circle. Below the oval, draw a small, curved shape as a guide for the fingers. This small shape should be similar to an angled letter U. To the left of the oval, draw two long, horizontal lines as guides for the forearm. Make the bottom line longer and more curved than the top line.
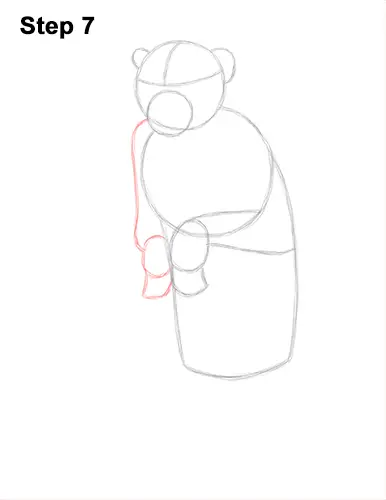
Step 7: On the left side of the body, draw a small oval as a guide for the rhesus macaque's other hand. This oval should be smaller than the other hand oval because the body is slightly turned. Under the oval, draw an angled shape as a guide for the fingers. Draw a line from the oval to the head as a guide for the rest of the arm and shoulder.
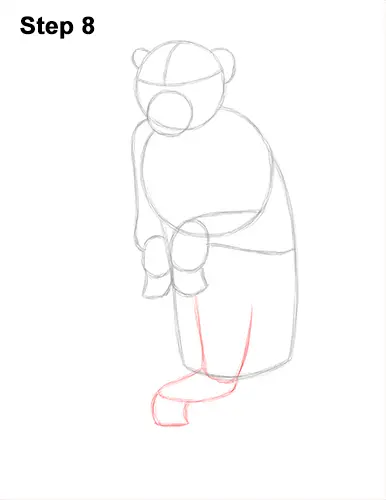
Step 8: On the lower, left side of the body, draw two long, vertical lines as guides for the monkey's first leg. Make the shape of the leg wide at the top and thinner at the bottom. On the bottom of the leg, draw a line that curves to the left as a guide for the foot. Below the tip of the foot, draw a small, square-like shape as a guide for the long toes.
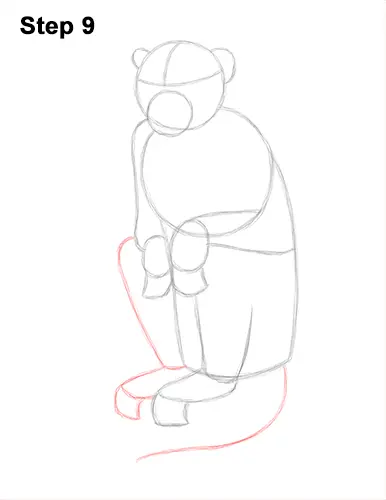
Step 9: To the left of the first leg, draw the guides for the macaque's other leg and foot. Draw a line from the left arm to the bottom of the body as a guide for the folded leg. At the bottom, draw a line that curves to the left as a guide for the foot. Below the tip of the foot, draw a small curved shape as a guide for the toes.
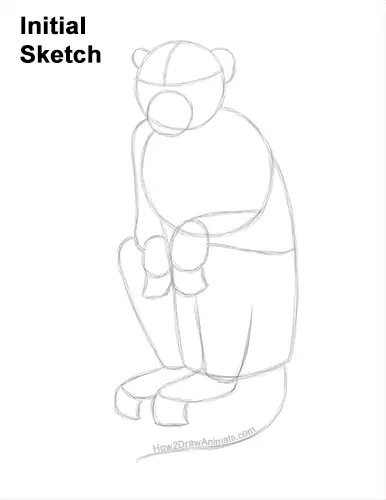
That's it for the guides! From this point on, press down harder with your pencil for a more defined drawing.


