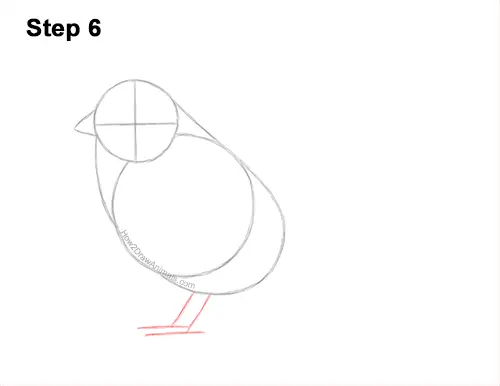
Step 6: Under the body, draw two short, sloping, vertical lines as guides for the sparrow bird's legs. Under each leg line, draw a short, horizontal line as guides for the feet.
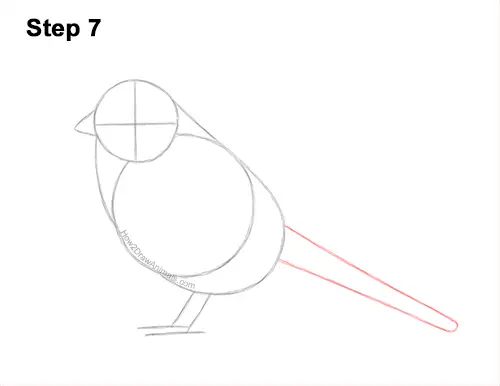
Step 7: On the lower, right side of the body, draw two long, sloping lines as guides for the white-crowned sparrow's tail. Pay attention to the length of these lines. Close off the shape on the right. The base should be wider than the tip.
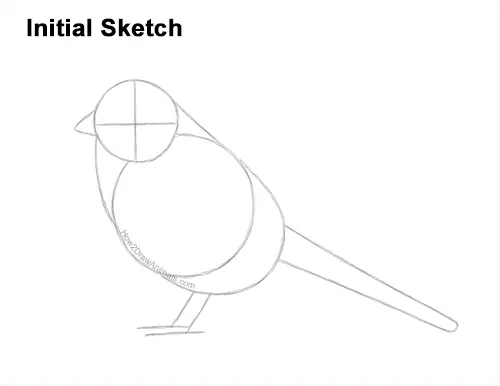
That's it for the guides! From this point on, press harder with your pencil for a more defined drawing.
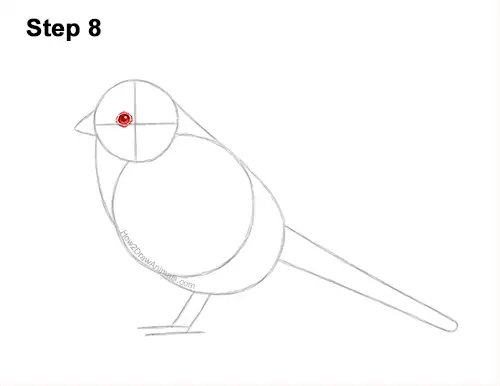
Step 8: Inside the bird's head, lightly sketch a small circle for the eye. Use the initial lines as guides for placement. Pay attention to the size of the eye. When you get the size and position of the eye right, darken the lines. Inside the eye, draw a tiny circle off to the side for a highlight and a bigger circle in the middle for the pupil. Shade in the pupil but don't overlap the tiny highlight circle. Shade in the rest of the white-crowned sparrow's eye using a value that's lighter than the pupil. Use a dark value at the top and a light value at the bottom to give the eye a rounder look. Add a few small, curved lines around the bird's eye for a bit of the bare skin.
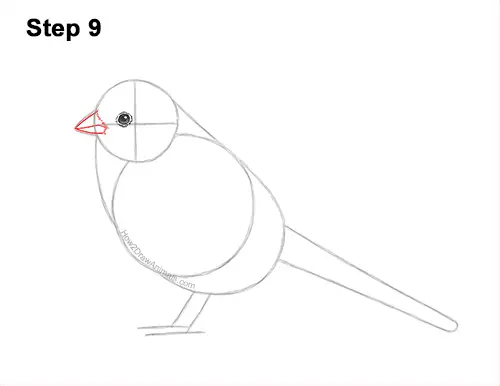
Step 9: Use the angled line on the left side of the head as a guide to draw the beak. Darken the guide and make the lines longer so that they stretch into the sparrow's head. Draw a line across the middle for the mouth. Stretch the line inside the head. Draw a series of short strokes along the right side of the beak for the feathery base. The bottom part of the bird's beak should stretch farther to the right than the top part.


