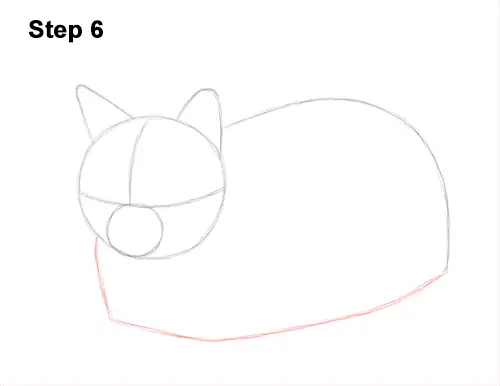
Step 6: Under the head, on the left side, draw a short, vertical line for the first part of the bottom of the loafing cat's body. At the bottom, continue to draw the line so that it angles and stretches to the right. Bend the line a bit and slope it upward so that it meets the line for the top of the body.
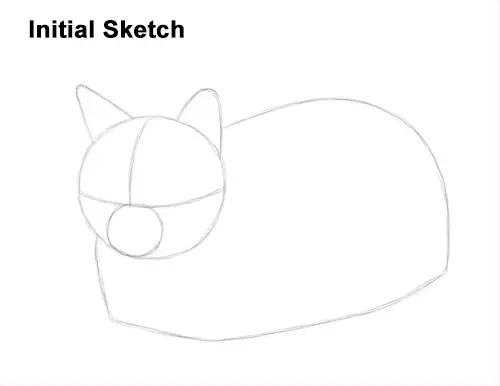
That's it for the guides! From this point on, press harder with your pencil for a more defined drawing.
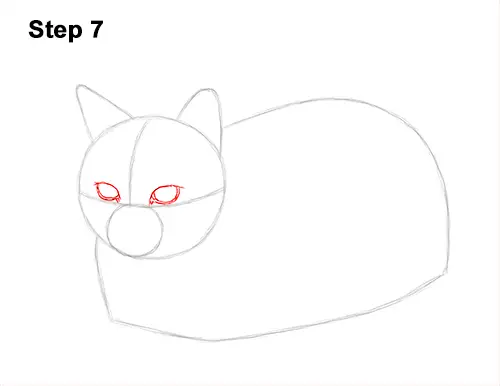
Step 7: Lightly sketch the cat's eyes inside the head as two small ovals. Use the initial lines as guides for the position and size of the eyes. When you get the position and size right, darken the lines. Make the sides pointier for the corners of the eyes. Make the top part flatter. The inner corner should point down toward the muzzle. Draw a curved line under the cat's eye. Draw a curved line over the eye on the right to make the shape flatter. Darken the lower part of the initial oval for the shape of the inner eye. Draw a curved line under the eye. Extend the inner corner of the eye down toward the muzzle. Extend the line at the top to make the outer corner of the eye longer too.
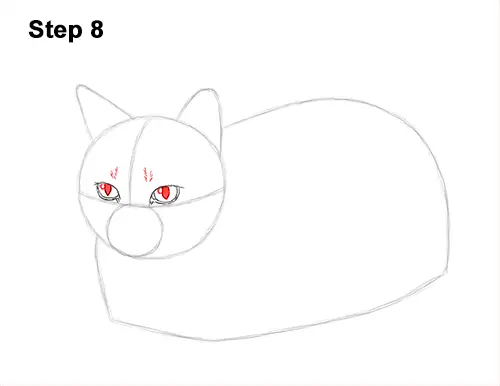
Step 8: Inside each eye, off to the side, draw a tiny circle for highlight. In the middle of each eye, draw a small shape similar to a half oval with a pointy bottom for the slitted pupils. You can make these shapes thinner for more slitted pupils or more circular for dilated pupils. Shade the inside of the cat's pupils. Don't overlap the tiny highlight circles as you shade. Draw a series of short strokes over each eye for a bit of detail of the fur.
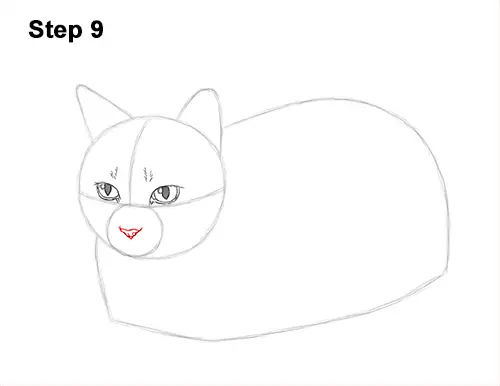
Step 9: Inside the muzzle, near the middle, lightly sketch a small triangle for the cat's nose. When you get the size and position right, darken the lines. Make the edge wavier and the top corners longer. As you darken the right side, curve the line inward to create the nostril. The nostril on the left isn't too visible from this angle. Make the bottom part thin and pointy. Draw a short line at the bottom.


