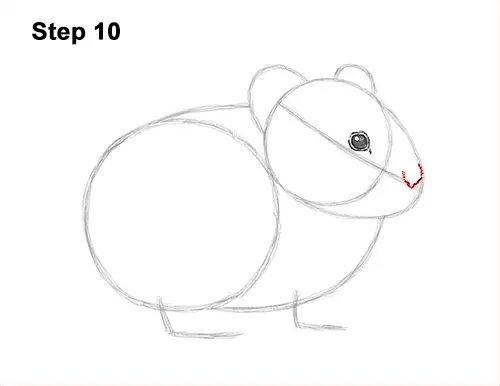
Step 10: Lightly sketch a small V-shaped line for the nose near the tip of the muzzle. Use the initial line as a guide for placement. Darken the pika's nose when you get the placement right. Add a couple of short lines above for the bridge of the nose.
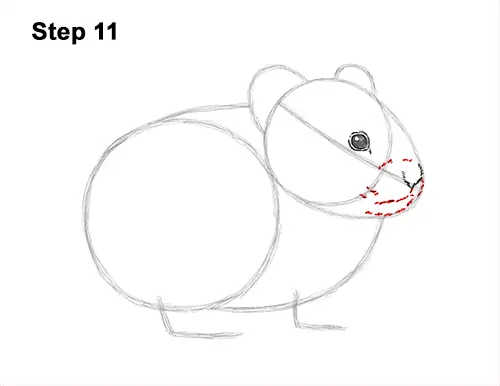
Step 11: Under the nose, draw a line that curves to the left for the first half of the mouth. To the right, draw another line that curves up toward the nose to finish the shape of the mouth. Below the pika's mouth, draw a series of short strokes along the path of the initial arc to create the fuzzy chin. Draw a few more lines around the nose to emphasize the shape of the muzzle. Use short strokes to represent fur.
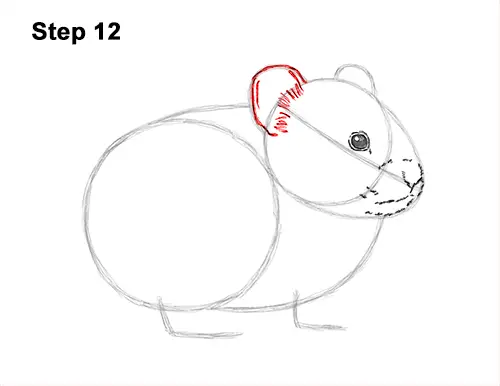
Step 12: Darken the small arc on the top, left side of the head to create the first ear. Inside the arc, draw a series of short strokes for the fur found in the pika's ear.
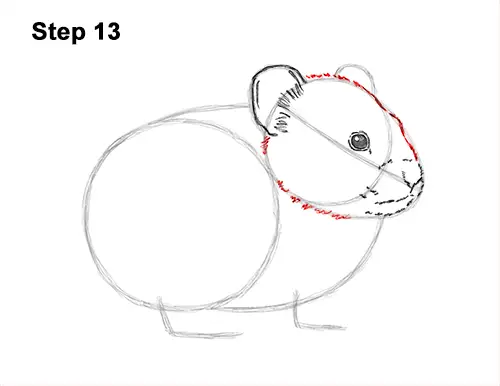
Step 13: Darken the outer edges of the initial guides at the top to create the shape of the head. As you darken the line at the top, make the shape bulge out a bit to indicate the pika's eye on the other side. Use a series of short strokes along the bottom to represent fur.
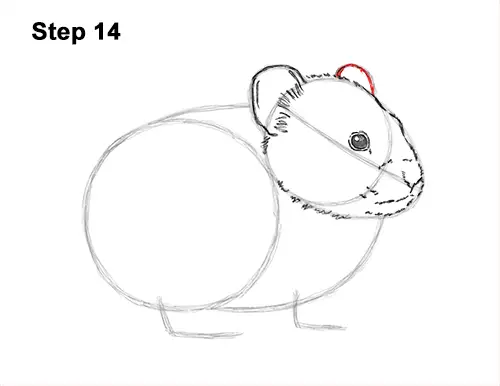
Step 14: Darken the small arc at the top to create the pika's other ear.


