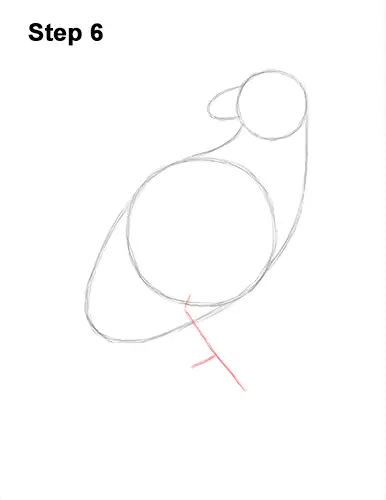
Step 6: Under the body, draw a line as a guide for the harpy eagle's leg. The line should bend a bit at the top and slope toward the lower, right side. Pay attention to the length of the line. Near the middle, draw a small line for the bird's toe.
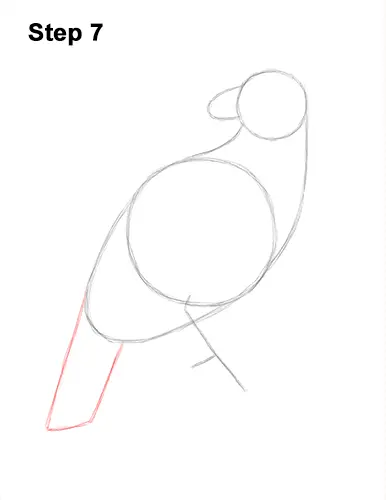
Step 7: On the lower, left side, draw the guide for the harpy eagle's tail using three lines to create a rectangular shape.
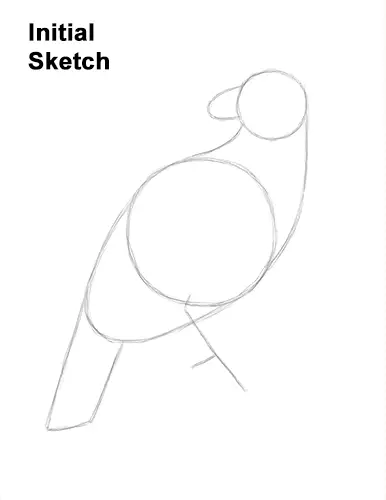
That's it for the guides! From this point on, press harder with your pencil for a more defined drawing.
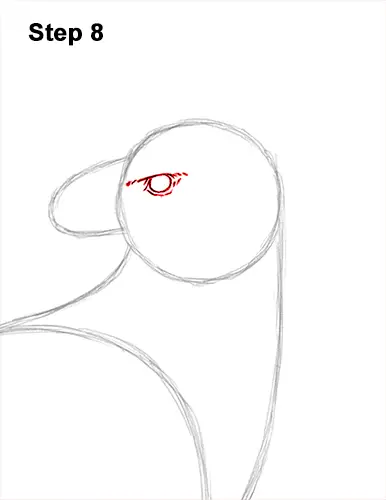
Step 8: Inside the head, near the left side, lightly sketch a small circle for the bird's eye. Draw a thick line at the top of the eye for the heavy brow. Break up the line at either end to represent a feathery texture. Darken the edges of the eye but don't overlap the brow at the top. Add a few curved lines around the harpy eagle's eye for the extra skin. Make the sides of these lines pointy and don't overlap the brow at the top.
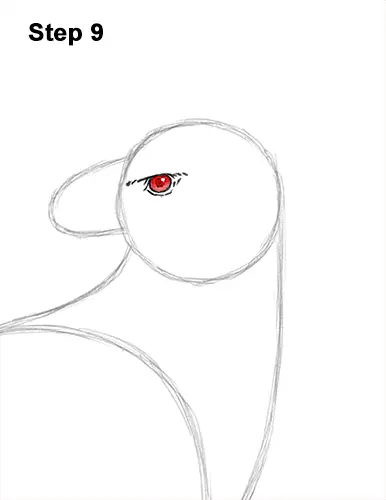
Step 9: Inside each eye, off to the side, draw a small circle to represent glare. In the middle of the eye, add a big dot using a dark value for the pupil. Now shade the rest of the eye using a value that's lighter than the pupil. Don't overlap the tiny glare circle as you shade the eye.


