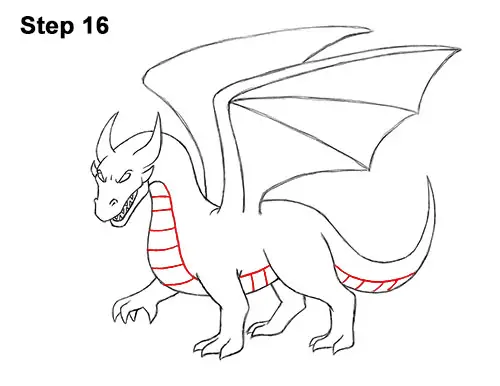
Step 16: Draw a series of curved lines along the bottom edge of the body for the dragon's scales. These lines should follow the basic shape of the underside of the body. Now draw a series of shorter lines within the shape to divide the scales.
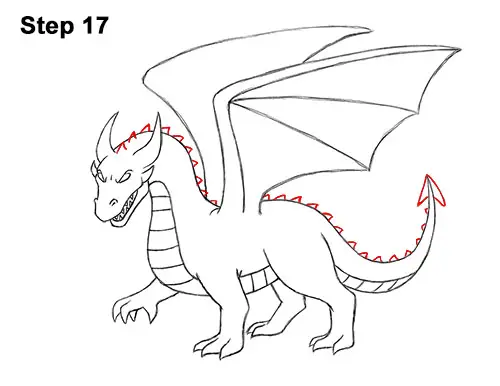
Step 17: Draw a series of small triangle-like shapes along the back of the dragon's body for spikes. You can make the spikes bigger if you'd like or just skip them entirely. As you draw the spikes, make sure you don't overlap the shape of the wing. At the tip of the dragon's tail, draw a longer spikes on either side to create an arrow-like shape.
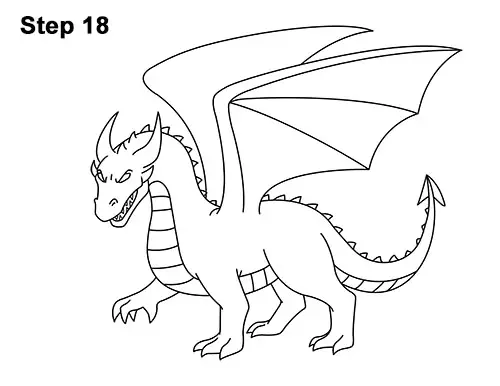
Step 18: Using a pen or marker, carefully go over the lines to make your dragon drawing permanent. After inking, get rid of every pencil mark with an eraser.
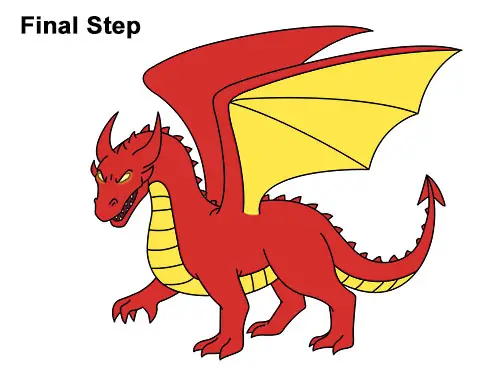
Final Step: Color your drawing using color pencils, markers or even crayons! You can color your dragon however you'd like! For this color scheme, use dark red on the main part of the body. Color lightly first, and then gradually push harder to get a darker color. You can also mix colors! Use yellow for the remaining sections of the dragon's body, including the eyes. Don't forget to pause the video to draw at your own pace.
Thanks for visiting! Subscribe to the How2DrawAnimals YouTube Channel for a new tutorial every Tuesday.
To learn how to draw popular cartoon characters, visit EasyDrawingTutorials.com.
RELATED TUTORIALS
 |
 |
 |


