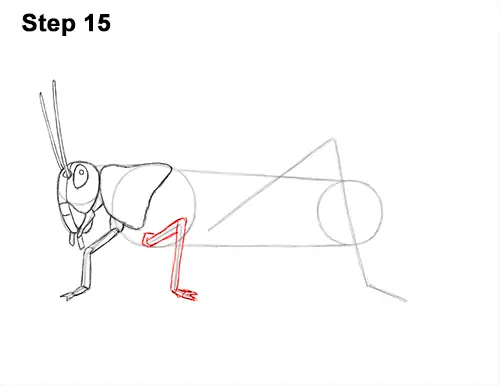
Step 15: Use the line to the left as a guide to draw the middle leg the same way. Follow the path of the guide and draw the middle segment first because it's in the foreground. The top segment should recede back toward the body. Add a couple of small spikes at the tip of the grasshopper's foot.
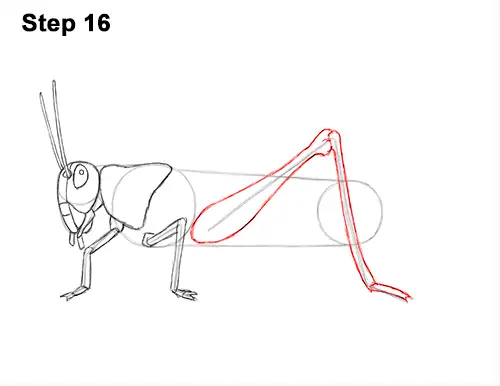
Step 16: Use the long, angled line on the right as a guide to draw the first big hind leg. Draw the left segment first. Follow the path of the guide as you draw this thin part of the leg. Bend the last segment to the right to create the grasshopper's foot and add a couple of small spikes at the tip.
Now draw the top part of the leg using the left side of the angled line as a guide. Grasshoppers have powerful legs for jumping, so make the bottom part of the leg wide and the top narrow. The thickness of the leg should change gradually. Add a few curved lines where the line angles to create the joint.
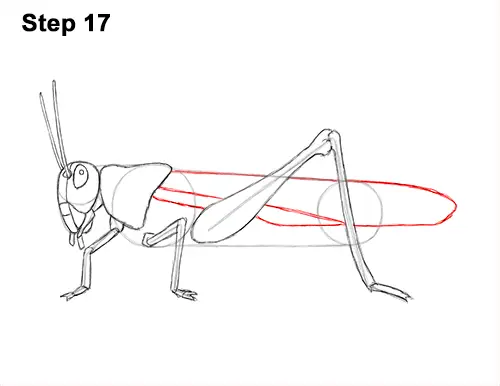
Step 17: Darken the top part of the initial guides to create the top part of the grasshopper's wings. Don't overlap the lines for the hind leg. Now extend the shape to the right by using a curved line to create the tip of the wing. Continue drawing the bottom edge of the wing by drawing a series of long lines across the body. Make the wing thinner on the left side. Add an extra sloping line because grasshoppers have two pairs of wings.
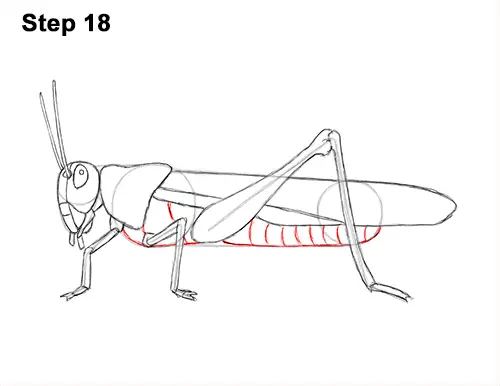
Step 18: Use the remaining lines and shapes as guides to draw the rest of the grasshopper's body. Simply darken the outer edges of the initial guides and don't overlap the shapes for the legs. Add a few curved lines within the shape of the body for the detail along the abdomen.
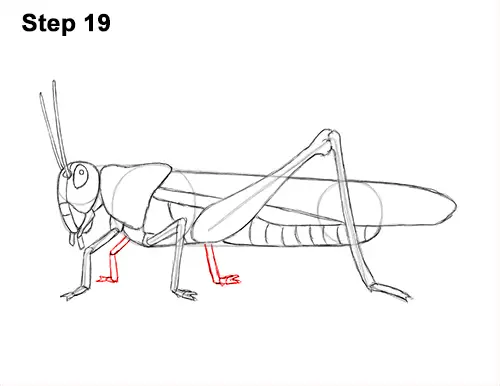
Step 19: Use the grasshopper's first front leg as a template to draw the other front leg to the right of it. Copy the shape of the first leg but make it smaller. You can lightly sketch a guide at first to make it easier. Add the second middle leg the same way. Most of it will be hidden behind the body, so only draw the lower half.


