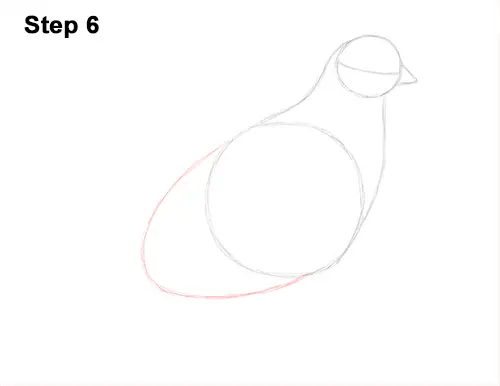
Step 6: Draw a big, wide arc on the lower, left side of the first circle as a guide for the bottom half of the quail's body. The combined shape of the arc and the first circle should be similar to an egg.
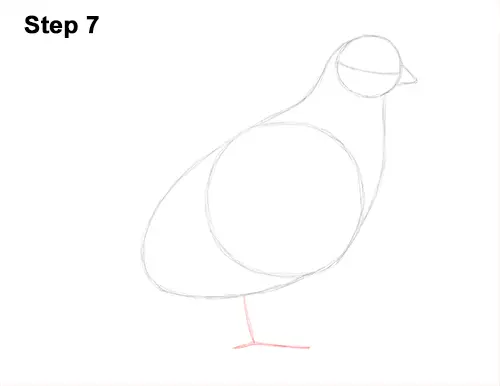
Step 7: Draw a couple of short, straight lines under the body as a guide for the quail's legs.
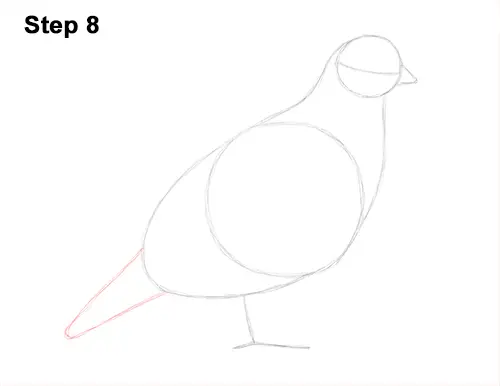
Step 8: Draw another arc on the lower, left side of the body as a guide for the quail's tail. This arc should be long and narrower than the arc for the body.
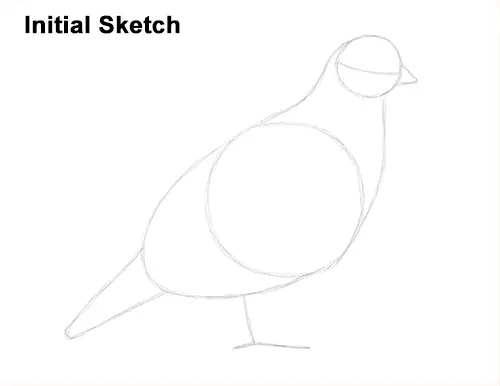
That's it for the initial sketch! From this point on, press harder with your pencil to get a more defined sketch.
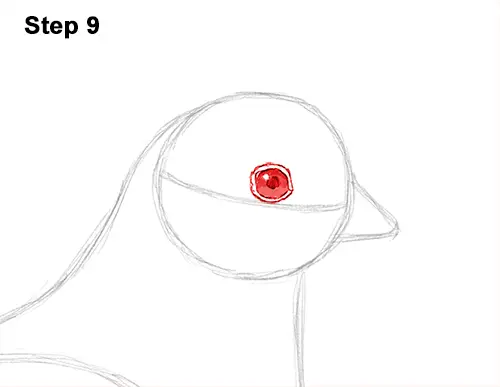
Step 9: Lightly sketch a small circle inside the head for the quail's eye. Use the construction line as a guide for the placement. When you get the size and placement of the bird's eye right, darken the circle.
Draw a tiny circle inside the eye, off to the side, to represent glare and a bigger dot in the middle for the pupil. Shade the inside of the eye except for the tiny circle that represents glare. As you shade the eye, use a value that's slightly lighter than the pupil. Draw a wavy line surrounding the quail's eye for the bare skin found there.


