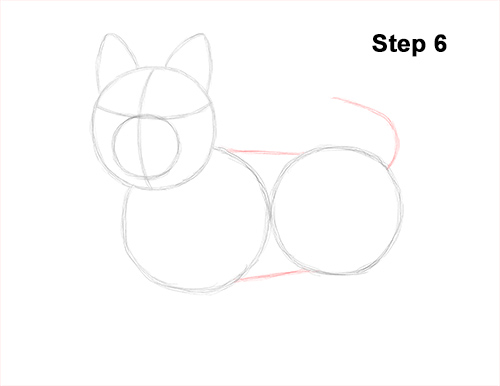
Step 6: Draw two short lines to connect the circle and complete the guide for the Yorkshire terrier's body. Add a small curved line on the right as a guide for the tail.
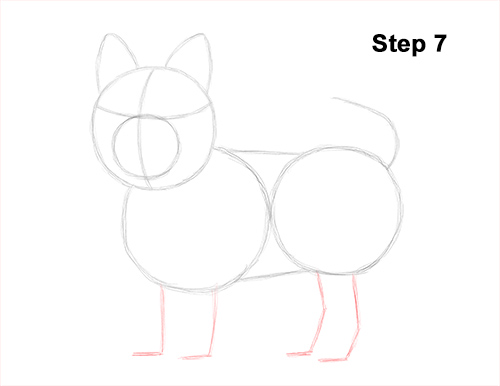
Step 7: Draw four short lines under the body (two below each circle) as guides for the Yorkshire terrier's legs. Bend the lines a bit to indicate where the dog's feet and the joints will be.
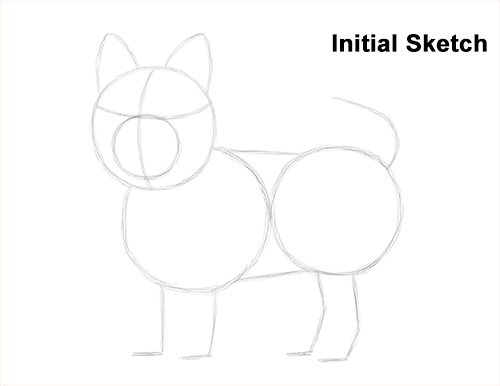
That's it for the initial sketch! From this point on, press harder with your pencil to get a more defined sketch.
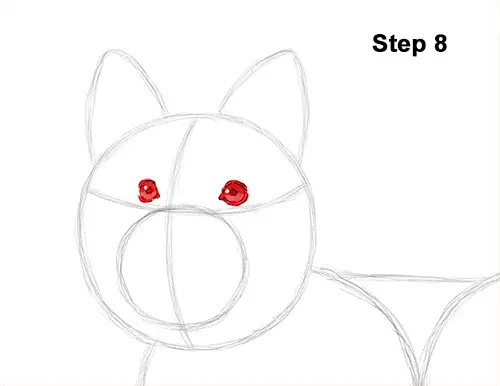
Step 8: Draw the eyes inside the Yorkshire terrier's head as circles using the lines as guides for placement. Add a tiny circle inside each eye, off to the side, to represent glare and a bigger dot in the middle for the pupils. Shade the rest of the eye except for the tiny circle that represents glare. When shading the eyes, use a value that's a bit lighter than the pupil. You can also use a slightly lighter value near the bottom of the eyeball for a rounder look. Add a few lines around the dog's eyes for extra detail. Add the corners of the eyes near the middle to create a more eye-like shape.
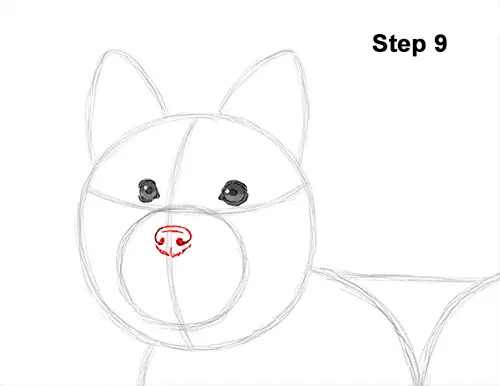
Step 9: Lightly sketch an oval inside the muzzle, near the top, for the Yorkshire terrier's nose. Darken the top part of the oval when you get the shape right. Darken the top part of the oval when you get the shape right. Add two smaller circles to the sides of the oval and shade them in for the nostrils. Make the bottom part of the dog's nose a bit pointier and add a small line at the top lip and near the top.


