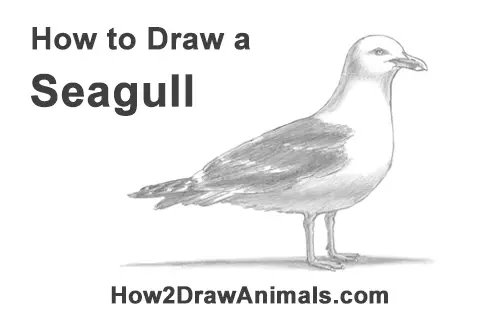
Please PAUSE the "How to Draw a Seagull" video after each step to draw at your own pace.
Time-Lapse (Speed Drawing) video:
Written step-by-step video tutorial:
For the first few steps, don't press down too hard with your pencil. Use light, smooth strokes to begin.
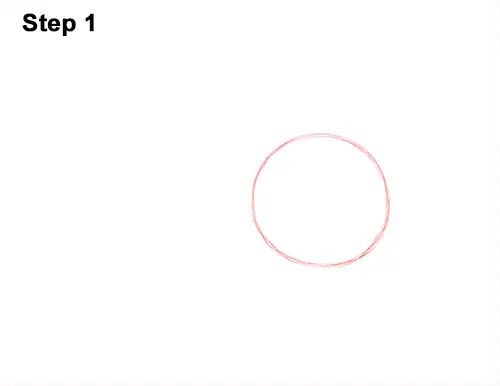
Step 1: Draw a circle near the right side of the paper as a guide for the first part of the seagull's body. First draw four small marks to indicate the height and width of the circle, then connect the marks using curved lines. Sketch lightly at first so that it's easy to erase if you make a mistake. But the circle doesn't have to be perfect. It's just a guide. If you do want to draw a perfect circle, trace the outer rim of a cup, a lid or any other object with a circular edge.
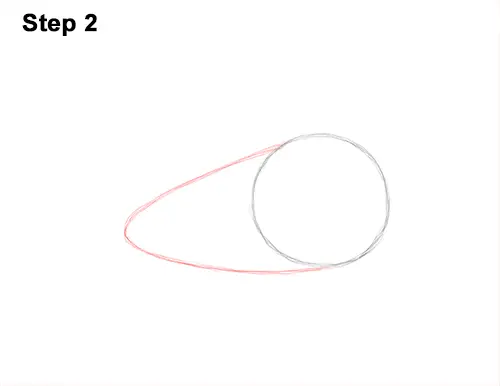
Step 2: Now draw the second part of the body by first making a small mark on the left side. Now connect the small mark to the circle using curved lines so that you end up with an arc. The arc should be around the same length as the width of the circle.
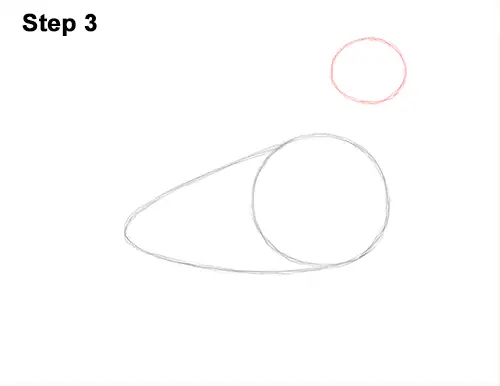
Step 3: Draw another circle on the top, right side as a guide for the head. Draw this circle the same way. Start with marks indicating the height and width, then connect the marks with curved lines. This circle should be about one-third the size of the first one. Don't draw it to high up or the neck will be too long.
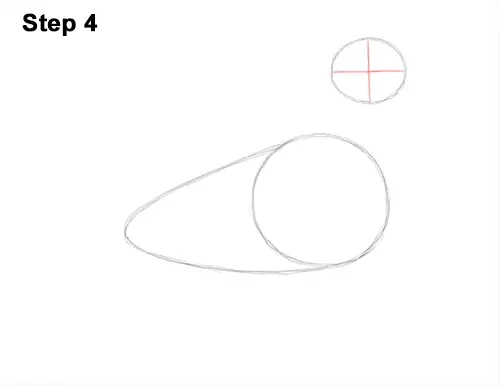
Step 4: Inside the head, draw two intersecting lines so that it looks like a scope. These are construction lines that will help you place the facial features later.
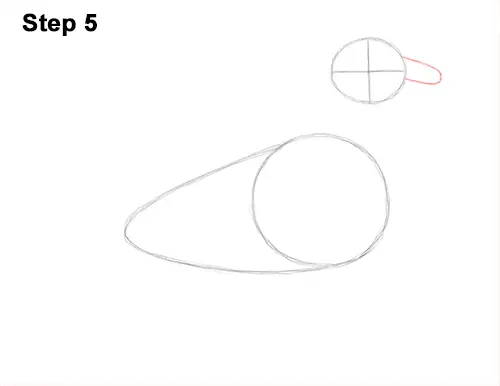
Step 5: On the right side of the head, draw a small arc as a guide for the beak. Pay attention to the arc in relation to the head. The arc should dip down slightly too.


