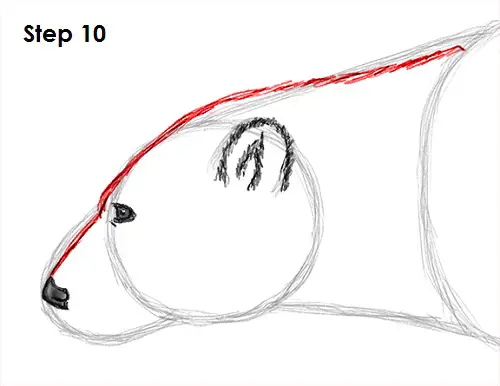
Step 10: Use the original shapes and lines as guides to draw the top of the polar bear's head and long neck. Use quick, short strokes along the lines to represent fur.
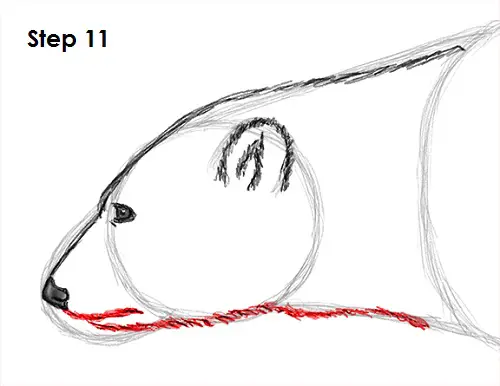
Step 11: Draw the mouth and bottom part of the neck the same way. The polar bear's mouth is just a short line below the nose, and the chin is another short line below the mouth. Follow the lines using quick, short strokes to create the furry neck.
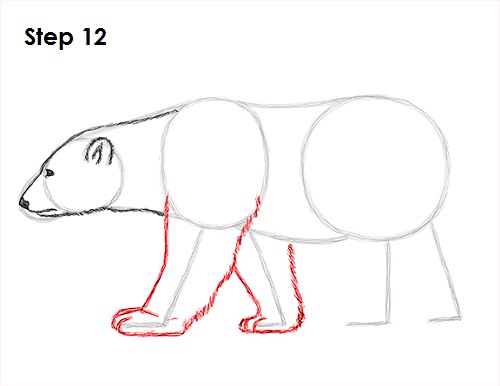
Step 12: Using the lines as guides, draw the polar bear's front legs. Sketch them lightly at first so you're sure that you like what you have before darkening them. Go around the guide line to form the first leg and make it thicker. The paw at the bottom is wide, and draw a couple of lines for the polar bear's toes. Remember to use quick, short strokes throughout to give it a furry look. Draw the polar bear's other leg using the same technique as the first. Sketch lightly around the guide line, making the leg thicker. Then darken your line when you're happy with what you have. Don't forget the paws at the bottom!
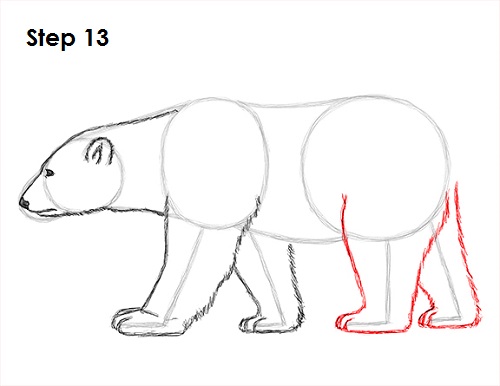
Step 13: Draw the hind legs the same way you did the front legs. Bears have plantigrade feet, meaning they use their entire foot to walk like humans instead of walking on their toes like dogs or cats, so draw the paws wide. Finish up the last leg. Some of it is hidden by the body, so only draw the portion that's visible.
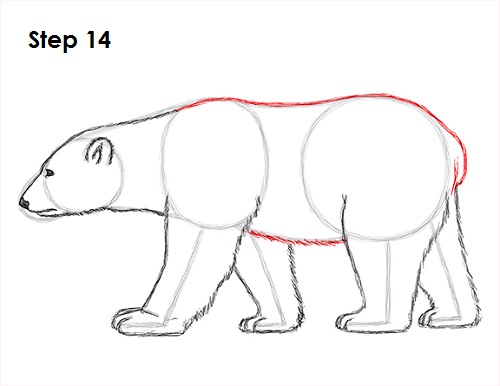
Step 14: Use the lines as guides to draw the rest of the body. Draw the polar bear's small tail on the right and use slightly longer strokes on the bottom of the bear to represent longer fur.


